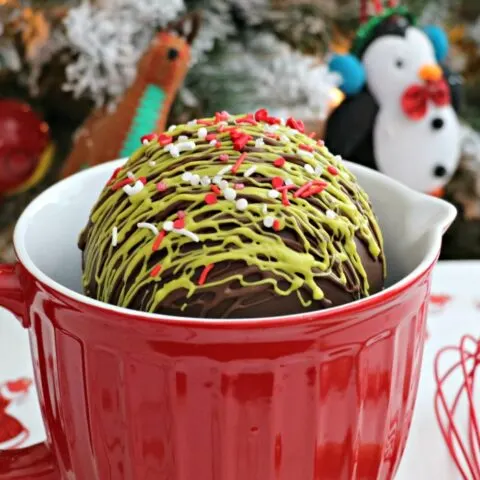
Let’s get started on your giant hot chocolate bomb! Are you obsessed with the hot chocolate bomb craze like I am? Did you know you can make a giant family-size hot chocolate bomb and it makes the perfect gift for family, friends, co-workers, and neighbors? Check out this jumbo hot cocoa bomb with free printable gift tag.
Hot chocolate bombs are all the rage and they’re so much fun. While most of them are a personal size hot cocoa bomb you can also make giant sized ones that are 4x the size of a regular hot chocolate bomb. They’re perfect to give as gifts, but also to make for your family to enjoy on a chilly day.
Make a giant hot chocolate bomb, watch it explode, and then snuggle up on the couch with your loved ones while drinking your jumbo hot chocolate bomb.
Check out my Tips and Tricks for Making Hot Chocolate bombs!
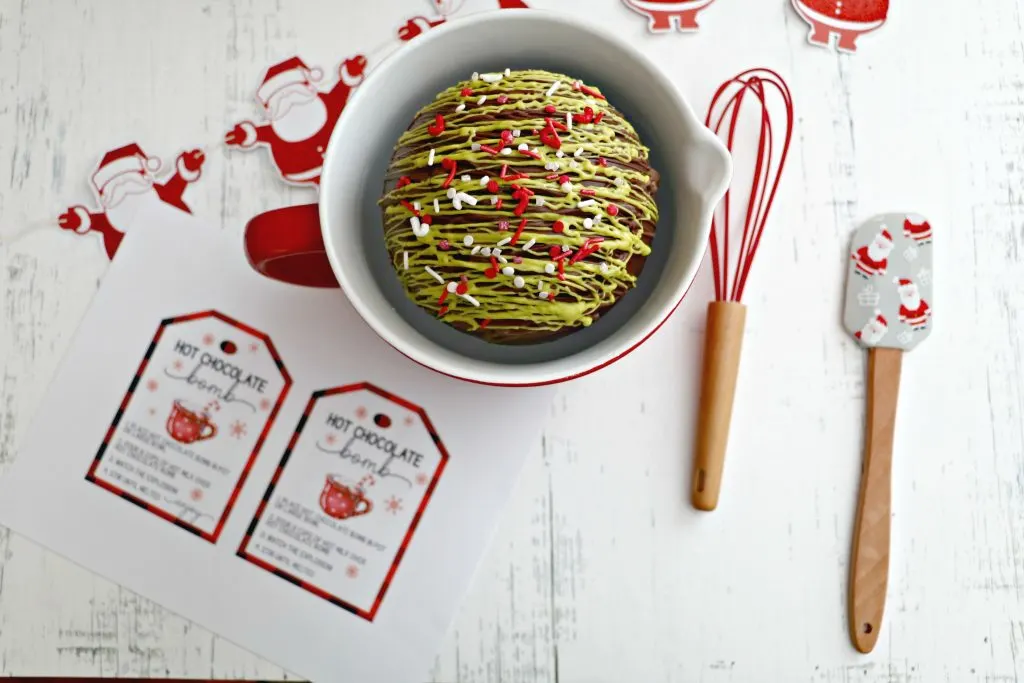
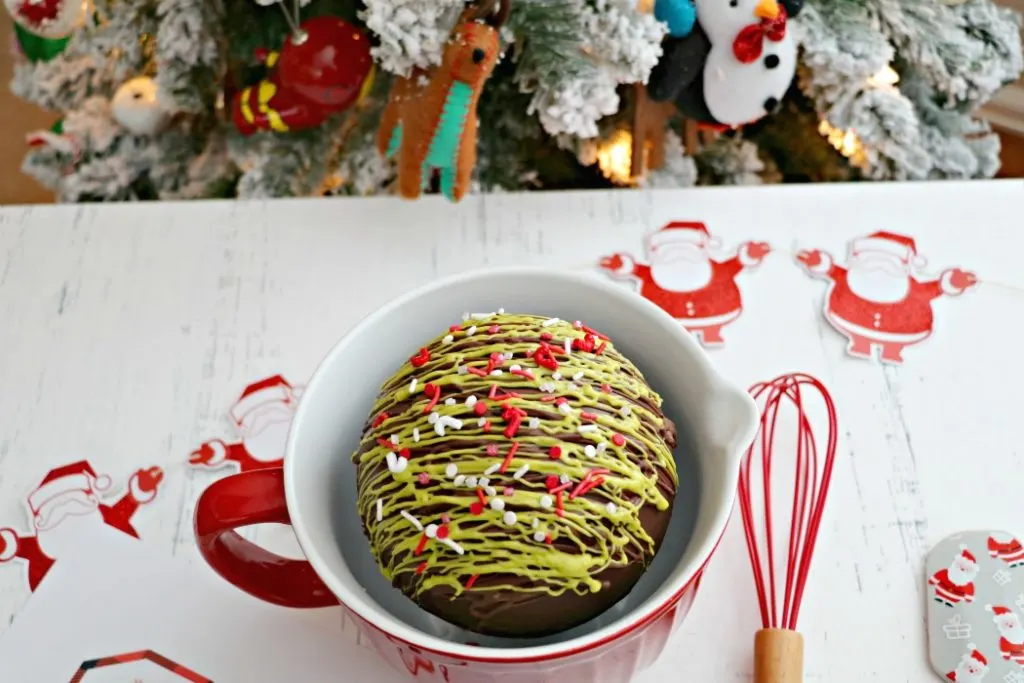
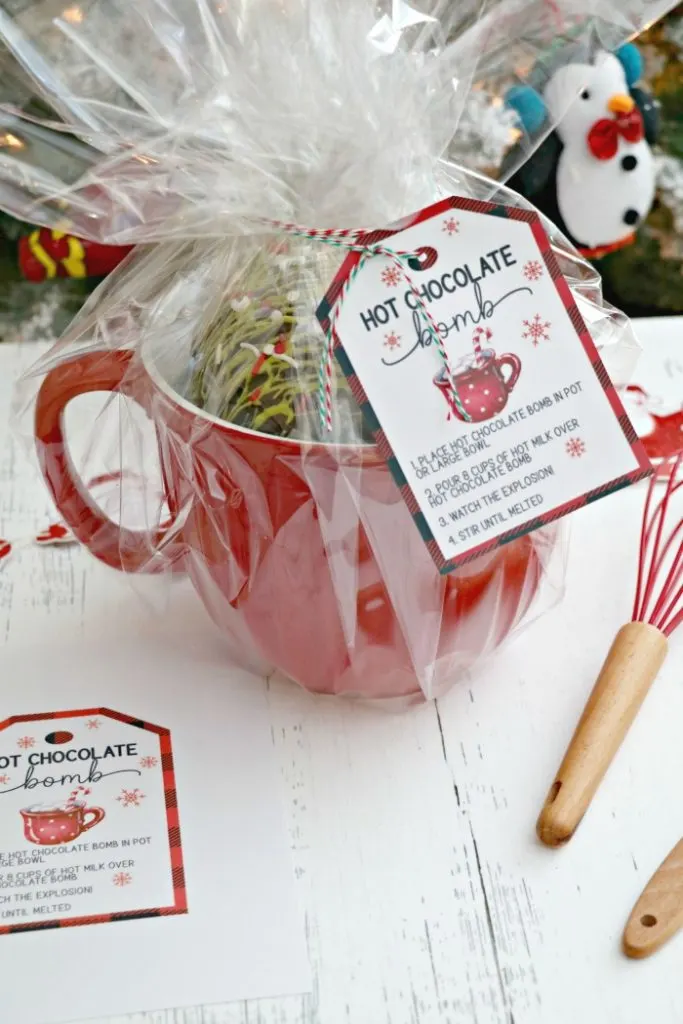
If you’re looking for easy DIY gifts for friends, family, neighbors, teachers, co-workers, or anyone close to you this makes a fabulous gift. Place the hot chocolate bomb in a large batter bowl, wrap it in cellophane, and add this cute gift tag to it for a fun holiday gift.
How to Make a Giant Hot Chocolate Bomb
Making your family sized hot chocolate bomb is the same as making a regular sized hot chocolate bomb, except you’ll use a bigger mold, add more hot chocolate mix, and more marshmallows.
Here’s what you’ll need:
- Chocolate Melting Wafers. I like Ghirardelli Milk Chocolate Wafers, but you can use whatever your preference of chocolate is. You’ll need the whole 10 oz package for this.
- Mini Marshmallows
- Hot Chocolate Mix
- Silicone Sphere mold
- Sprinkles
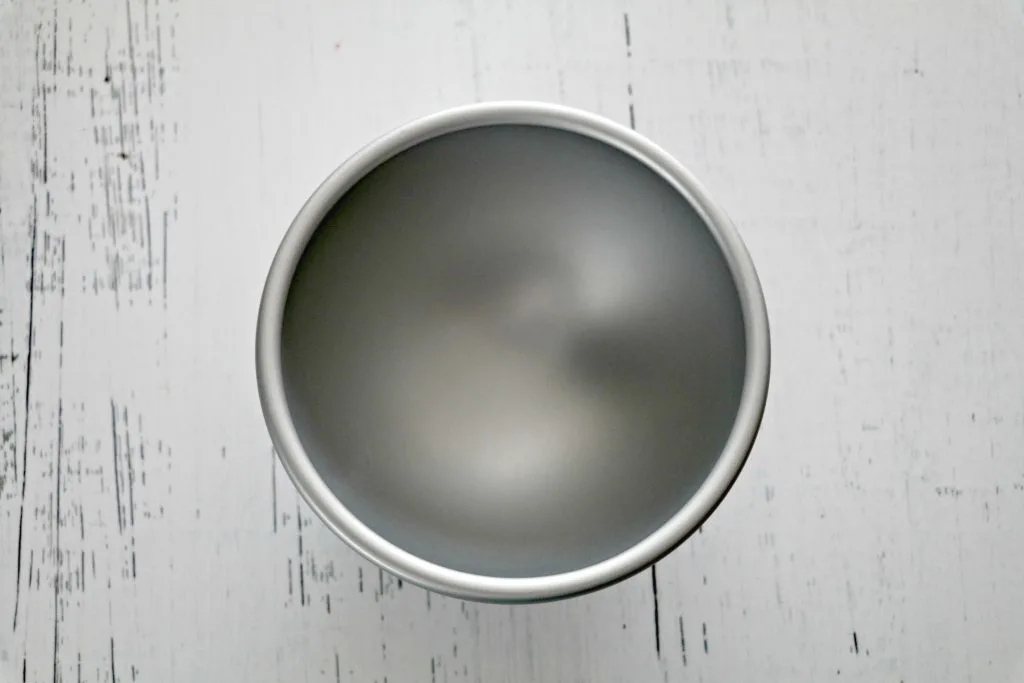
- Sphere Mold. I used a 5 x 2.5″ sphere cake mold, but you could use bigger or smaller. I found the 5″ pan was the perfect size for what I wanted to accomplish.
- Free Downloadable Gift Tag (Download here)
How to make a family size hot chocolate bomb:
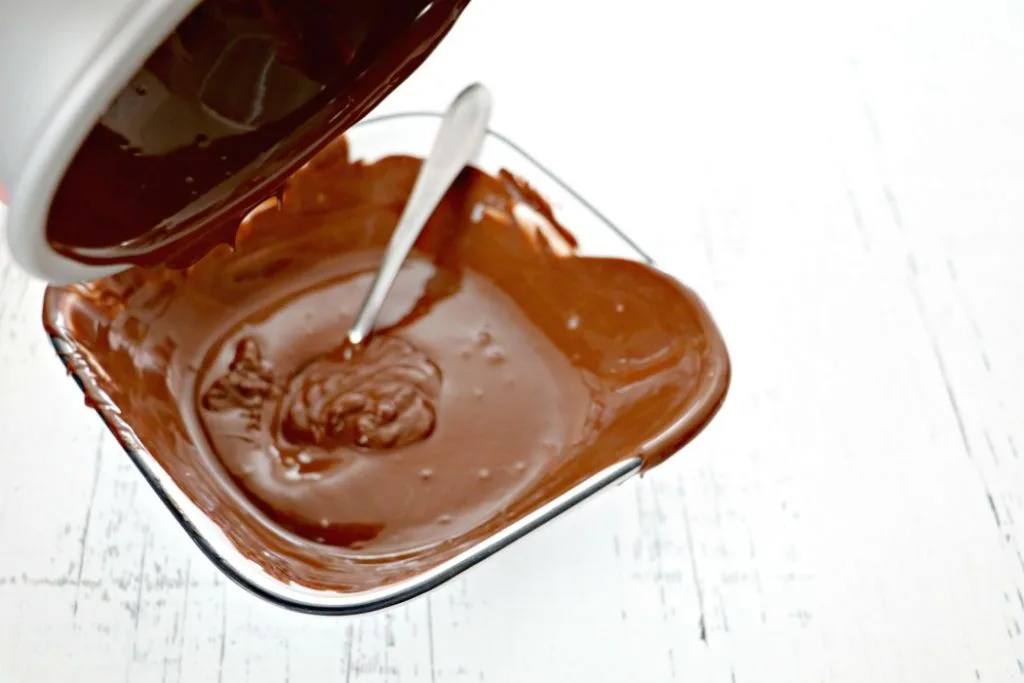
Place chocolate wafer melts in a microwave-safe bowl and melt in the microwave per the directions on the package. I start with 30 second intervals, stir, and then do 15 seconds at a time until chocolate is melted.
The mold I purchased only came with 1 mold, so I made one side at a time. Some brands come with 2 molds (like the Wilton sphere pan), make sure to read the description.
Place melted candy melt into one half of a bomb mold. I didn’t measure this. I poured in my chocolate, swirled it around to get an even coat on my pan up to the rim and poured out the excess chocolate back into my melted chocolate bowl.
Make sure to drain the excess chocolate well.
Place mold in the fridge for 5 minutes.
Remove chocolate mold and apply another layer of chocolate, giving your sphere a good and even coat. This time once I made sure the excess chocolate had dripped out I placed the pan upside down (open side facing down on a sheet pan lined with parchment paper) in the freezer for 5 minutes. I wanted any excess chocolate to drip down and make sure the sides were nice and thick.
Do not leave your mold in the freezer for too long because it can cause your chocolate sphere to break.
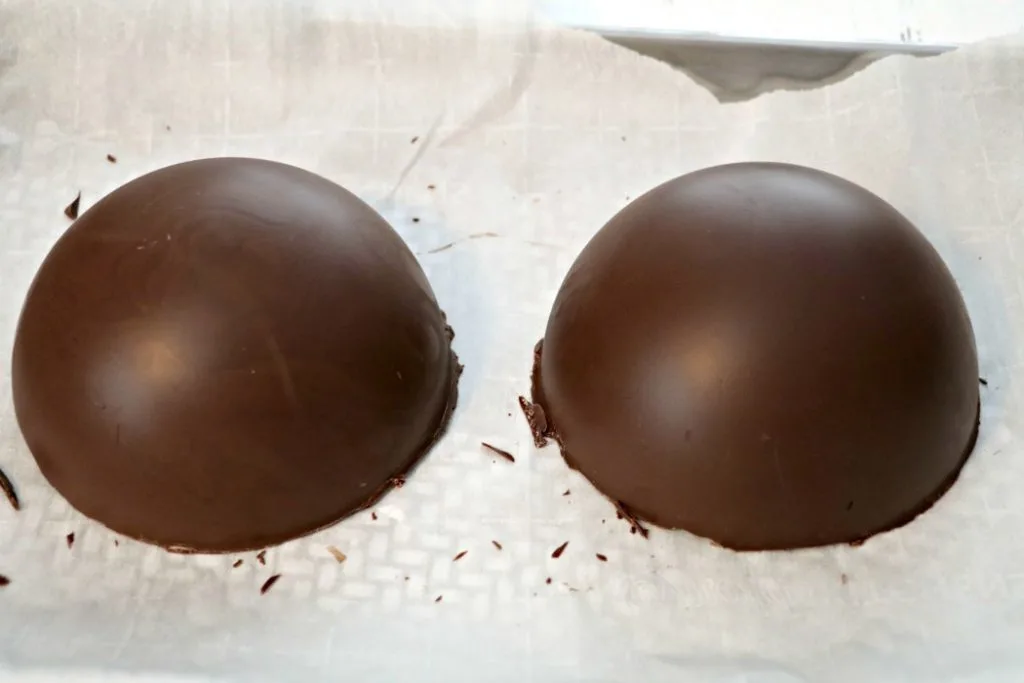
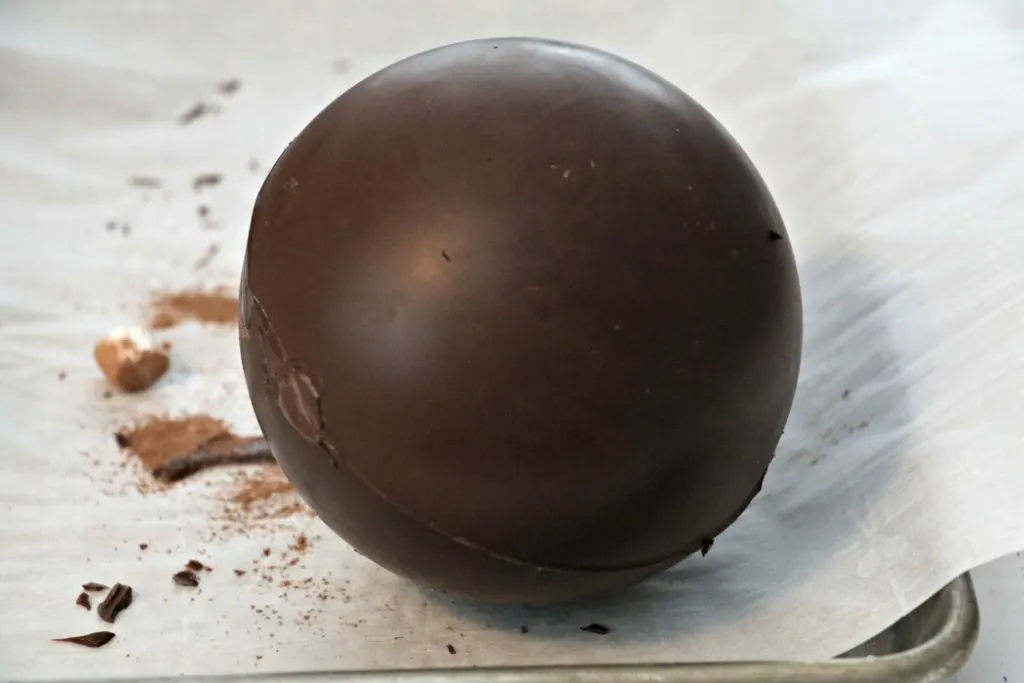
Once I removed my mold from the freezer I took it out of the mold. Mine didn’t want to pop right out of the mold, so I gently tapped it against my sheet pan and it popped right out in 1 piece.
Since I only had 1 pan I repeated all the steps again to get the other side of my hot chocolate bomb. If you’ll be making a lot of these I definitely recommend getting 2 spheres to make the process quicker.
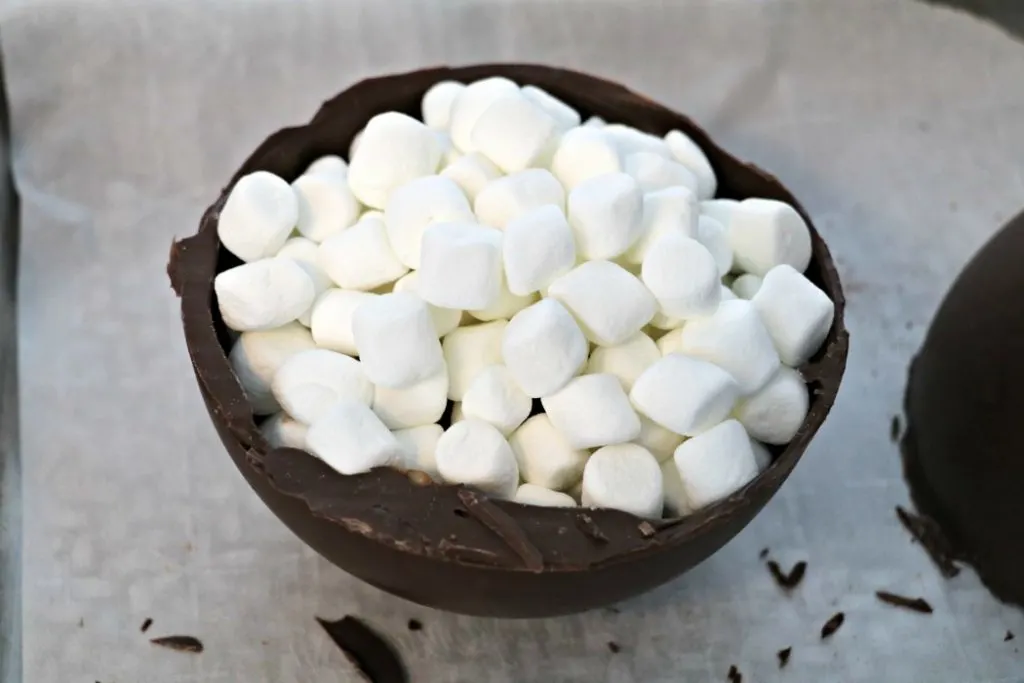
Fill one half of the mold with 1/2 cup of hot chocolate mix and then fill the rest of the mold with mini marshmallows. You can even add some sprinkles or peppermint bits.
I used a large plate, but you can also use a large skillet. Place your plate in the microwave for 1 1/2 minutes to heat it up.
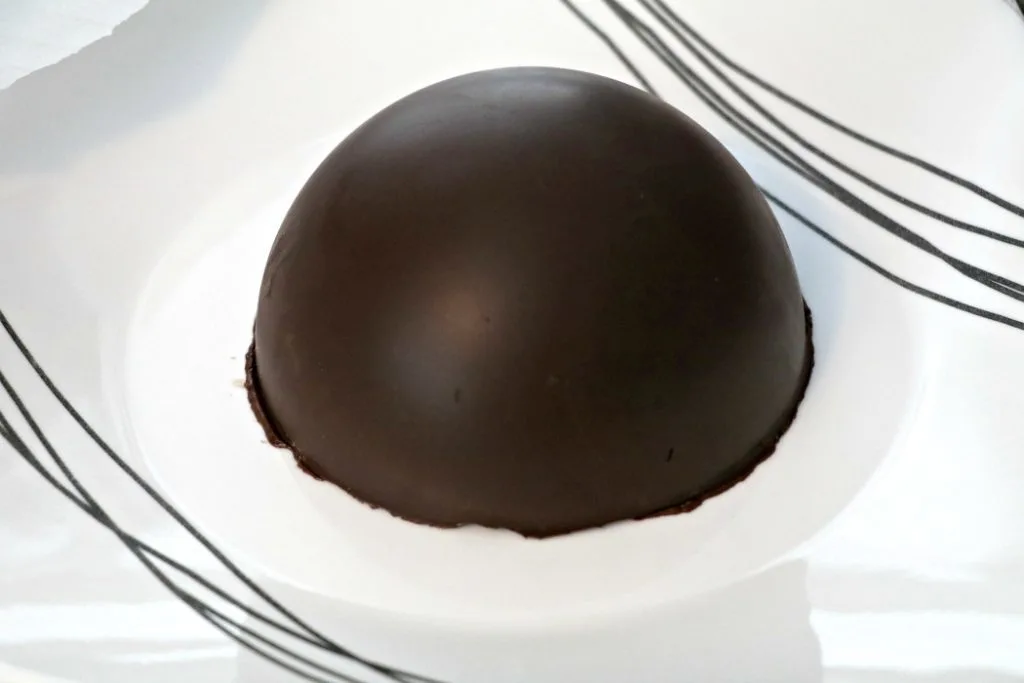
Place the empty side of the mold onto the warm plate to warm/melt the edges. I leave it on the plate for 5-10 seconds, until the edge is smooth, even, and starting to melt.
Placed the melted sphere side to the hot chocolate filled side.
If you notice any openings on the side I like to use a warm spoon to fill in any spots with the melted chocolate on the plate. A warm spoon will also help clean up any chocolate ooze on the sides, if you have some.
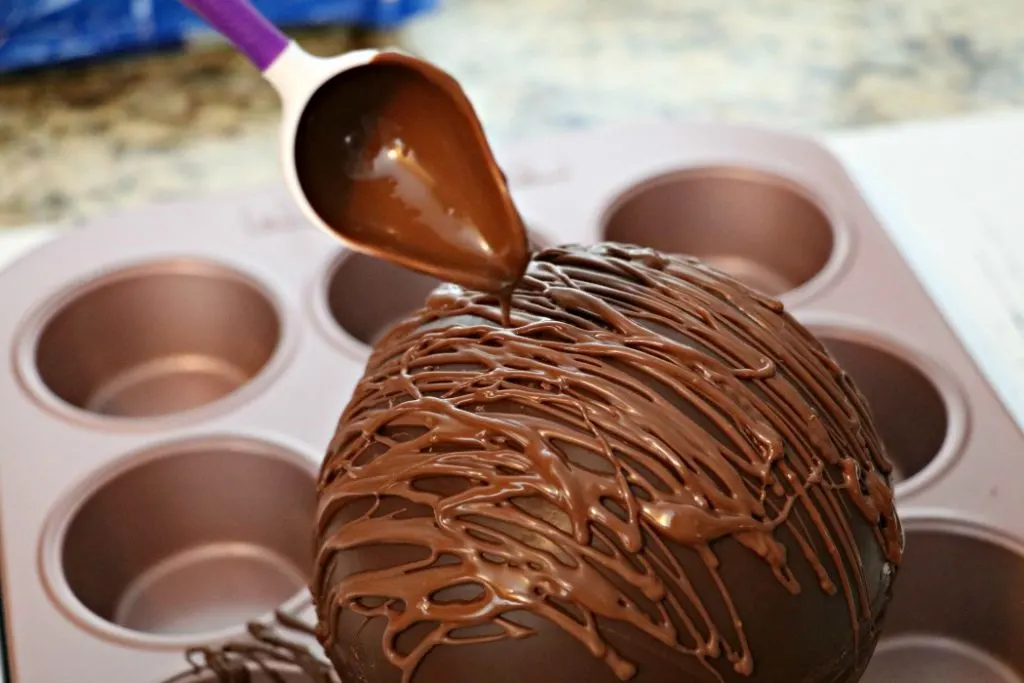
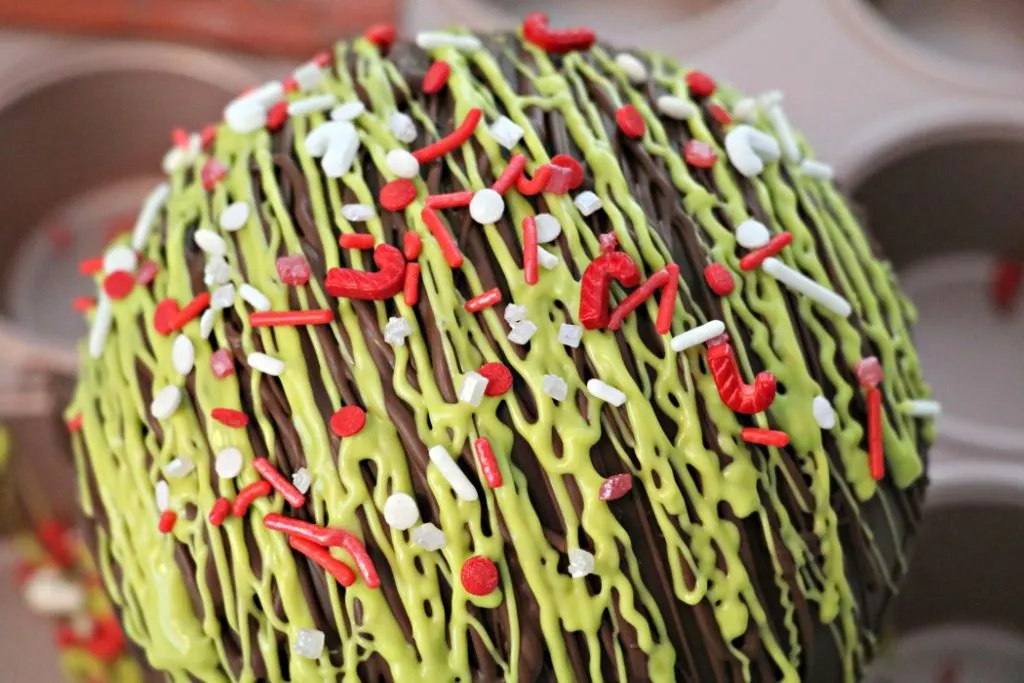
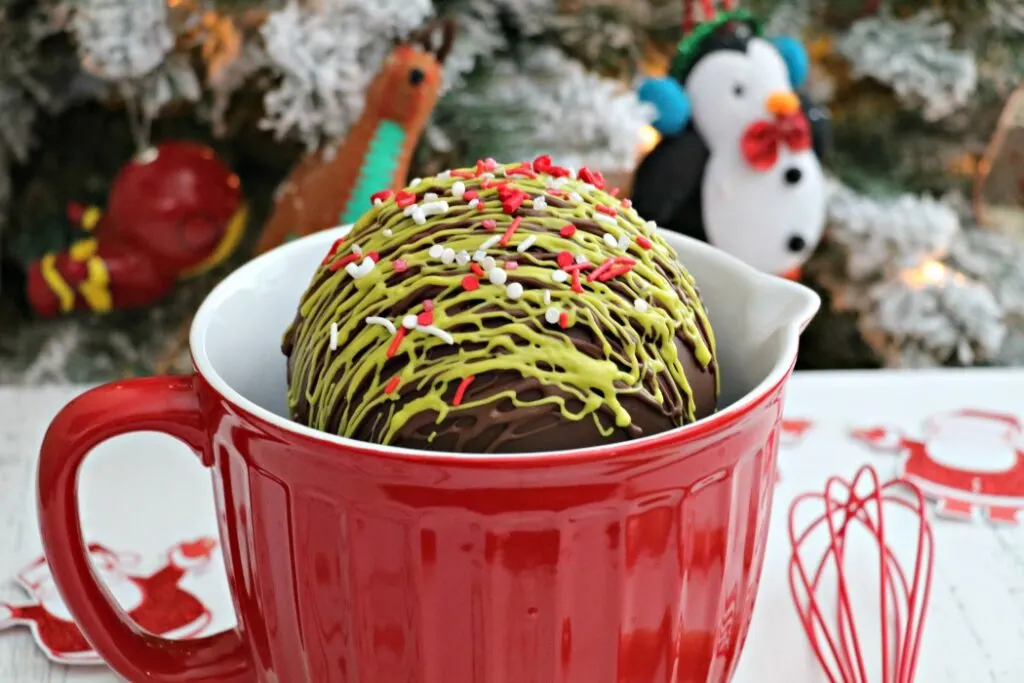
Next, I placed my jumbo hot chocolate bomb onto a cupcake pan and drizzled melted chocolate over it in milk chocolate and green candy melts. You can use any colors/flavors of your liking.
While the drizzle is still warm add sprinkles, marshmallows, or peppermint bits to the top of your hot chocolate bomb for decoration.
I place my hot chocolate bomb into the fridge for a few minutes to harden the seam and drizzle.
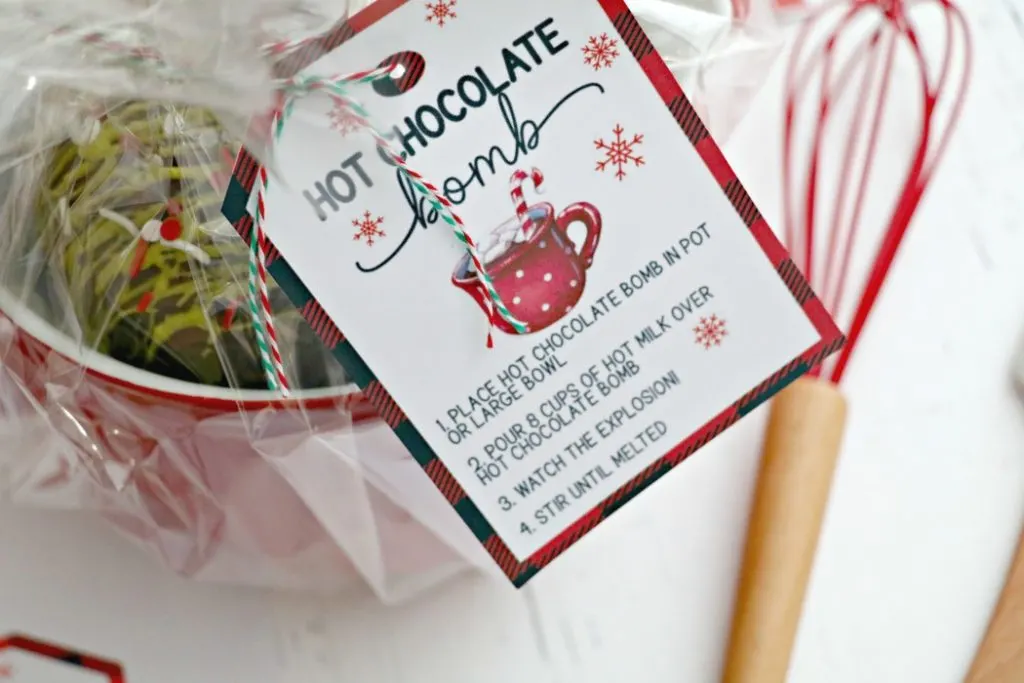
If you’re going to give this as a gift place it inside your batter bowl or box, wrap with clear cellophane, ribbon, and my free printable gift tag with directions.
If you’re going to enjoy this with your family store in a cool, dry, air tight container until you’re going to use it.
How to Use a Family Sized Hot Chocolate Bomb
To use your family-sized hot chocolate bomb you’re going to heat up 8-10 cups of milk until it’s hot. I liked it with 8 cups of milk, but if you find that it’s too sweet you can add more milk.
Place the hot chocolate bomb into a large pot or batter bowl and pour the hot milk over it.
Watch the explosion and then stir until chocolate is melted and everything is mixed together well.
What Bowls to Use With a Jumbo Hot Chocolate Bomb
The bowl gift set I got at Target is no longer available. It sold out really quickly, which is a bummer because it’s so cute. It came with a whisk and Christmas themed spatula, but there are lots of other options available.
Here are some alternative options. While a 2.5 quart bowl can work, you’ll want to try and get a 4 quart sized bowl.
- Nordicware Batter Bowl – Red
- Red and White Stripe Bowl
- White Batter Bowl
- Christmas Mixing Bowl
- Blue Batter Bowl
If you can’t find a batter bowl, you could always add it to a nice regular bowl or to a cake box.
Free Family Size Hot Chocolate Bomb Gift Tags
If you’re going to give this as a gift to someone make sure to DOWNLOAD my free printable gift tag. It has instructions on it with how to use their hot chocolate bomb.
Download it, print it out, and cut it out. Attach it to your package with twine or holiday ribbon.
This post contains affiliate links.
Giant Hot Chocolate Bomb
Family size hot chocolate bomb.
Ingredients
- Chocolate Melting Wafers
- Mini Marshmallows
- Hot Chocolate Mix
- Silicone Sphere mold
- Sprinkles
- Sphere Mold
- Free Downloadable Gift Tag
Instructions
- Place chocolate wafer melts in a microwave-safe bowl and melt in the microwave per the directions on the package. I start with 30-second intervals, stir, and then do 15 seconds at a time until chocolate is melted.
- The mold I purchased only came with 1 mold, so I made one side at a time. Some brands come with 2 molds (like the Wilton sphere pan), make sure to read the description.
- Place melted candy melt into one half of a bomb mold. I didn’t measure this. I poured in my chocolate, swirled it around to get an even coat on my pan up to the rim, and poured out the excess chocolate back into my melted chocolate bowl.
- Make sure to drain the excess chocolate good.
- Place mold in the fridge for 5 minutes.
- Remove chocolate mold and apply another layer of chocolate, giving your sphere a good and even coat. This time once I made sure the excess chocolate had dripped out I placed the pan upside down (open side facing down on a sheet pan lined with parchment paper) in the freezer for 5 minutes. I wanted any excess chocolate to drip down and make sure the sides are nice and thick.
- Do not leave your mold in the freezer for too long because it can cause your chocolate sphere to break.
- Once I removed my mold from the freezer I took it out of the mold. Mine didn’t want to pop right out of the mold, so I gently tapped it against my sheet pan and it popped right out in 1 piece.
- Since I only had 1 pan I repeated all the steps again to get the other side of my hot chocolate bomb. If you’ll be making a lot of these I definitely recommend getting 2 spheres to make the process quicker.
- Fill one half of the mold with 1/2 cup of hot chocolate mix and then fill the rest of the mold with mini marshmallows. You can even add some sprinkles or peppermint bits.
- I used a large plate, but you can also use a large skillet. Place your plate in the microwave for 1 1/2 minutes to heat it up.
- Place the empty side of the mold onto the warm plate to warm/melt the edges. I leave it on the plate for 5-10 seconds, until the edge is smooth, even, and starting to melt.
- Placed the melted sphere side to the hot chocolate filled side.
- If you notice any openings on the side I like to use a warm spoon to fill in any spots with the melted chocolate on the plate. A warm spoon will also help clean up any chocolate ooze on the sides if you have some.
- Next, I placed my jumbo hot chocolate bomb onto a cupcake pan and drizzled melted chocolate over it in milk chocolate and green candy melts. You can use any colors/flavors of your liking.
- While the drizzle is still warm add sprinkles, marshmallows, or peppermint bits to the top of your hot chocolate bomb for decoration.
- I place my hot chocolate bomb into the fridge for a few minutes to harden the seam and drizzle.
- If you’re going to give this as a gift place it inside your batter bowl or box, wrap it with clear cellophane, ribbon, and my free printable gift tag with directions.
- If you’re going to enjoy this with your family store it in a cool, dry, air-tight container until you’re going to use it.

Emily
Tuesday 2nd of November 2021
Hello! How many servings would you say this giant cocoa bomb made?
Jamie
Wednesday 3rd of November 2021
About 6-8 servings servings
Chantal
Monday 22nd of February 2021
I wasn’t able to print the labels. I see them but no option to print them.
Jamie
Monday 22nd of February 2021
There is an option at the top to download the file, it looks like an arrow. There is also an option at the bottom to print, which looks like a printer.
Carol
Sunday 14th of February 2021
I like your blog. I especially like this one about the bombs. Any ideas using some kind of mold for an Easter theme bomb?