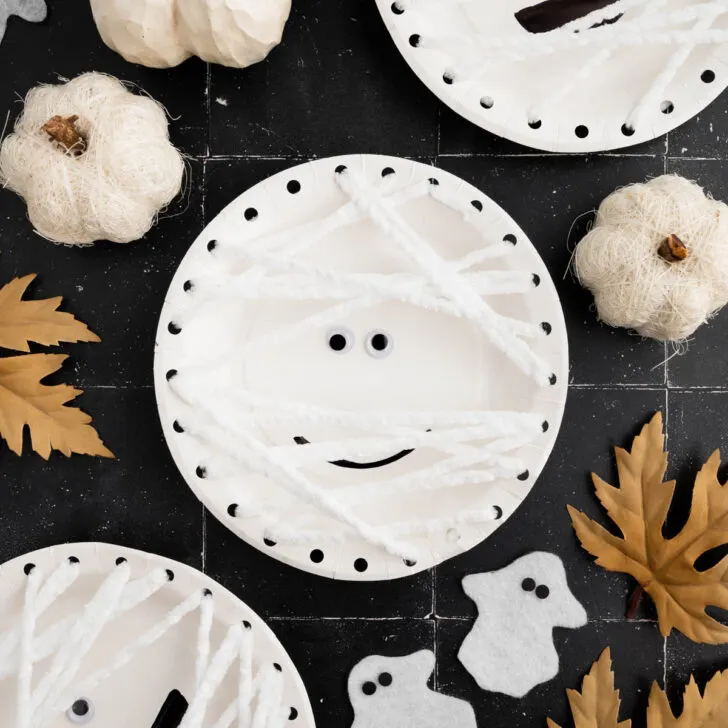
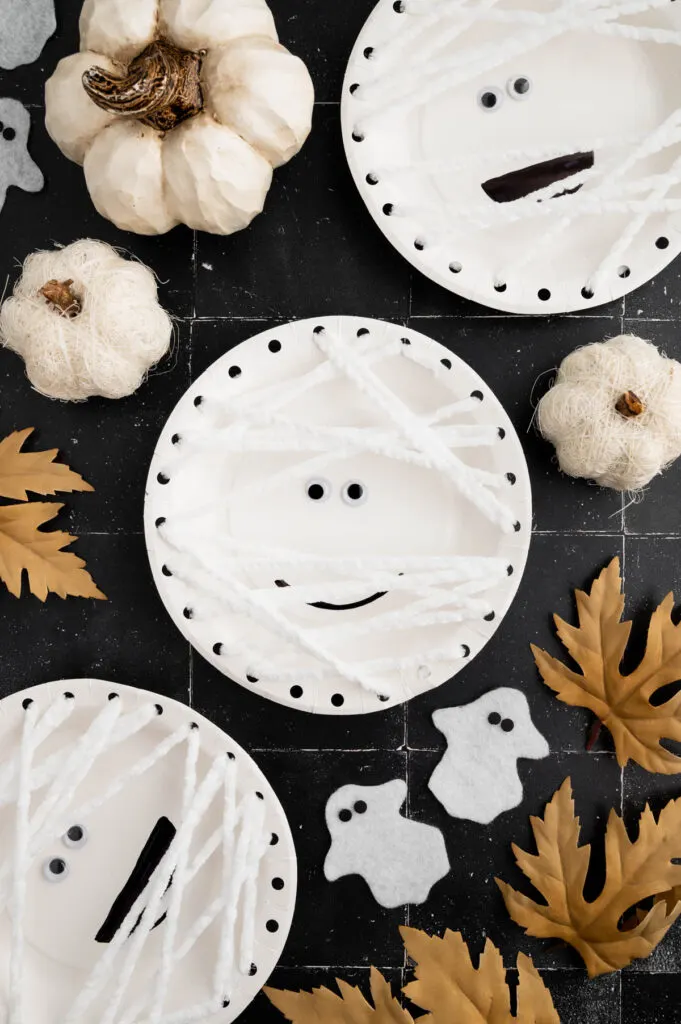
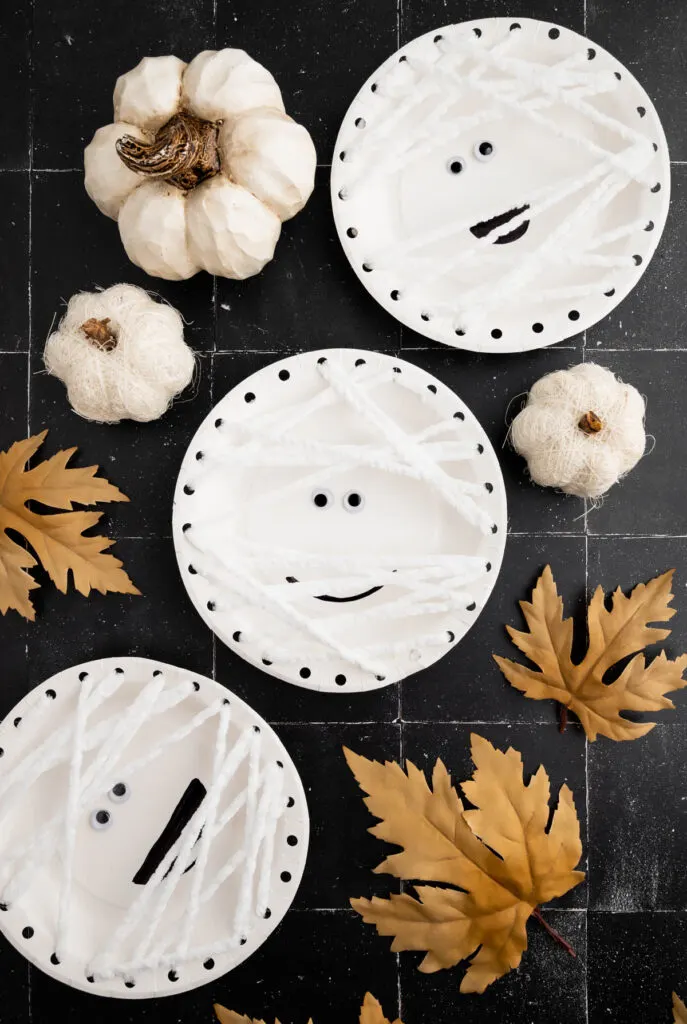
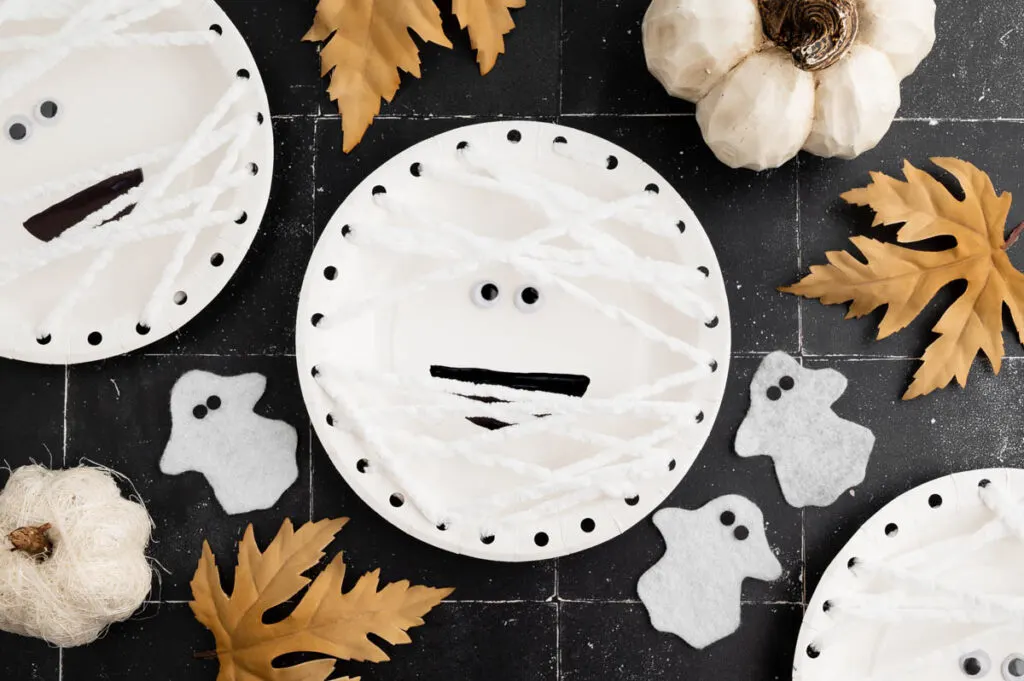
Looking for easy Halloween crafts for kids? This easy, fun and cheap mummy plate craft is great for little kids. It is fun, inexpensive, and would make a great craft for a classroom, church group, daycare, or any Halloween-themed party.
Make some homemade Halloween decorations with this fun Mummy paper plate craft. Use items around your house or from the dollar store for this cheap Halloween craft for kids.
Craft Variations & Substitutions
This craft can be done with off-white yarn, kitchen twine, or even leftover odds and ends of cream, white and off-white yarn.
You can skip the googly eyes and have kids draw eyes directly onto the plate with a permanent marker.
Large or smaller plates may be used; however, you may need more or less than 8 ft of yarn if using a plate size other than a 7-inch plate.
Use orange ribbon to make bows and glue it to the head or neck of the mummy to make a fun bow or bowtie.
Tips and Tricks
- Younger kids should use craft glue instead of hot glue to prevent them from getting burned. Or skip the glue and use self-adhesive googly eyes.
- Demonstrating by example is an effective way to get kids to understand how to thread the plate to make it look like a mummy.
- Hole punch the plates ahead of time to save time if working with a large group of younger kids or if you have a limited number of hole punchers. The yarn can also be cut ahead of time to make things more efficient.
Mummy Paper Plate Supplies
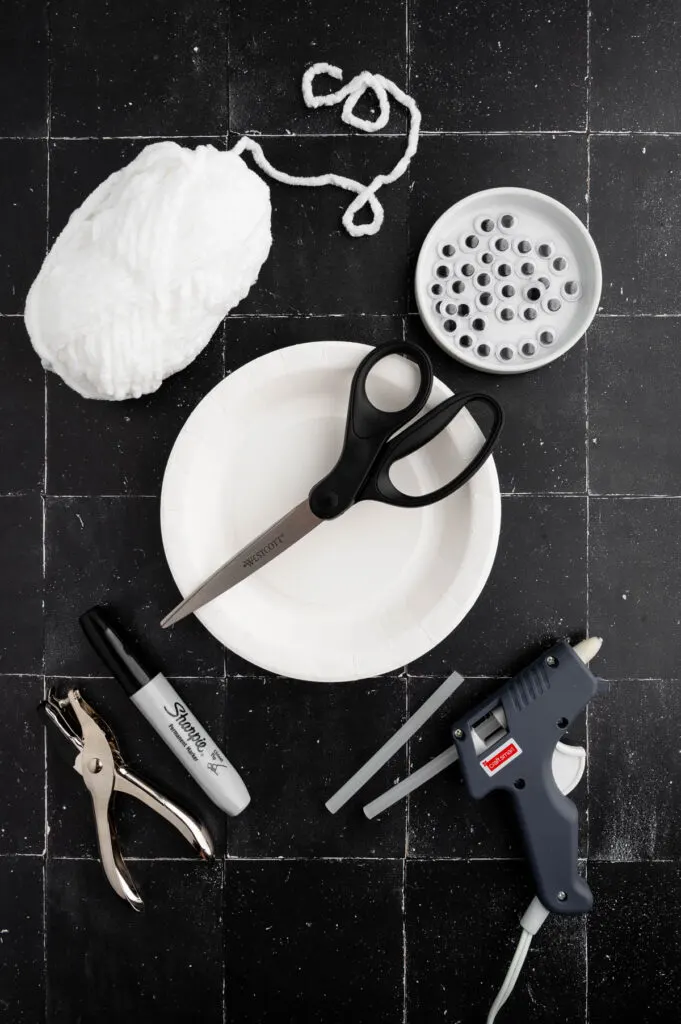
Here’s what you’ll need to make your mummy paper plate craft:
- 7-inch white party plates (8)
- 65 yards of white yarn
- Permanent marker
- Hot glue or craft glue
- Hot glue gun (if using hot glue)
- Medium-sized googly eyes (16)
- Scissors
- Hole punch
How to Make Mummy Paper Plates
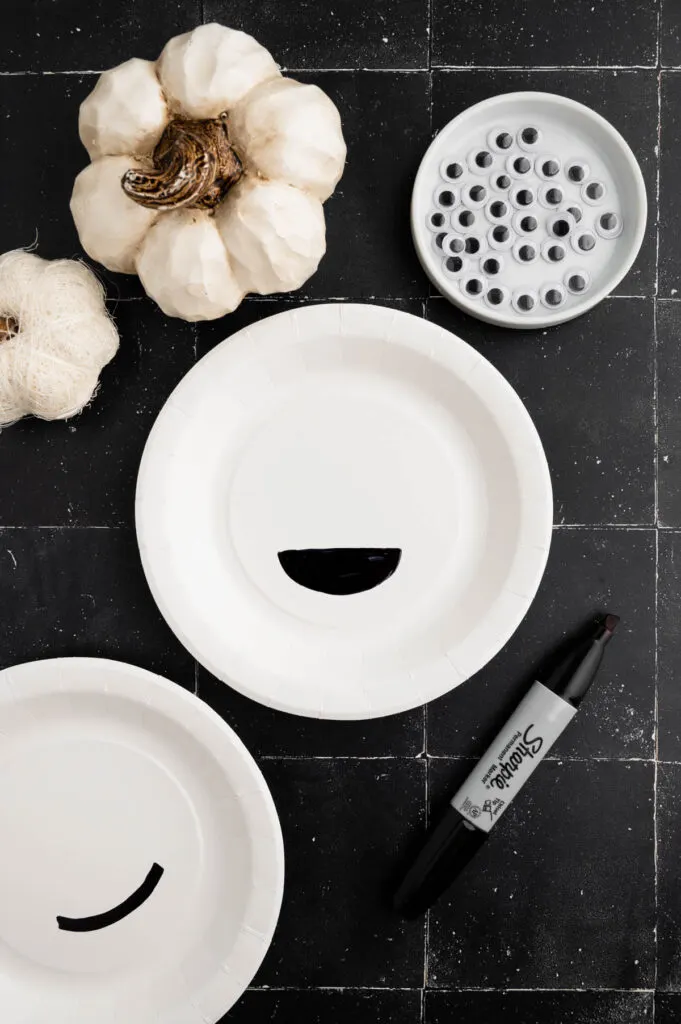
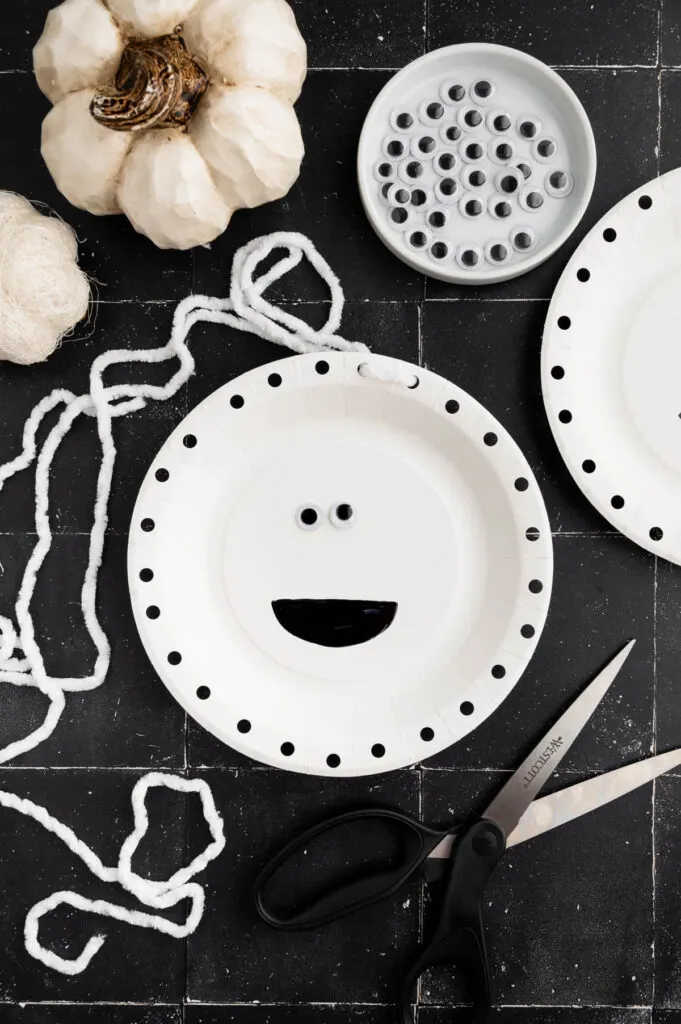
Place the plate face up and draw the mouth using a black permanent marker. These can be simple slit mouths or half-moons.
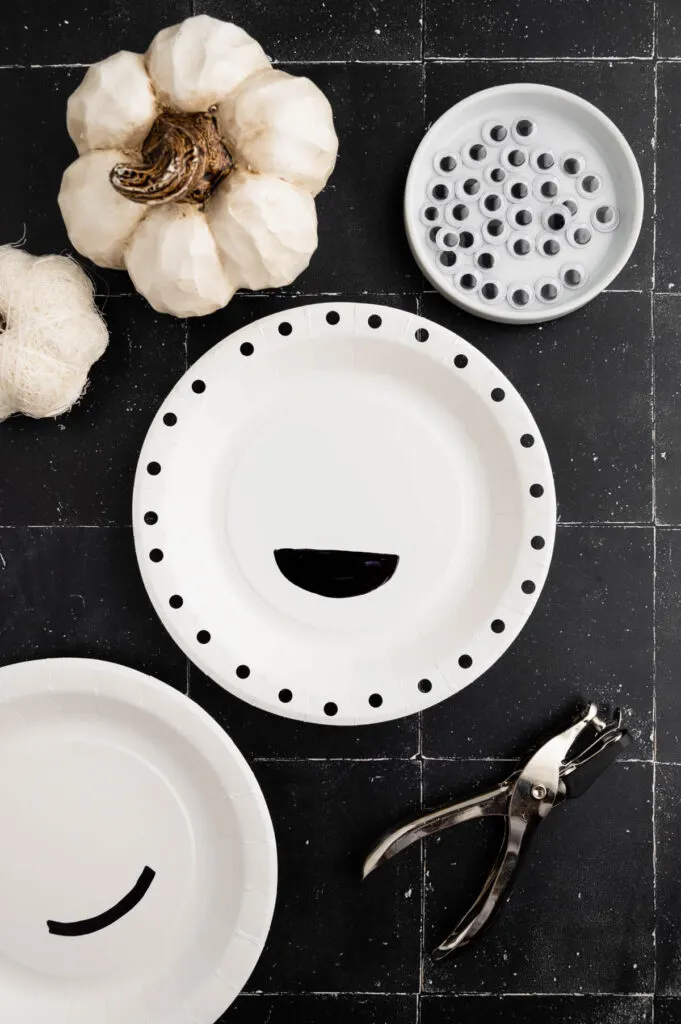
Use the hole punch to punch about 25 holes along the outer rim of the plate, about ½ of an inch from the edge.
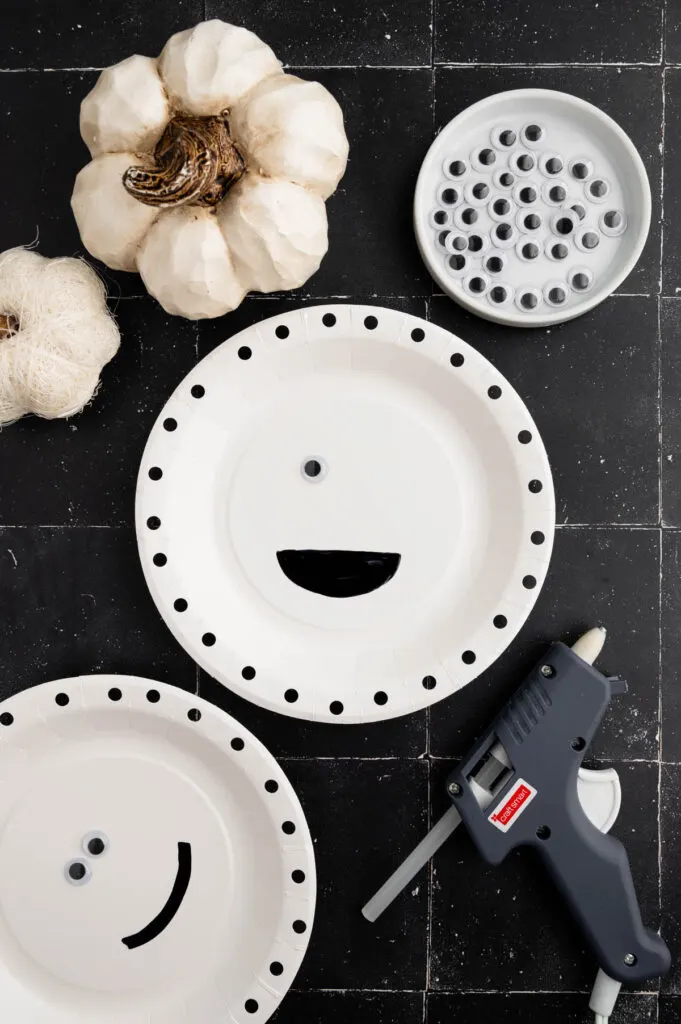
Glue the googly eyes onto the paper plate about 3 inches above the mouth.
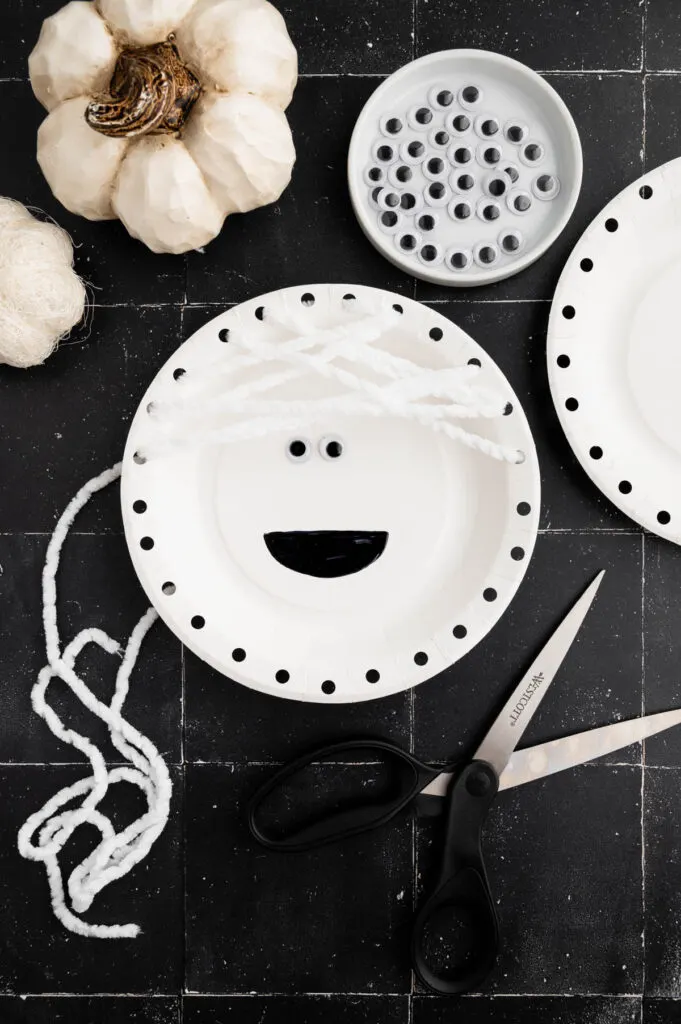
Cut 8 ft of yarn for each plate. From the back, thread the yarn through one hole and pull it through the hole right next to it so that both ends are coming from the back. Pull on the yarn by both ends so they are an even length to start.
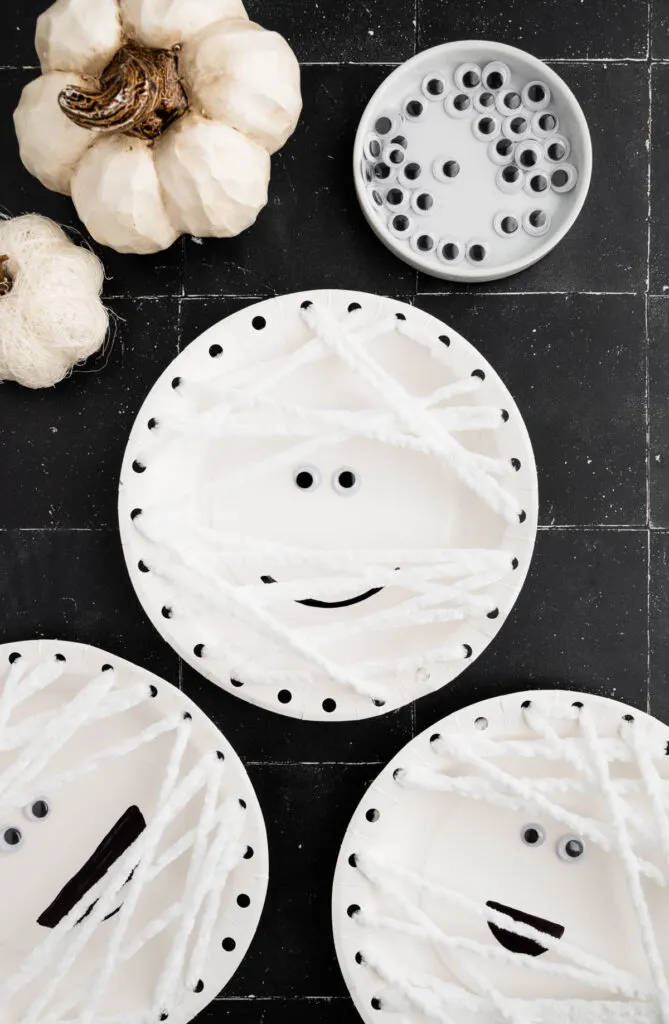
Thread and end of the yarn back through a hole so it is coming out of the front. Begin threading the yarn across the face of the mummy, starting with the top and working your way down. Be sure to skip holes and allow the yarn to overlap in places to give it the look of a mummy that is unraveling. Do not thread the yarn directly over the eyes. The eyes should be uncovered so that it looks like the eyes are peaking through the unraveling mummy wrap.
Tip: If the yarn ends start to unravel wrap clear tape around the ends to keep them from unraveling. This also makes it easier to thread the plates.
Once you are satisfied with your wrap and have worked your way all the way down the plate, finish it by pulling the yarn through two holes that are close to each other so that both ends of the yarn are on the back of the plate. Tie the two ends together and then cut off any excess yarn.
FAQ’s
Where can I find supplies for this craft?
Materials for this craft are easily located at any craft store or Walmart. Most supplies can be purchased at the dollar store or party supplies store as well.
What can this craft be used for?
This is a great craft to occupy younger kids at a Halloween party, as a classroom activity or church group activity. The craft doesn’t take long, is relatively simple to make and materials can be purchased inexpensively in large quantities making it perfect for a craft for large groups.
What jobs do younger kids need help with?
Depending on age and coordination, younger kids might need help with hole punching and may need some additional guidance while threading the yarn to make it look like a mummy. If younger kids are working on this craft, I would recommend using Elmer’s or craft glue instead of hot glue to attach the eyes.
What can I do with this craft when finished?
This craft makes a cute decoration. It is perfect to decorate a classroom or hallway because each mummy will be unique. They can be pinned to doors or hung on desks to add a fun and spooky flare to any room.
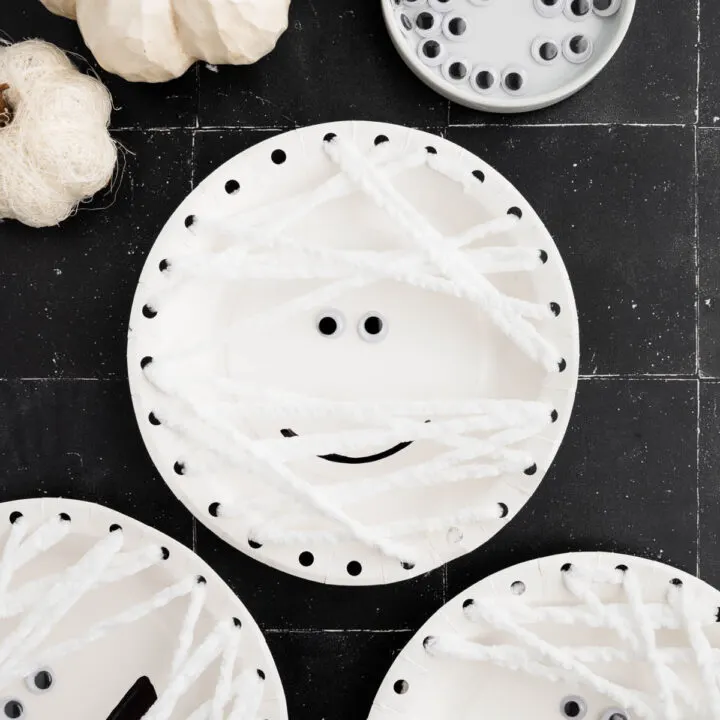
Paper Plate Mummy Craft
This easy and fun mummy plate craft is great for little kids. It is fun, inexpensive, and would make a great craft for a classroom, church group, or daycare.
Materials
- 7-inch white party plates (8)
- 65 yards of white yarn
- Permanent marker
- Medium-sized googly eyes (16)
Tools
- Hot glue or craft glue
- Hot glue gun (if using hot glue)
- Scissors
- Hole punch
Instructions
Place the plate face up and draw the mouth using a black permanent marker. These can be simple slit mouths or half-moons.
Glue the googly eyes onto the paper plate about 3 inches above the mouth.
Use the hole punch to punch about 25 holes along the outer rim of the plate, about ½ of an inch from the edge.
Cut 8 ft of yarn for each plate.
From the back, thread the yarn through one hole and pull it through the hole right next to it so that both ends are coming from the back. Pull on the yarn by both ends so they are an even length to start.
Thread and end of the yarn back through a hole so it is coming out of the front. Begin threading the yarn across the face of the mummy, starting with the top and working your way down. Be sure to skip holes and allow the yarn to overlap in places to give it the look of a mummy that is unraveling. Do not thread the yarn directly over the eyes. The eyes should be uncovered so that it looks like the eyes are peaking through the unraveling mummy wrap.
Once you are satisfied with your wrap and have worked your way all the way down the plate, finish it by pulling the yarn through two holes that are close to each other so that both ends of the yarn are on the back of the plate. Tie the two ends together and then cut off any excess yarn.
