

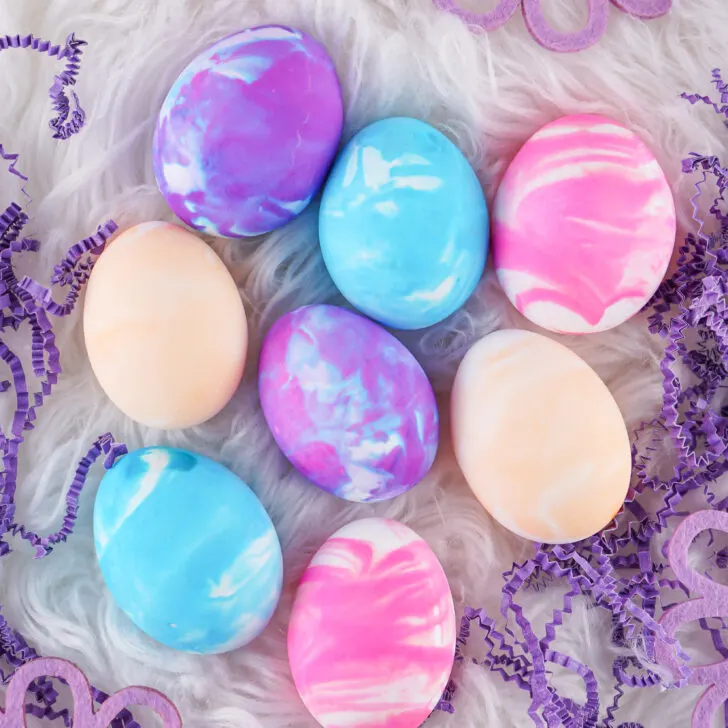
Ditch the whipped cream and dye your Easter Eggs with Cool Whip in this easy How to Dye Easter Eggs with Cool Whip tutorial. A quick and easy way to color eggs that deviates from the messy cups of liquid. Food dye, vinegar, and Cool Whip is all it takes to make some beautiful dyed eggs with the kiddos.

If you’re looking for new or fun ways to dye hard-boiled Easter Eggs this Cool Whip Easter Egg tutorial is just for you. A lot safer (and tastier) than using shaving cream, a lot less messy than cups of dye, and it’s edible, simple, easy, and cheap!
How to Dye Easter Eggs with Cool Whip
Want to make Cool Whip dyed Easter eggs or Whipped Cream Dyed Easter Eggs? Then this easy easter egg dying tutorial is for you!
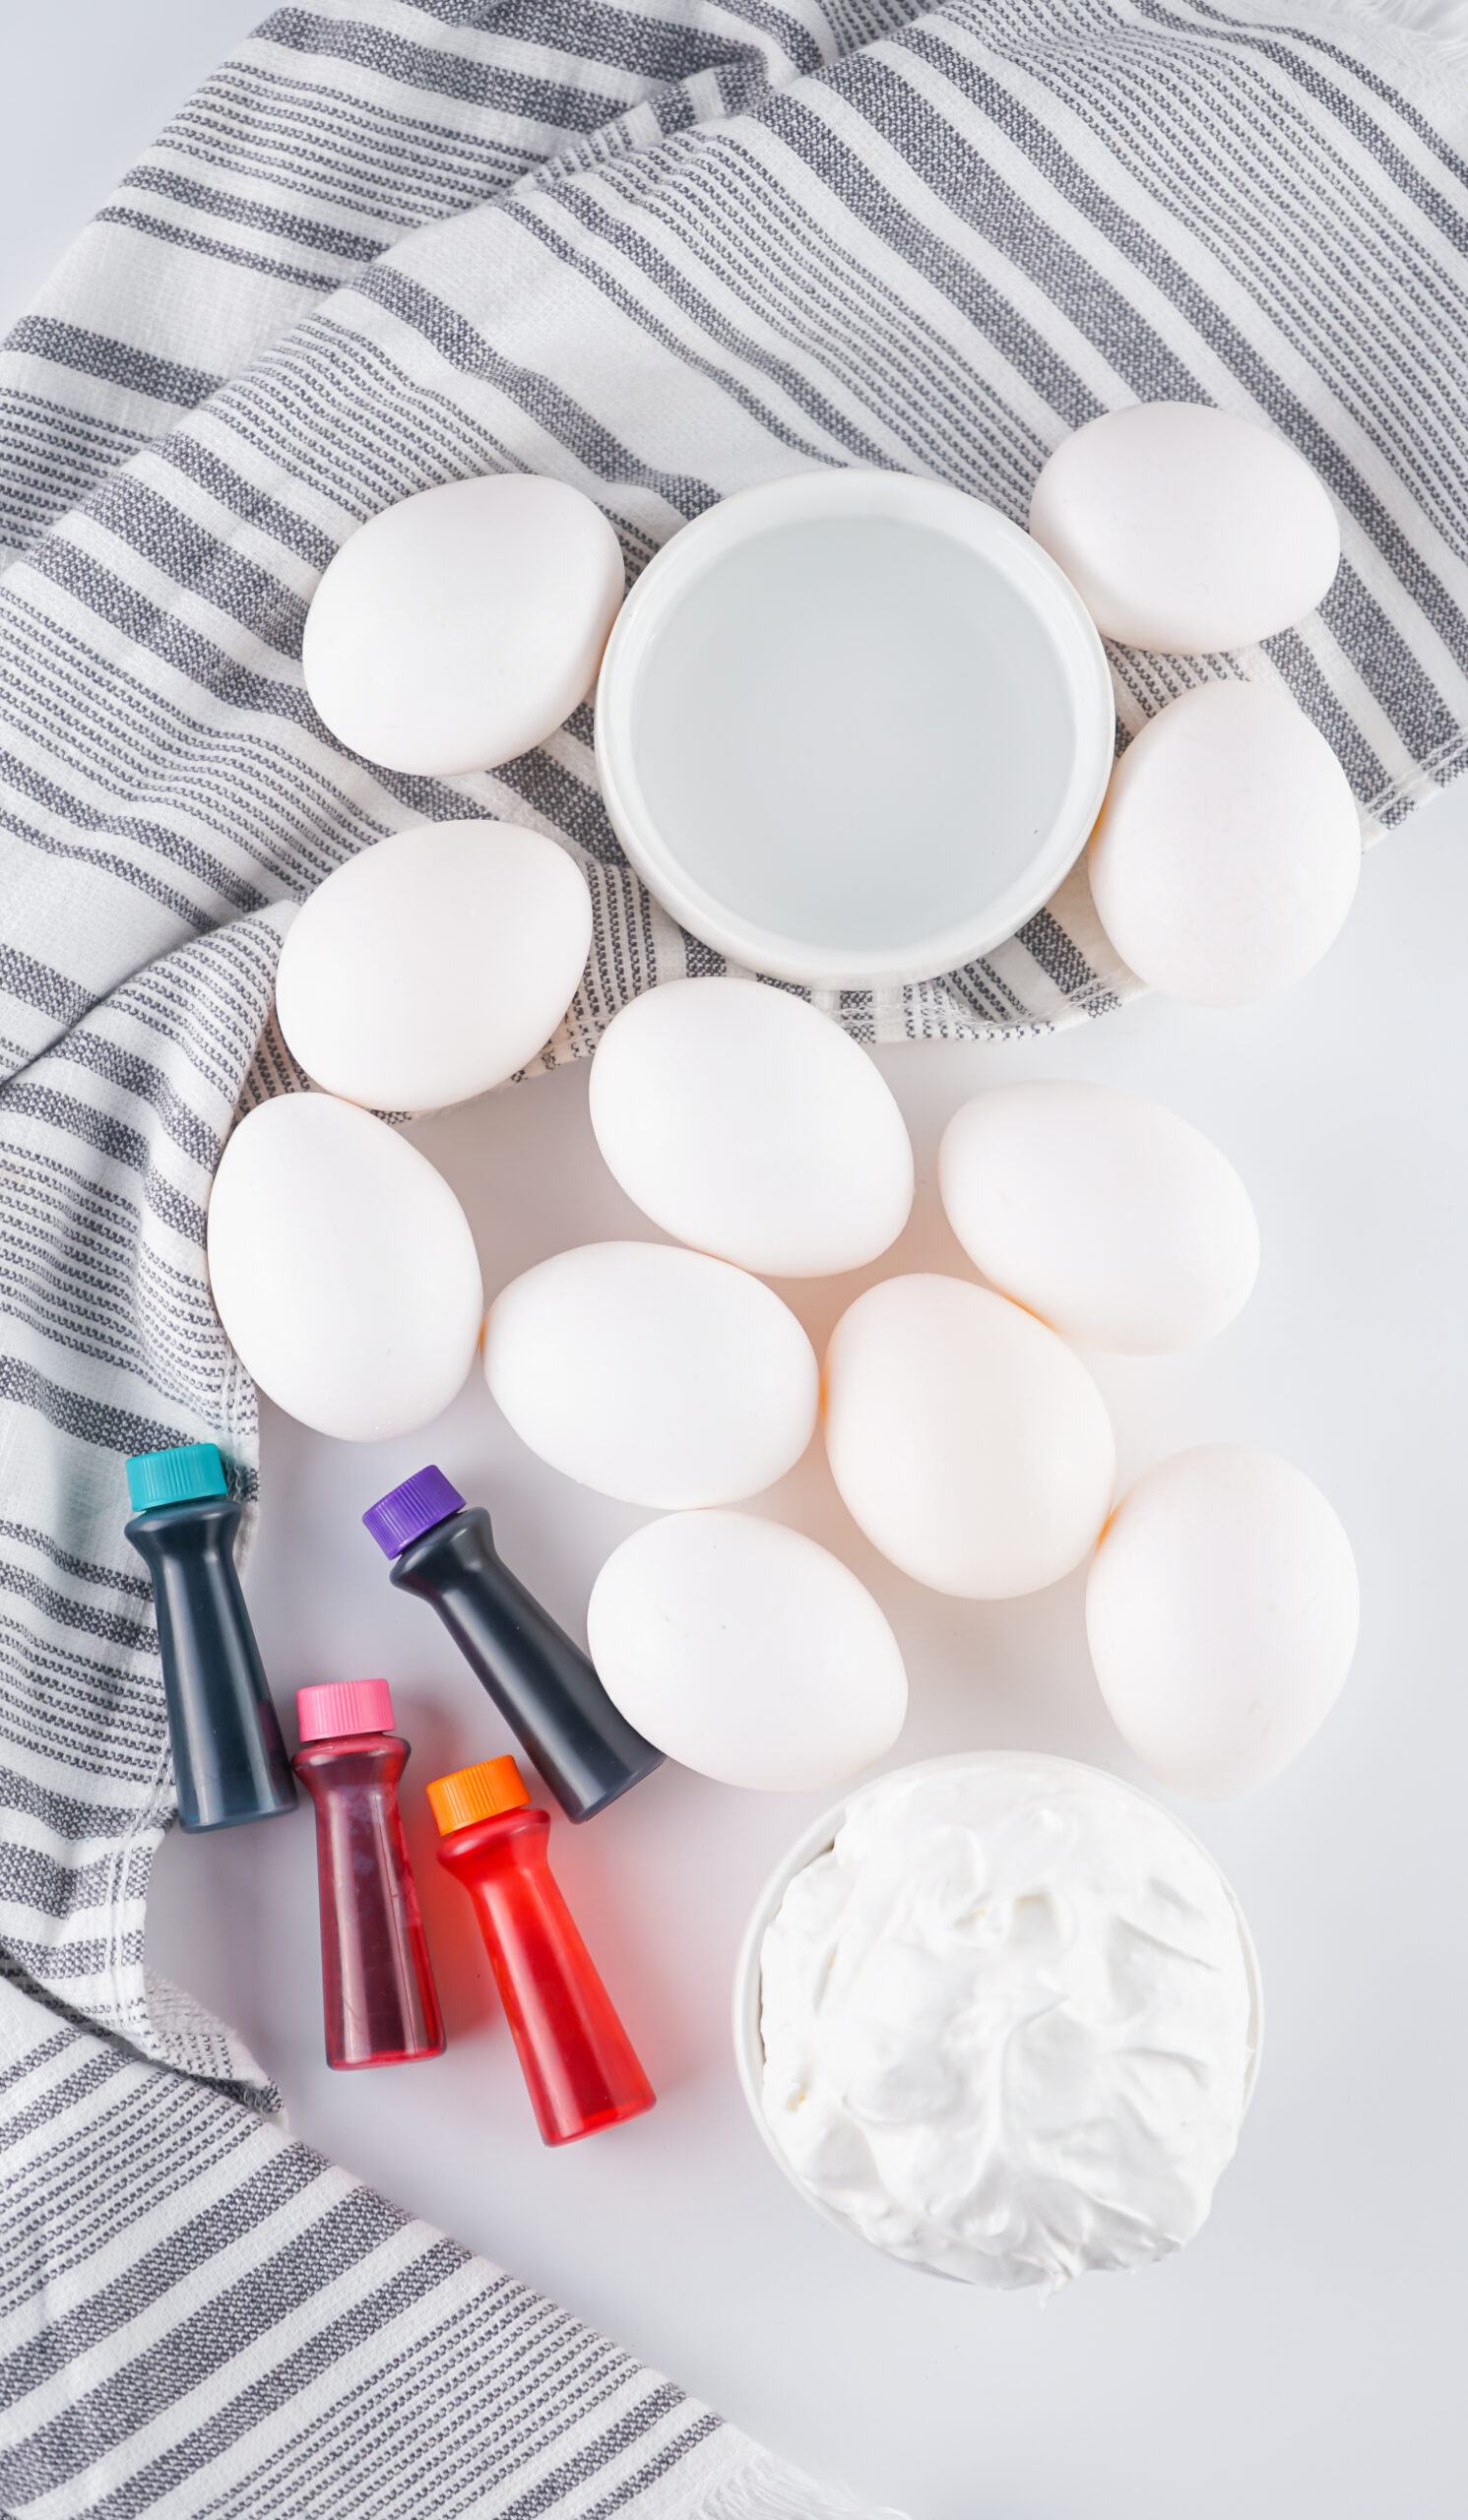
Cool Whip Easter Eggs Supplies
Hard Boiled Eggs
1 Tub Cool Whip (16 ounces)
Gel or Liquid Food Dyes
Vinegar (see step 1 for more details)
9×13 Baking Dish
Rubber Gloves
Toothpicks
Large Bowl
Paper Towels
How to Make Cool Whip Easter Eggs
First you’ll need some hard-boiled eggs. Make them how you normally would. Did you know you can make hard-boiled eggs in the Air-Fryer?
Place the boiled eggs in a bowl of vinegar and let them soak for about 15 minutes. Do not oversoak them or the vinegar will start to eat away at the shell. The amount of vinegar needed will depend on the amount of eggs you’re using and the size/shape of your bowl. I just get a big jug of vinegar and keep it on hand and fill the bowl until the eggs are covered, then store the egg vinegar once I’m finished with it, for the following year when we do eggs again.
Rinse the eggs and let them dry.
Spread the cool whip in an even layer inside the 9×13 pan.

You can designate certain areas for specific colors or do multiple colors in one area for a multi-colored egg. Just place a couple drops of food coloring in each designated area and use a toothpick to swirl the color into the cool whip. You can’t really mess up how much dye goes into the cool whip, unless you go crazy and add too much and then it gets messy.

Using gloves, roll the eggs in the cool whip until completely covered, and let sit for at least 10 minutes.
Rinse the eggs (do not rub) and place on paper towels to fully dry. Once dry, the color won’t transfer off of the eggs.
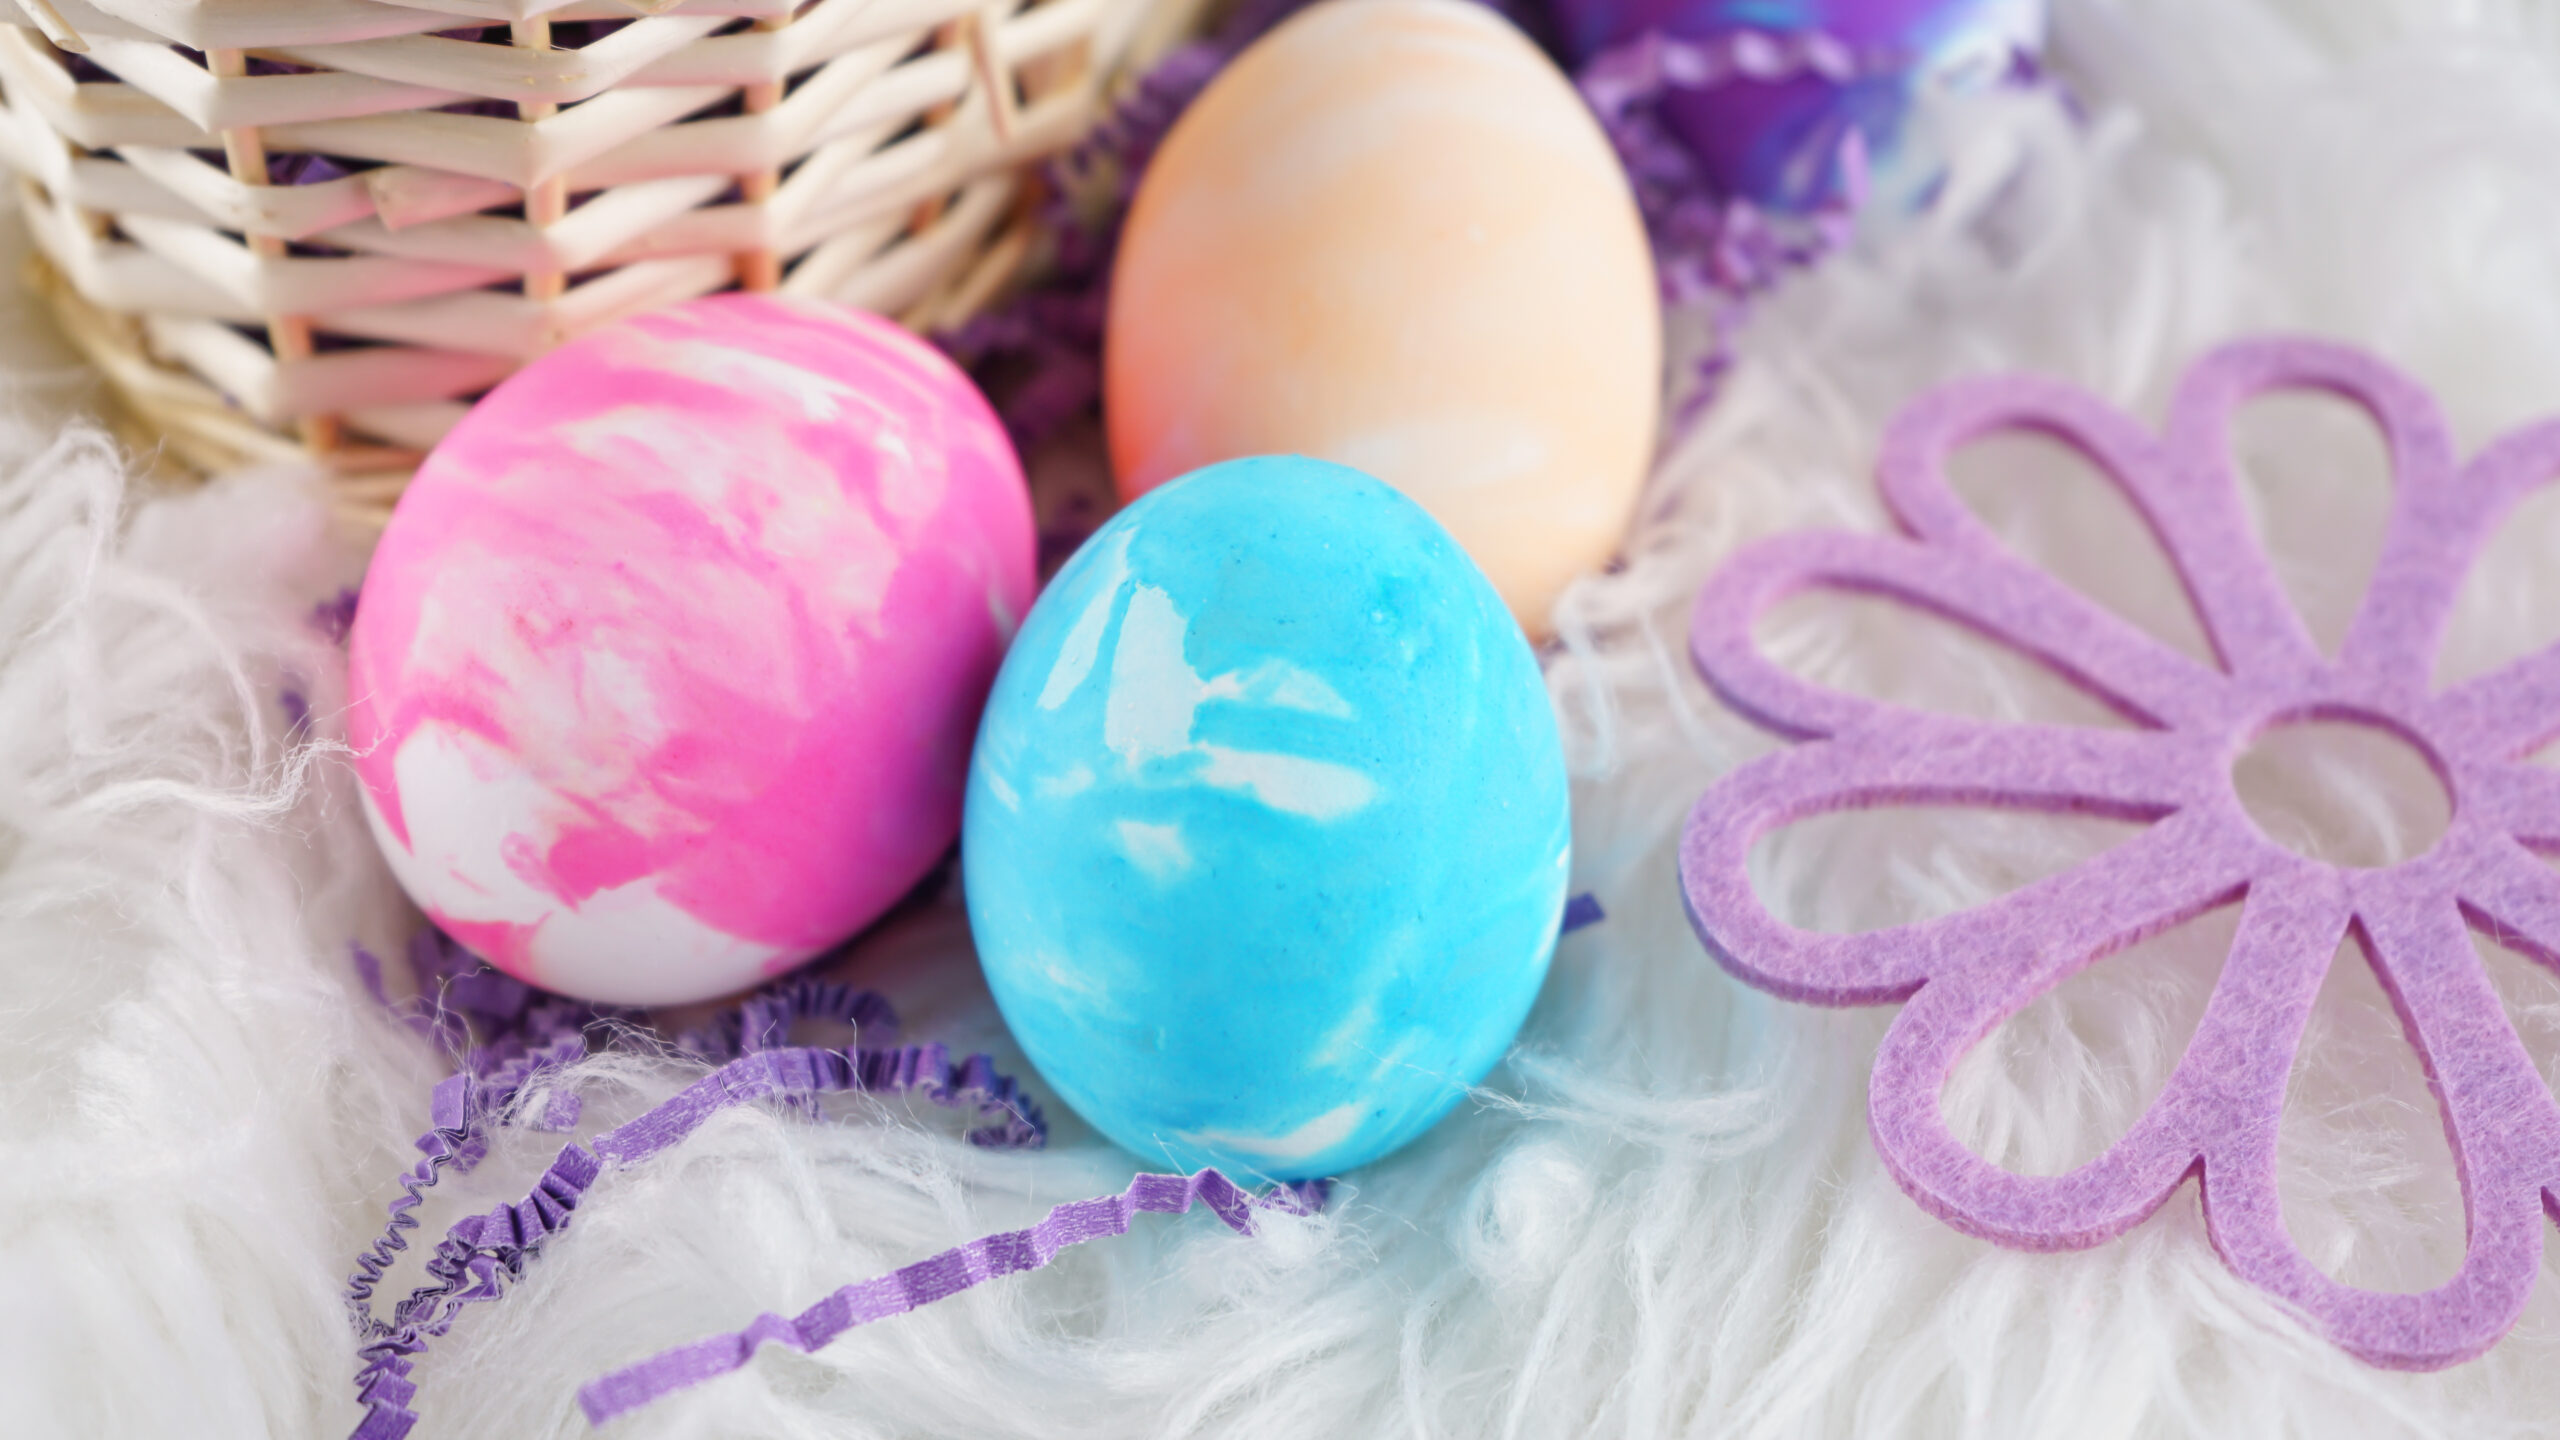
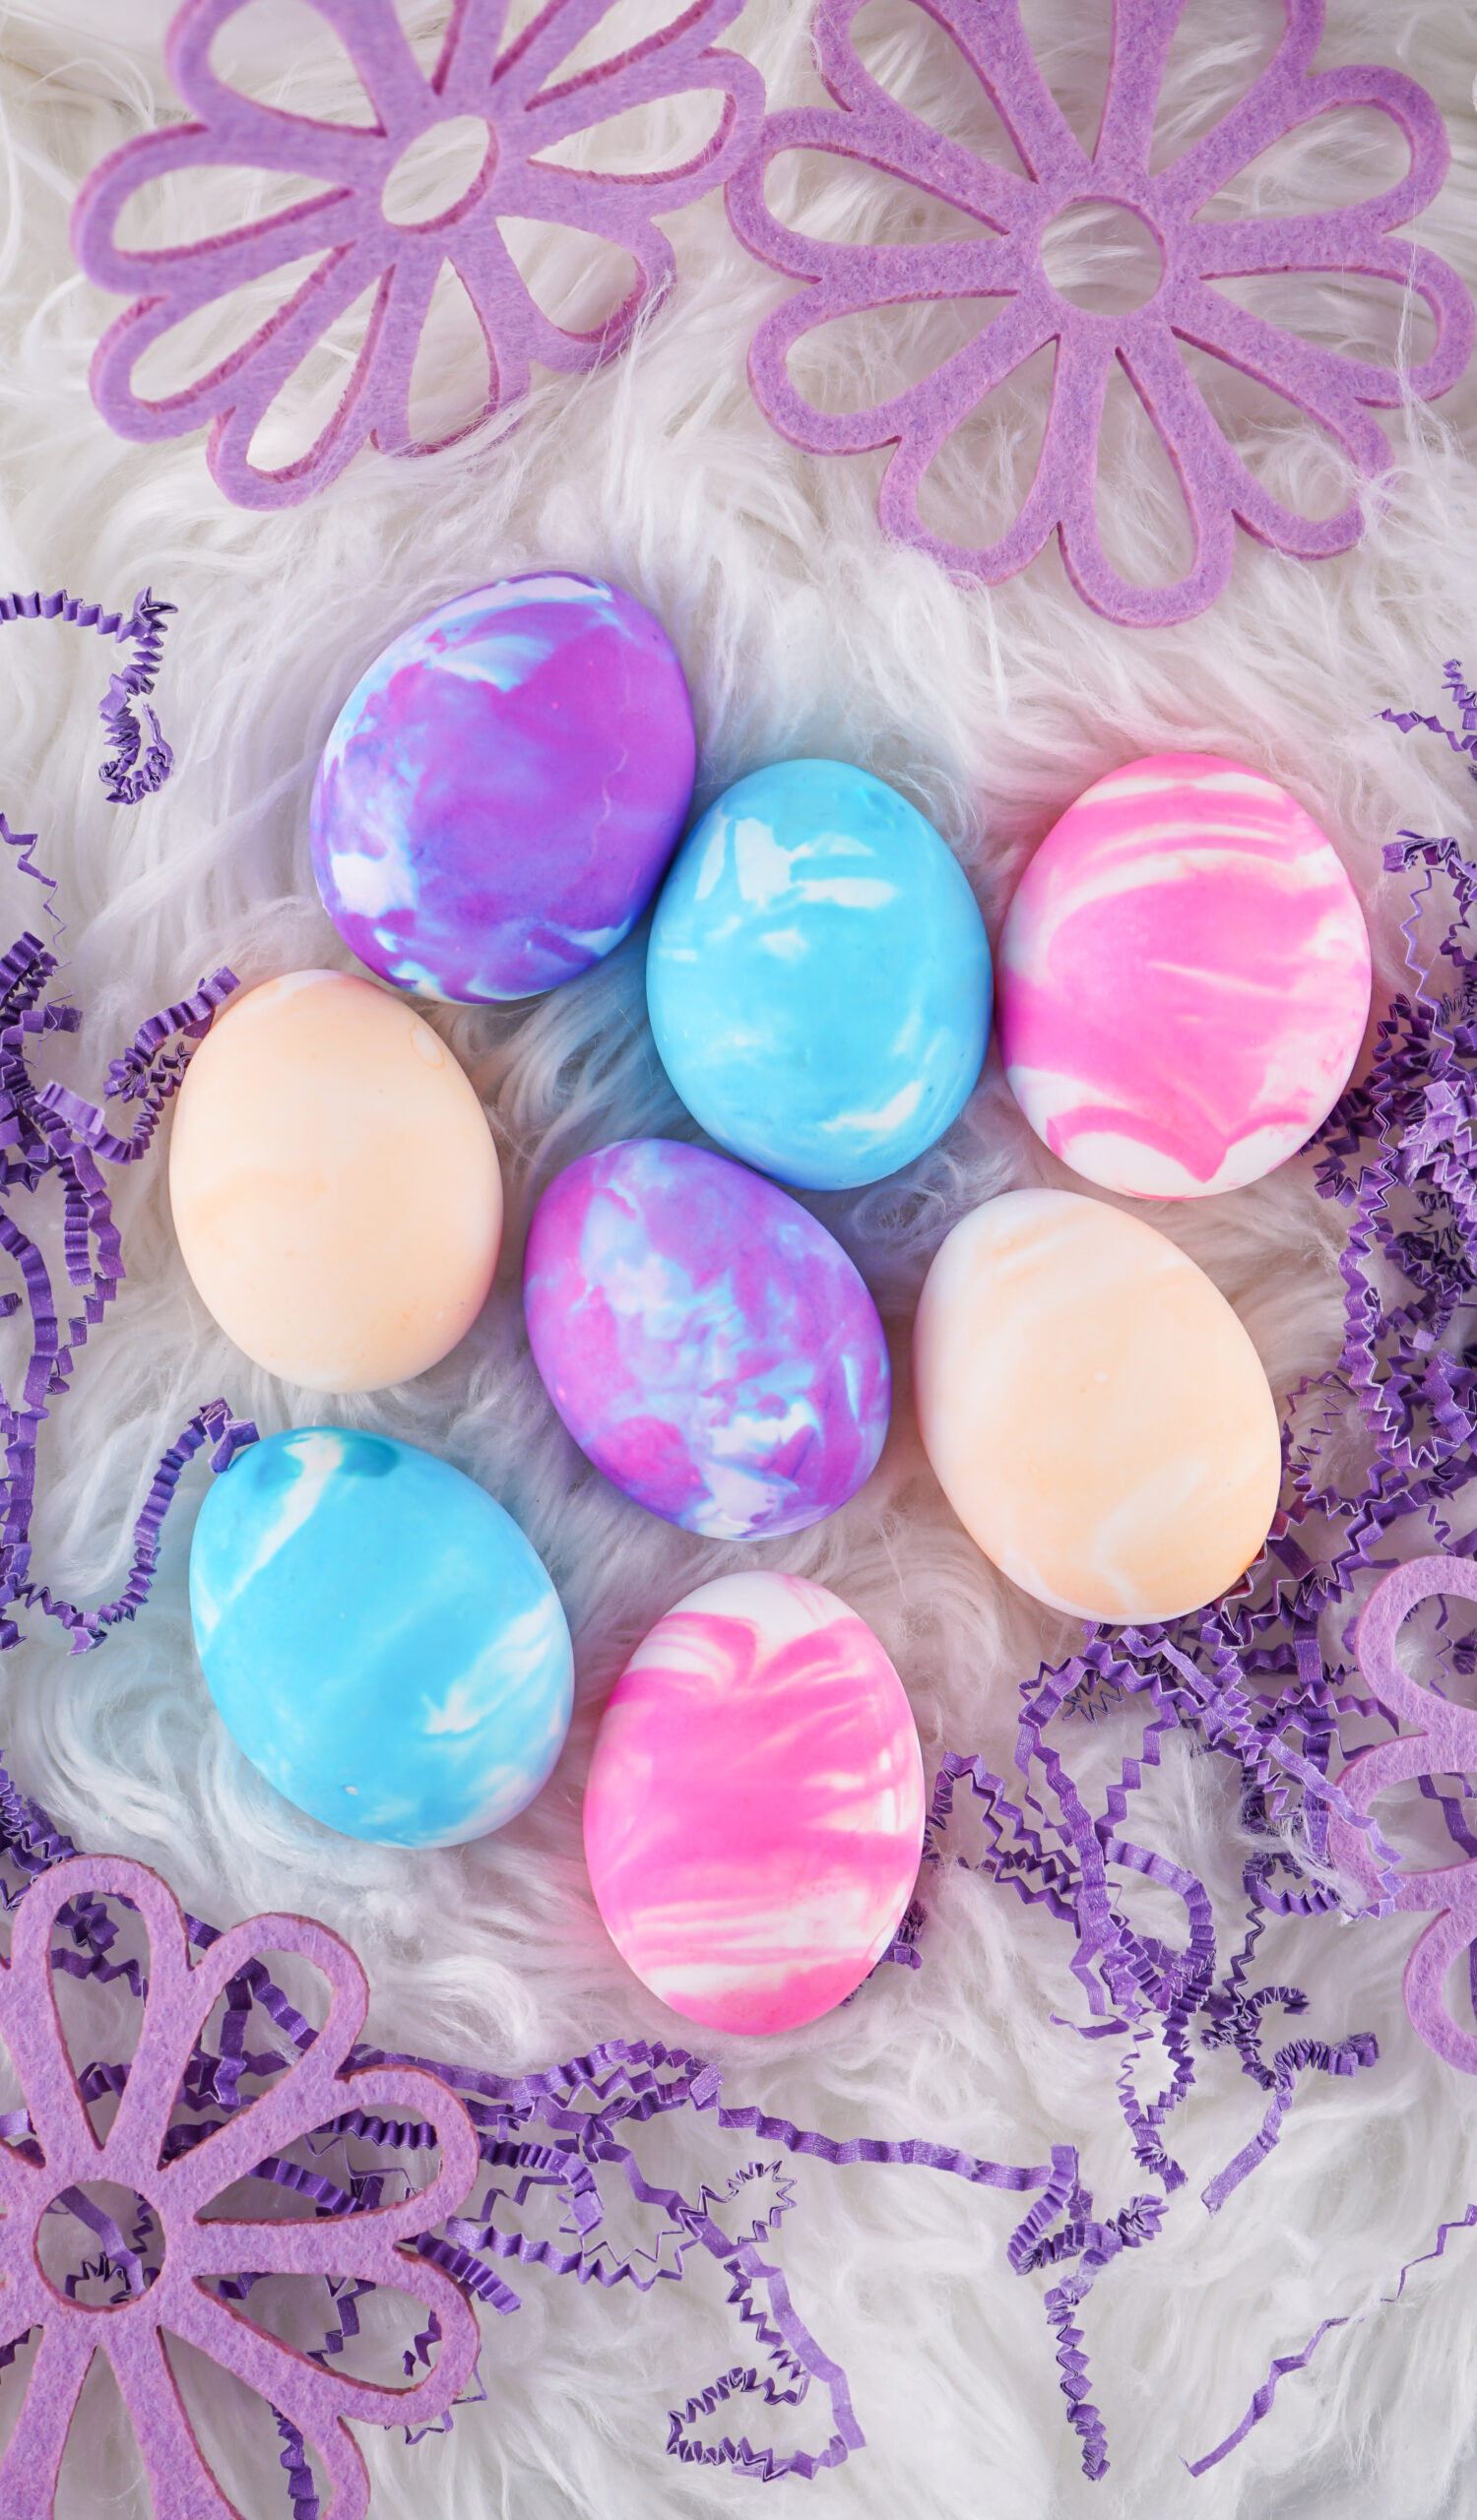
I was able to easily make 24 eggs with one tub of cool whip. Don’t be afraid to get creative with swirling colors together for multi-colored Easter Eggs.
Tips and Tricks for Making Cool Whip Easter Eggs
How Do I Store Cool Whip Dyed Easter Eggs? The same way you store hard-boiled eggs, in your fridge until you’re ready to eat them!
Can I substitute the Cool Whip with Whipped Cream? Yes, Just follow the same steps!
When allowing the eggs to sit in between steps, you can place them in the fridge so they’re still edible once you’re finished dyeing them.
Using rubber gloves simply keeps the dye from getting all over your hands and making them pretty colors.
You can use other pans and dishes if you like. Whatever you have on hand. Just as long as the cool whip stays about 1-inch deep.
Don’t let the eggs sit overnight in the cool whip or it will start to eat into the shell.
If using gel food dye, go easy on how much you use as it’s very strong compared to the liquid dyes.


How to Dye Easter Eggs with Cool Whip
Materials
- Hard Boiled Eggs
- 1 Tub Cool Whip (16 ounces)
- Gel or Liquid Food Dyes
- Vinegar (see step 1 for more details)
- 9×13 Baking Dish
- Rubber Gloves
- Toothpicks
- Large Bowl
- Paper Towels
Instructions
- First you’ll need some hard-boiled eggs. Make them how you normally would. Did you know you can make hard-boiled eggs in the Air-Fryer?
- Place the boiled eggs in a bowl of vinegar and let them soak for about 15 minutes. Do not oversoak them or the vinegar will start to eat away at the shell. The amount of vinegar needed will depend on the amount of eggs you’re using and the size/shape of your bowl. I just get a big jug of vinegar and keep it on hand and fill the bowl until the eggs are covered, then store the egg vinegar once I’m finished with it, for the following year when we do eggs again.
- Rinse the eggs and let them dry.
- Spread the cool whip in an even layer inside the 9×13 pan.
- You can designate certain areas for specific colors or do multiple colors in one area for a multi-colored egg. Just place a couple drops of food coloring in each designated area and use a toothpick to swirl the color into the cool whip. You can’t really mess up how much dye goes into the cool whip, unless you go crazy and add too much and then it gets messy.
- Using gloves, roll the eggs in the cool whip until completely covered, and let sit for at least 10 minutes.Rinse the eggs (do not rub) and place on paper towels to fully dry. Once dry, the color won’t transfer off of the eggs.
- I was able to easily make 24 eggs with one tub of cool whip. Don’t be afraid to get creative with swirling colors together for multi-colored Easter Eggs.