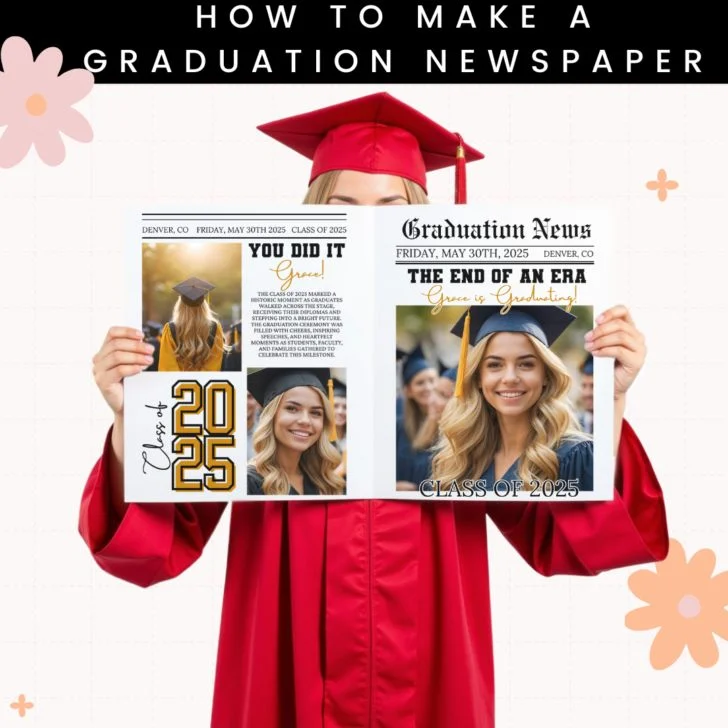
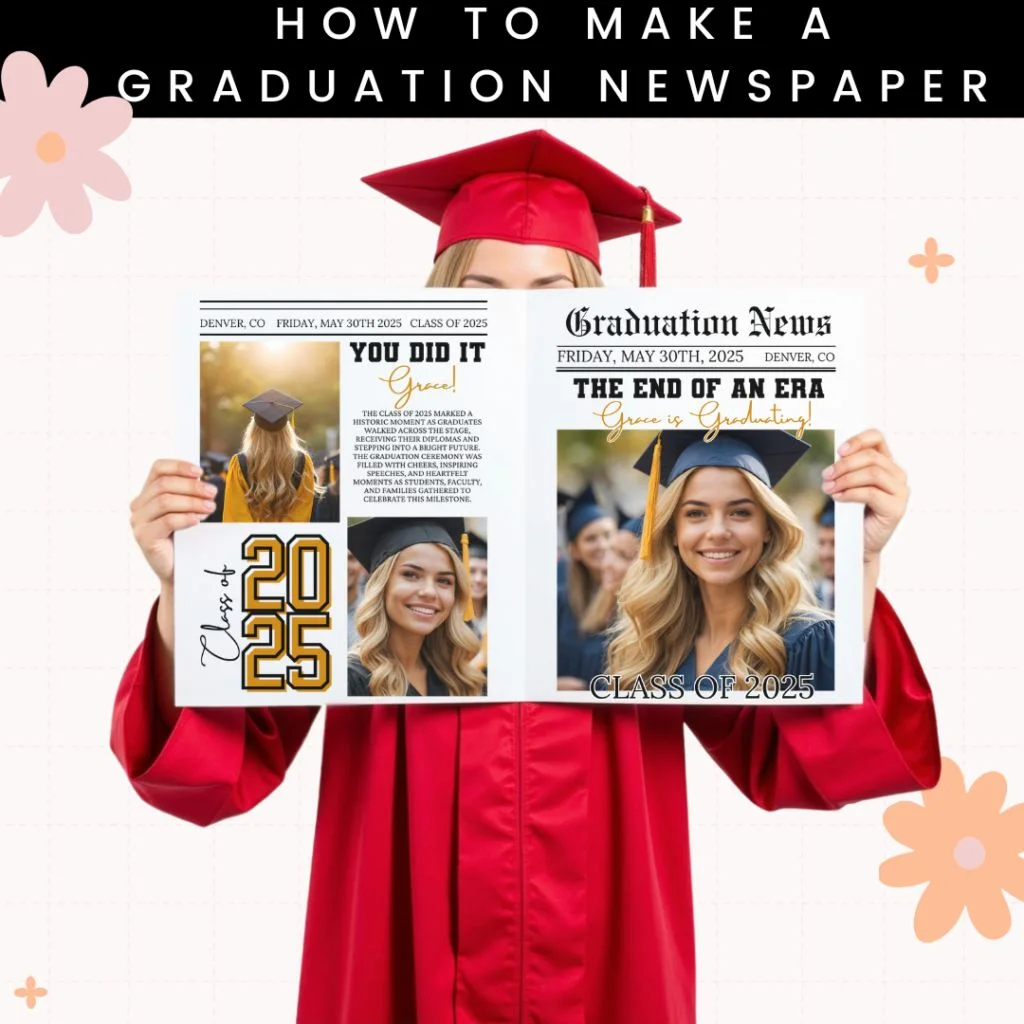
Have you seen the viral Graduation Newspaper trend on TikTok? Want to learn how to make a graduation newspaper for your high school or college graduate? Looking for a graduation newspaper template? Look no further! I am going to show you how to make your own in a few easy steps!
This post is not sponsored by any brand, but I am an Amazon affiliate. I used products I’ve bought on my own over the years and love.
What is a Graduation Newspaper?
A graduation newspaper is a fun trend where you make your own newspaper for your high school or college graduation. It can be used to take graduation photos, as a poster at a graduation party, and has pamphlets or party favors at a graduation party.
Where to find Graduation Newspaper Templates?
You can find graduation newspaper templates all over the internet, but I got my graduation newspaper template Etsy from HeyJamieLynn. You can edit it yourself in Canva with a free account and it’s really easy to do. I’ll share step by step how to do it here!
How to Make a Graduation Newspaper
You can make a high schooler graduation newspaper or university graduation newspaper with the same template. Here’s how to do it:
Step 1: Find a template and open it.
With the template I am using it came with a pdf file with a link to the Canva template. Click the link in the pdf file and head over to Canva. If you don’t have a Canva account you can create one for free. There might be a pop up asking you to upgrade to Pro, but just close that. It’s not needed to use Canva or for this template.
Step 2: Edit your Graduation Newspaper Template.
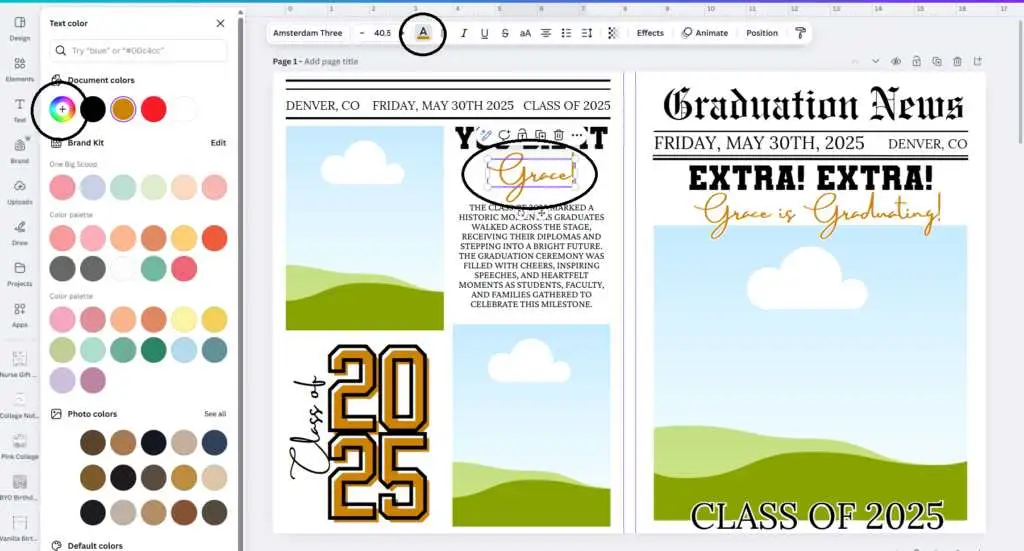
Everything in this template is editable. All you need to do is double click in a box and you can change the wording. You can choose different fonts, change the size, and even change the color.
To edit the text you’ll double click in the box and type out what you want. You can change the font via the dropdown at the top and change the text color via the A at the top. Use the circle with a + to find a color you want or enter a color hex code.
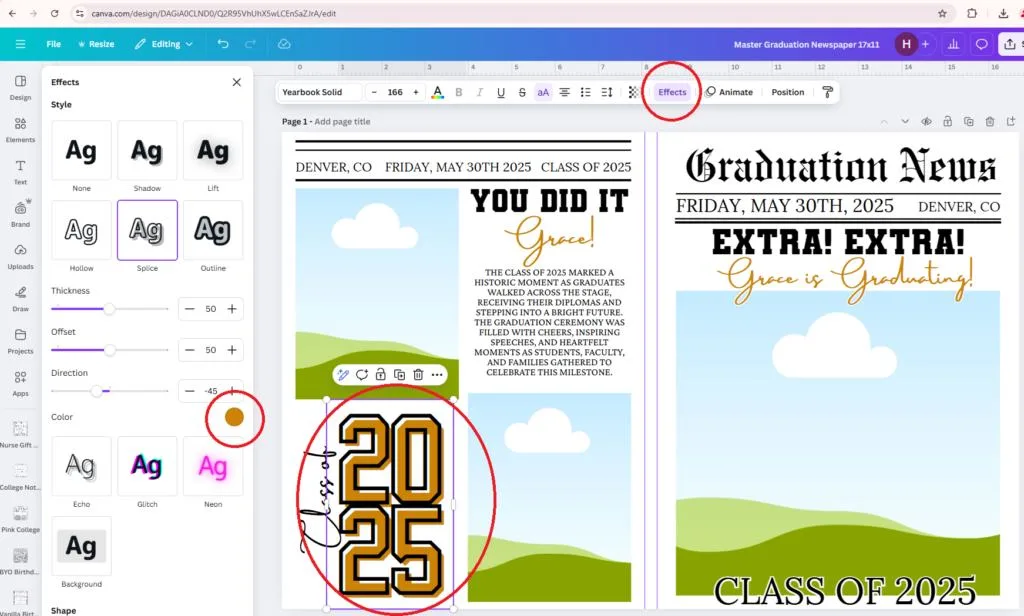
To edit the 2025 you’ll click on the 2025 box, click effects at the top and change the color of the back color. You can use any color that matches your theme.
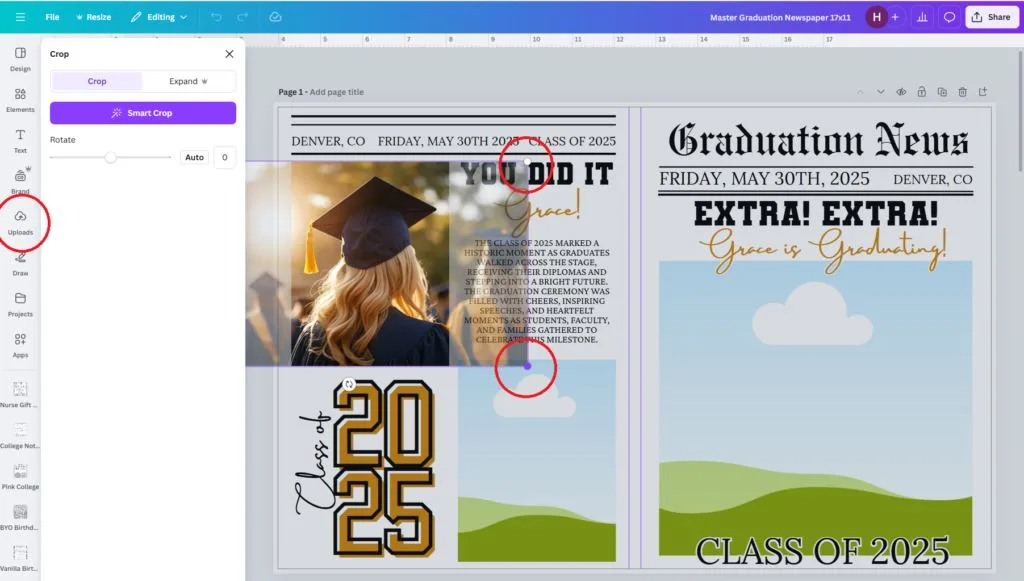
To add photos to your newspaper you’ll go to the upload button on the left side and upload your photo. Once uploaded you can drag the photo into one of the photo frames. If you need to adjust the placement of the photo, double click the photo in the frame and then move it to the proper placement. If you need to resize the photo you can drag the white dots until you get the size you need.
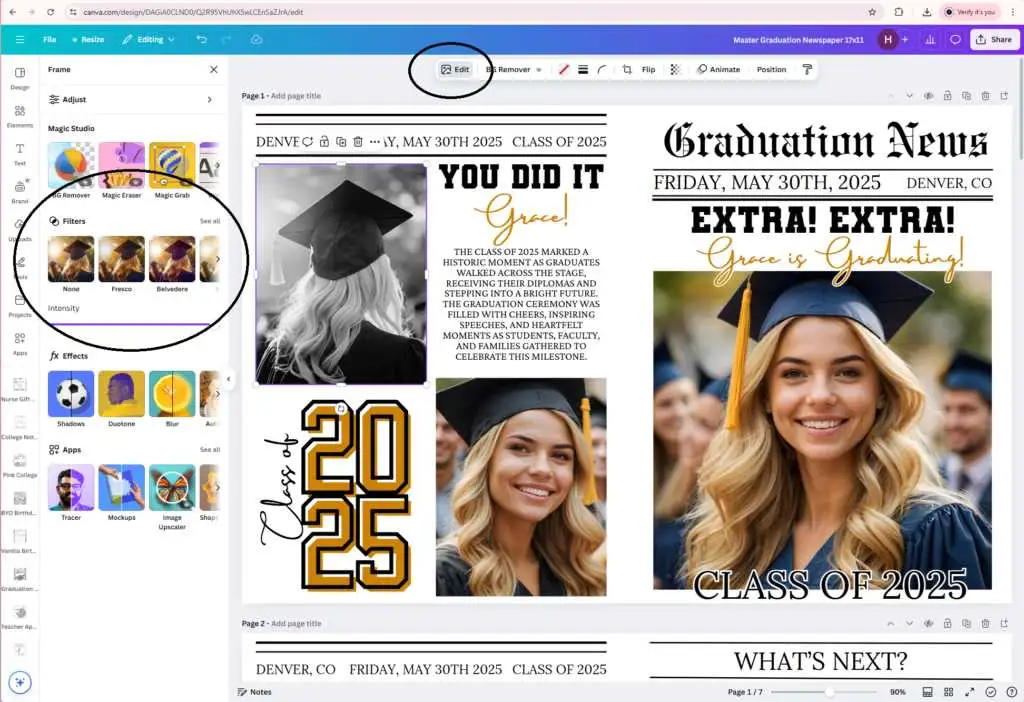
If you want to make your newspaper black and white only you can edit your picture in Canva. Once you have uploaded your photo and added it to the newspaper template you’ll want to click the photo > edit > filters. Then change the filter to a black and white one you like. Personally, I like the Filter “Ink”. You’ll need to do this step with each photo.
Let’s say you want to remove a box and add something else, like the bottom photo so you can fit more text. You’re just going to click the box, hit your delete button on your keyboard or right click on the box and click delete, and then you can type out a longer text.
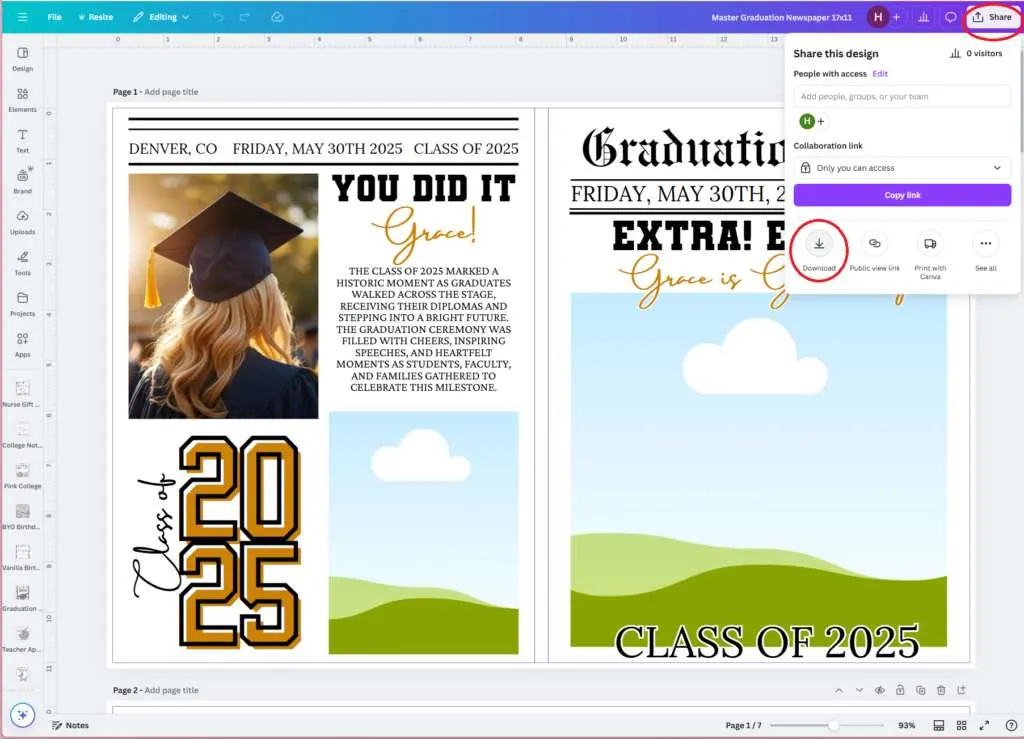
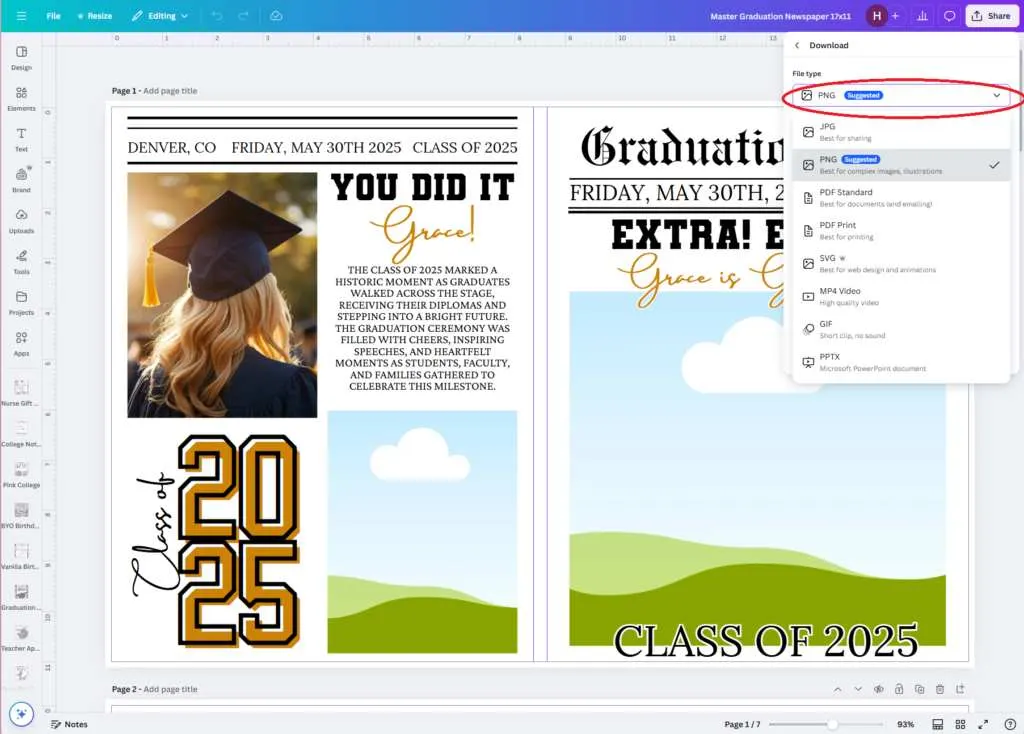
Once you are done editing your file you can download it. To download your file you’ll click the share button on the top right, download, choose your file type, and then download.
When printing files like this I suggest using a PNG or PDF file. If using a PDF file make sure to use PDF Print and change the color profile to CMYK.
Once your file is downloaded you can print it. There are 2 options when it comes to printing your file, you can print at home or use a print shop like Fedex, Office Depot, Staples, or something local.
How to Print a Graduation Newspaper
If you’re printing at home with a basic printer you’ll be limited on the sizes you can print, but if you use a print shop you’ll have a range of sizes to choose. If you want an oversized newspaper for graduation photos I highly suggest going to Fedex, Office Depot, or Staples and printing on with their blueprint option. A blueprints start at around $2 and go up depending on size, color, etc.
If you’re using the newspaper paper for graduation photos I would only print this one sided and leave the inside pages off. If you print double sided there will more than likely be some print bleed and it won’t look good in photos. If you’re creating pamphlets then I would do double sided.
Here are easy to find links for all 3 options:
- Staples Blueprint – Available sizes: 18 x 24, 24 x 36, 30 x 42, and 36 x 48
- Fedex Blueprint – 18in x 24in, 24in x 36in, and 36in x 48in
- Office Depot Blueprint – 8.5″ x 11″, 8.5″ x 14″, 11″ x 17″, 17″ x 22″, 22″ x 34″, 34″ x 44″, 9″ x 12″, 12″ x 18″, 18″ x 24″, 24″ x 36″, 30″ x 42″, and 36″ x 48″ (some of the larger sizes take a few days)
When testing out the websites to go through the printing process, Staples would not let me upload my design due to too much ink being used. I had no issues with Office Depot and Fedex and they both offer color printing as well. Fedex wanted $18+ for Color and Office Depot was $5+ for color.
Staples does offer an 11×17 size in their document printing, otherwise you would need to go with a poster print, but a poster would be really thick. So my advice would be to stick with Office Depot or Fedex, unless you can talk to staples and get them to print it in store.
Printing at Home
If you want to print your graduation newspaper at home chances are you’re going to use a 8.5″x11″ size and these make a good size for party favors/pamphlets. If you have a printer that goes bigger, then print bigger, if you want.
What printer to use: If you don’t have an at home printer, I really like this printer from Canon and it prints up to 12 x 26″. I like to print my pamphlets on 12″x9″ paper. I will be fully transparent, this printer does use a lot of ink and Canon ink for it is expensive, but I’ve been using EZink in it for years and it works wonderfully. I even did a side by side print comparison with the inks and there was no difference and it’s a ton more affordable. Just note, if your printer is still under warranty using off brand ink can void it, but I’ve had my printer for 5-ish years with zero issues.
For a more affordable printer this HP Printer works nicely and you can never go wrong with an Epson Ecotank and the ink lasts forever, but when testing out this project the Canon was my favorite.
What Paper to Use: I have tested out a lot of different paper for this project and the best paper with a newspaper feel will be a sketch pad, BUT they aren’t the best for double sided printing. They do have the best “newspaper” feel for at home printing. With double sided printing I use my rear feeder tray and print one side, let it dry a few mins, flip it over, and print the other side.
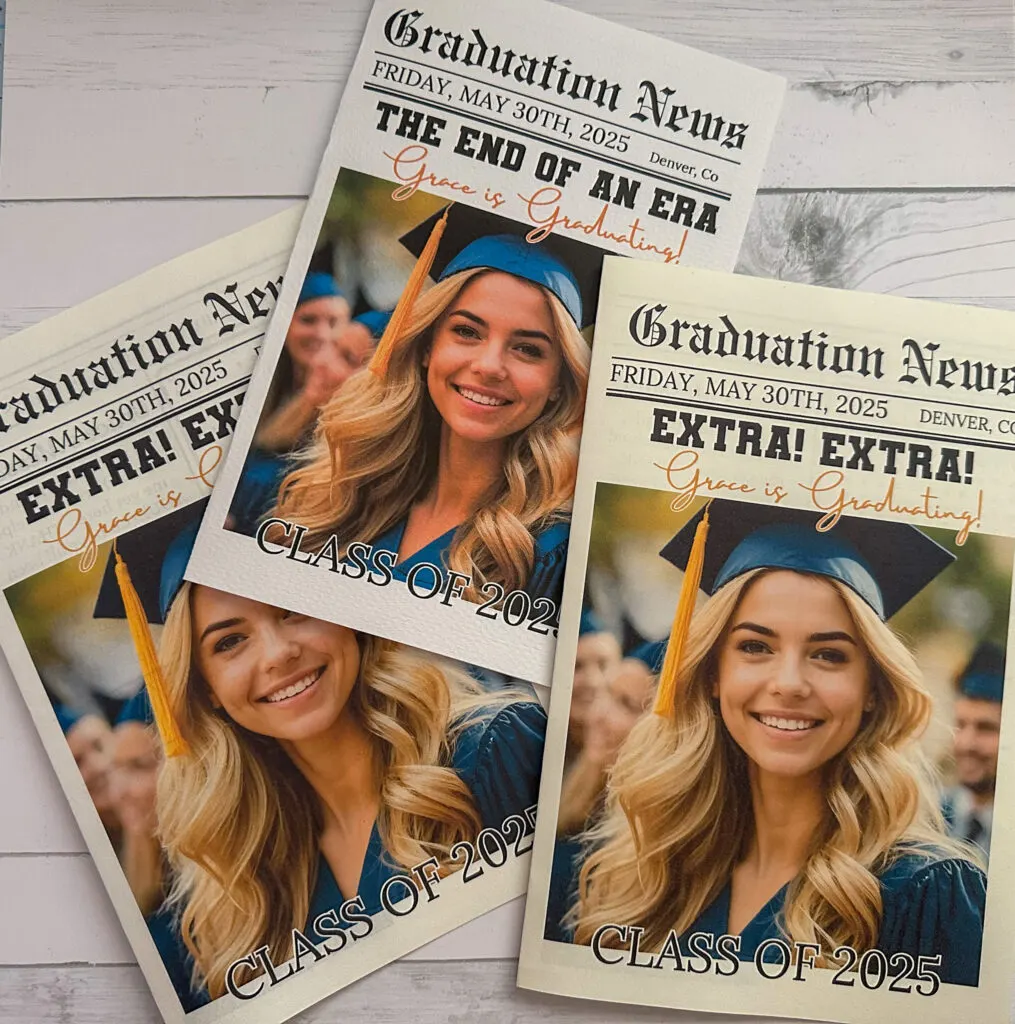
- Strathmore textured paper – it’s on the thick side, but there was hardly any bleed and I like the feel of the texture. This is like a cardstock with texture and it’s made to be a printer paper. I did really like this paper and would use it. If you don’t care about a newspaper feel, this would be my top pick. (center in photo below). Note: I printed this with a different printer from the other 2 pamphlets, which is why the coloring is off. It has nothing to do with the paper.
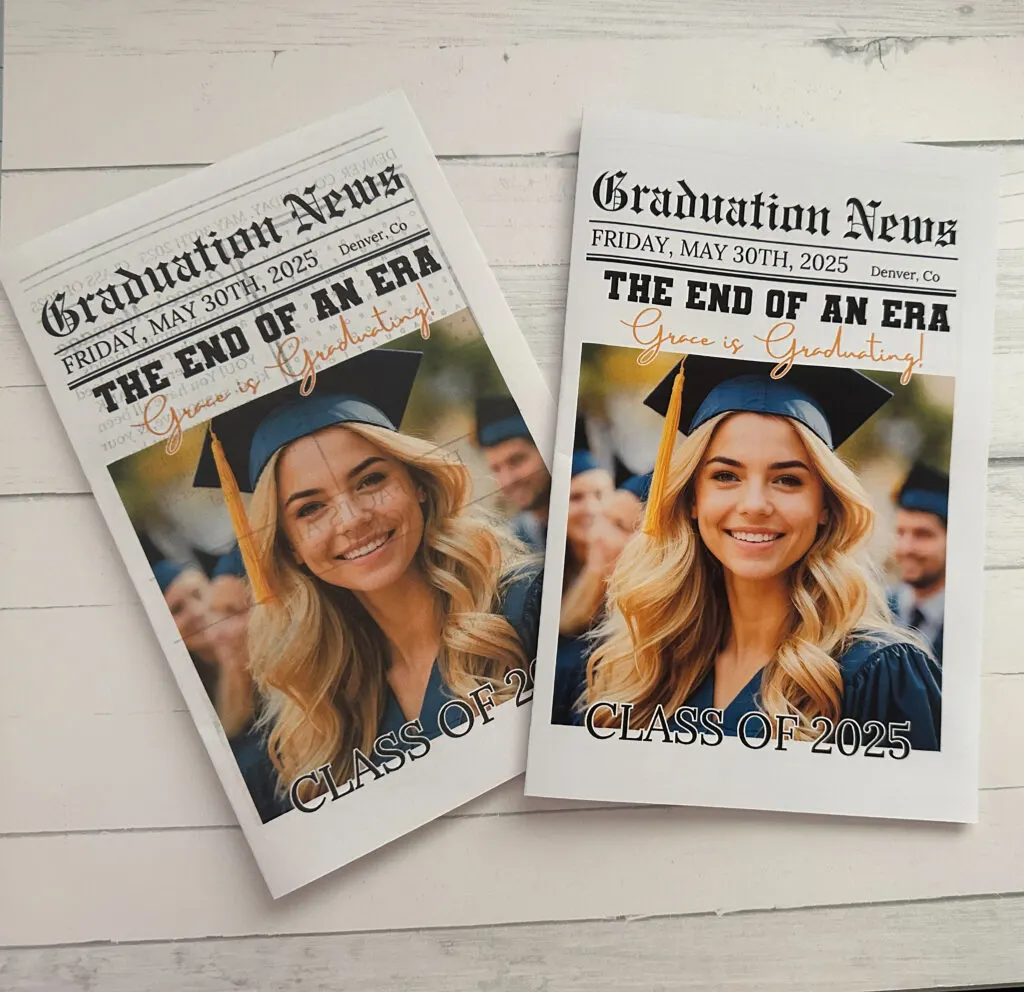
- Fuxi Sketchbook 8.5×11 Inch – This sketch pad is on the thinner side and good for one sided printing. You can double side print on this, but there was some bleed through. (see photo below, left side)
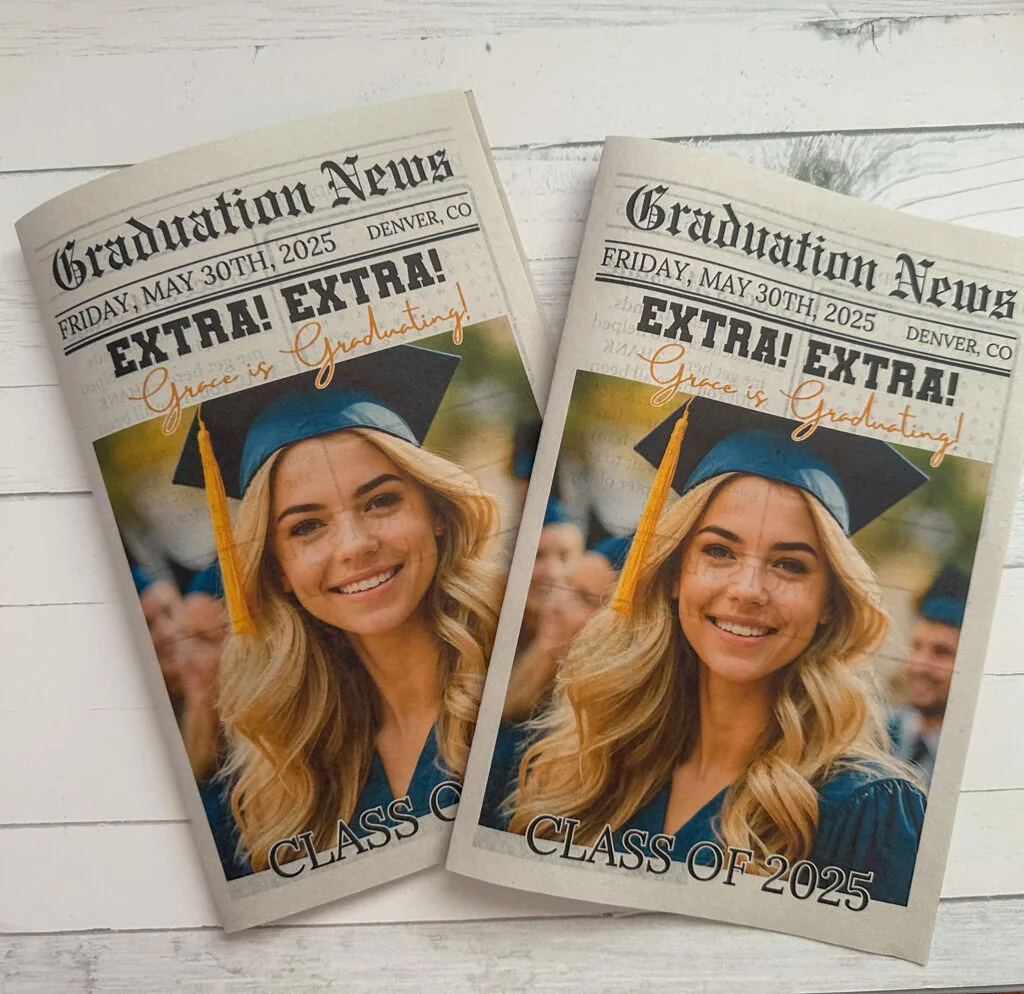
- Strathmore Drawing Paper Pad – It’s a bit thicker, but still has a newspaper feel to it. This paper comes in 9×12″, but could still use this paper, you would just need to cut it down if your printer only does 8.5″x11″ paper. This paper did have some bleed through, but it wasn’t a lot and if I was using it for graduation pamphlets I would be fine with it. (see photo below, right side)
- Koala Presentation Paper – This is a thin photo paper and printed really nicely. It doesn’t have a newspaper feel, but it printed the nicest print quality out of all the papers. It’s still light weight with minimal bleed.
- HP Bright White 24 – This is just a standard printer paper and had bleed through. It gets the job done.
- Canson XL Series Newsprint Paper – This is a newspaper sketch pad, it only comes in 9×12″ and bigger, but it prints nicely with a newspaper feel. However, with double sided printing there is bleed through.
- Strathmore Newsprint – Like the Canson this is only available in 9×12″ and larger. It’s about the same print wise as the Canson and there is bleed through when double sided printing.
My top 3 picks for printing graduation newspapers are the Koala paper, Strathmore textured paper, and Strathmore Drawing Paper Pad. These printed the best with double sided printing while not being too thick.
At the end of the day, you can use cheap copy paper. Use what you can afford in your budget, but the thinner the paper the more bleed there will be with double sided printing. You do not need a printer with double sided printing capabilities to make these pamphlets. If your printer has a rear tray you can print one side, flip the paper, and print the other side. You can do this with a bottom tray as well, but you’ll need to do some print tests to get the prints to come out right. In my experience, you place the paper into the tray design side up and it should print on the other side when it comes out, but you’ll need to test your printer.
And now you should have your personalized graduation newspaper! Happy Printing!
