Want to make your own custom air fresheners with Sublimation or Infusible Ink? In this tutorial I’ll show you how to make your own custom air fresheners with sublimation and essential oils.
Now that I am getting into sublimation I wanted my first project to be something that wasn’t a mug with my new mug press. There are SO MANY options on things you can make with sublimation that I am ready to dive into it all and share projects with y’all.
For my first project, I am making sublimation air fresheners. For these, you can use your own images or purchase image files and use those. I purchased some files from DesignBundles and used those.
With sublimation, you’ll either need to purchase sublimation transfers or get a sublimation printer, paper, and ink. Here is my sublimation setup. If you don’t have a sublimation printer you can use Infusible Ink or buy sublimation transfers from places like trendy transfers or Etsy. You’ll just need to make sure you get a size that will work with the air fresheners. When buying my transfers (before I got my printer) I would order the mug size transfers. Here is a list of places that sell sublimation transfers.
What are Sublimation Air Fresheners
Sublimation air fresheners are air fresheners for your car, room, or anywhere else that you would place an air freshener. You use sublimation ink to print your designs and then press them onto your sublimation air freshener blank.
How to Make Sublimation Air Fresheners
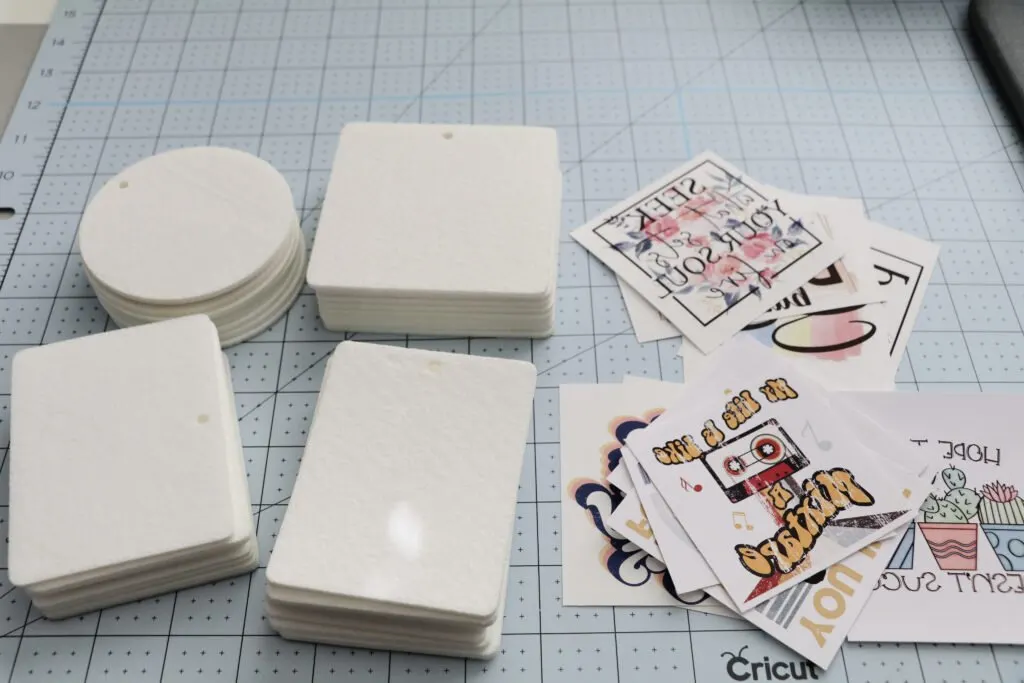
To make sublimation air fresheners you are going to need a few supplies:
- Sublimation transfers – either printed or purchased. You can also cut designs out with infusible Ink
- Essential Oil – Make sure it’s clear
- Sublimation Air Freshener Blanks
- Heat Tape
- Scissors
- Lint Roller
- Heat Press
- Butcher Paper
Here’s how to make sublimation air fresheners
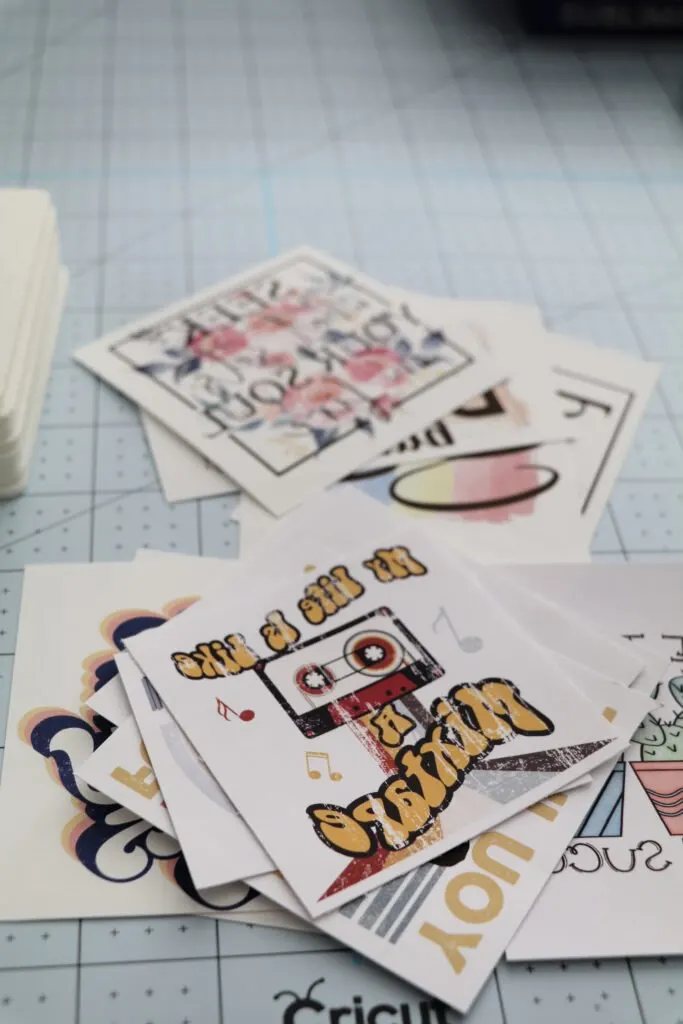
First, you’re going to need your sublimation designs. I purchased some files I liked off of Design Bundles (I’ll link mine below). You’ll need to size your images to fit on the sublimation blank. I did this in adobe photoshop, but you can use a free program like Inkscape.
I size my images smaller than the sublimation air freshener blank. My square blank was 3.8 x 3.8″ so I sized my image to 3.2 x 3.2″. I like to do my images about 1/2″ smaller than my blank.
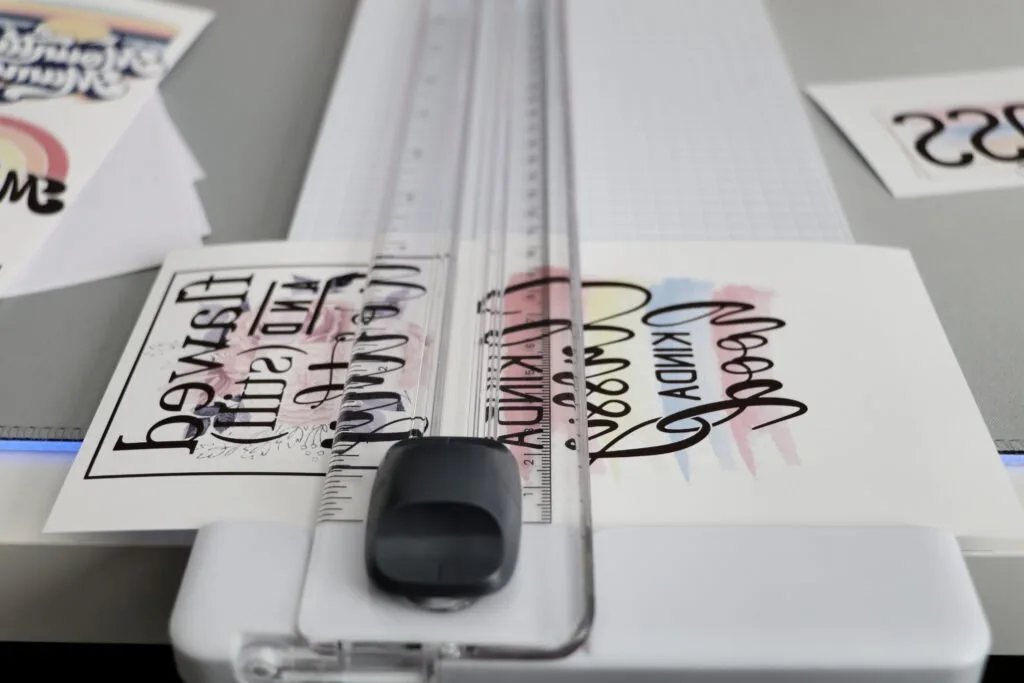
I add multiple images to a page so I’m not wasting paper and then printer it out. Make sure to mirror, if your printer isn’t set up to automatically do it.
Once your images have printed cut them out.
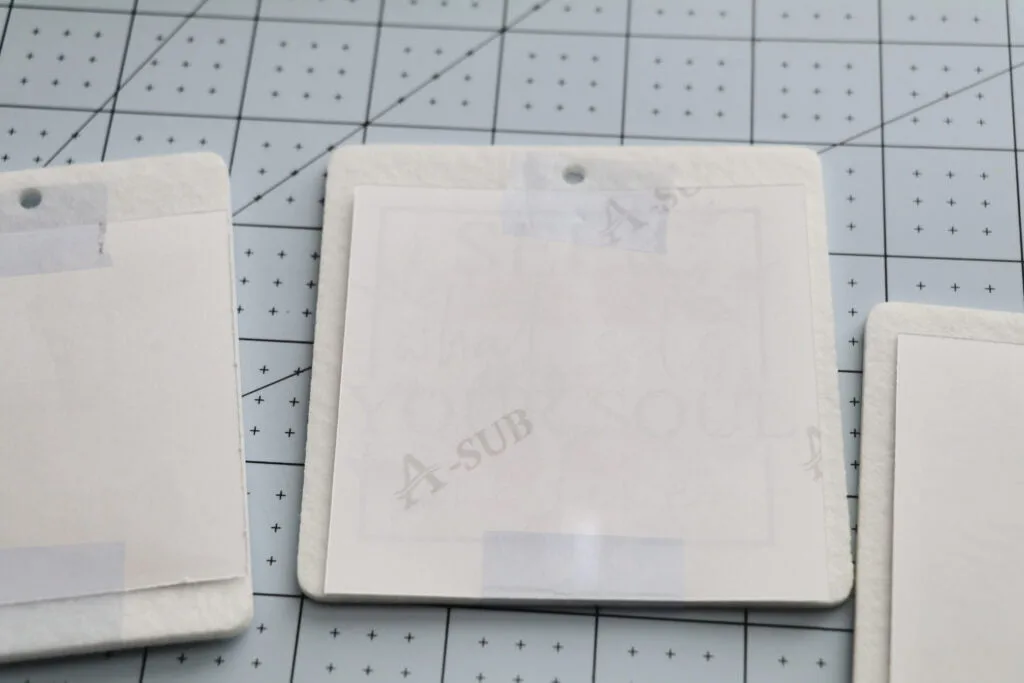
Take a lint roller to your sublimation blank. Get both sides to remove any lint, hair, ect.
Next you’re going to center your image and tape it down with heat tape.
I used my Cricut Easy Press 9×9 for this project, but you can use a big heat press too.
Sublimation Air Freshener Heat Press Settings: 385 for 50 seconds. You can go up to 400 if needed.
Let your press heat up and then you’re going to press them at 385 for 50 seconds. If you feel like you need more heat you can go up to 400. Make sure to place a piece of butcher paper between the air fresheners and your heat press.
When using the Cricut Heat Press you are going to give it firm pressure for 50 seconds. I just sit there and hold it down.
Remove your air fresheners from the heat press and let them cool. These cool really quickly so they should be ready to touch within a couple of minutes.
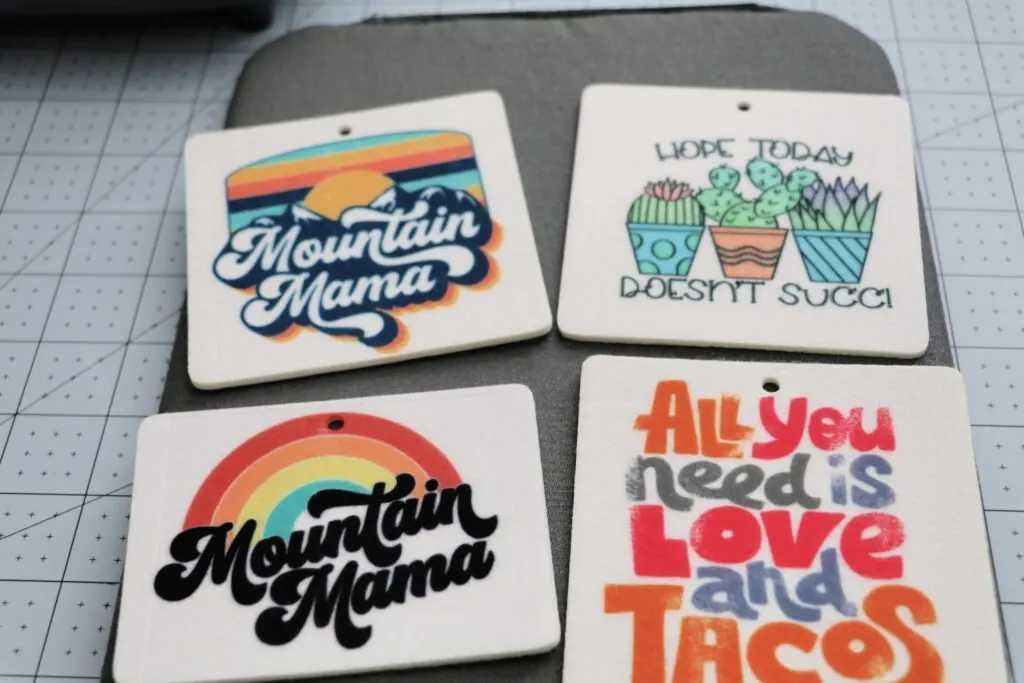
Once your air fresheners are cooled you’ll peel off the tape and paper.
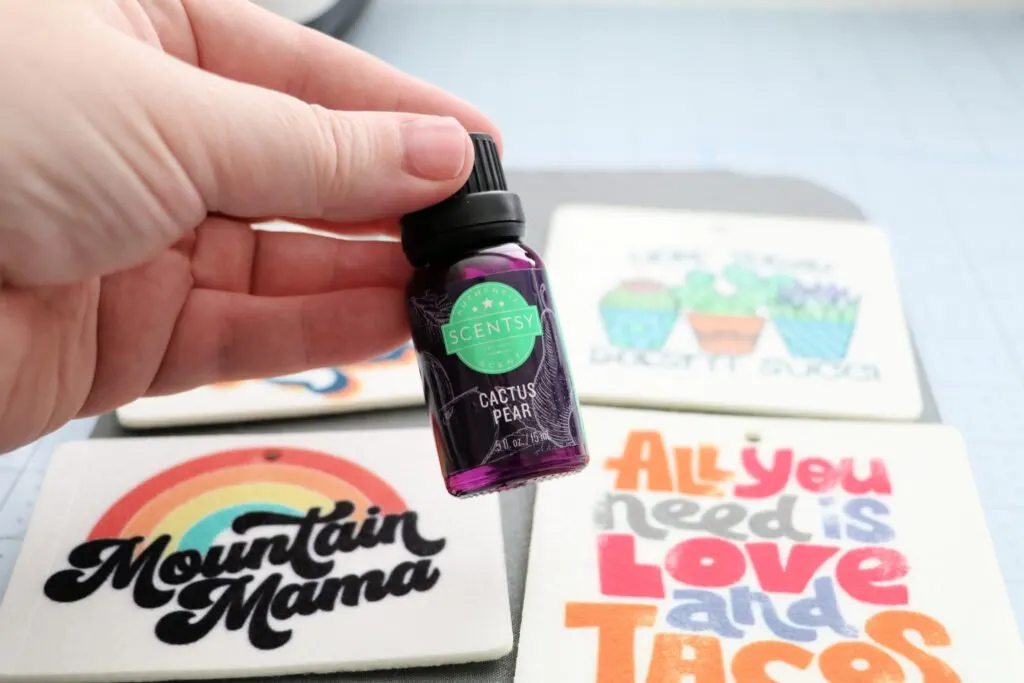
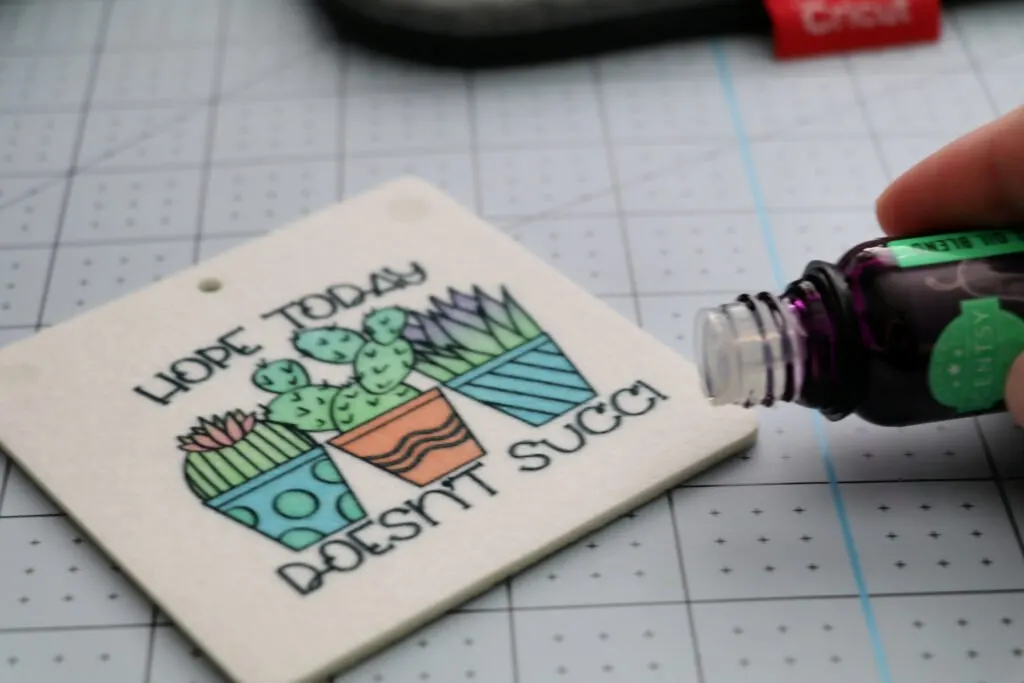
You are going to add 8 drops of essential oil to your air fresheners. I added 4 drops to the front and 4 drops to the back, but you can add all the drops to the back if you want.
When it comes to using essential oils you are going to use pure oil. Make sure there are no carrier oils in it. I also learned during this process that not all oils are clear. One of the oils I used had a yellow color to it, so try to find oils that are clear.
If your essential oil has a tint to it the color will not fade when it dries. Even the clear oils leave a spot on the air freshener, but it’s not very noticeable. To avoid these showing a lot you can add the oil to the back of the air freshener only. Apply 8 drops around the back of the air freshener. Do not get the oil on the design. It will cause the design to smear/bleed.
Double-Sided Sublimation Air Fresheners
When making my air fresheners I made mine one-sided, but you can make yours double-sided if you want. To do this you are going to follow the same steps as above except when it comes time to add your image to your air freshener blank you are going to add the image to both sides and tape it together. Then flip your air freshener blank halfway through pressing. I use a pair of long tweezers or heat gloves to flip it since it will be hot.
What Essential Oils to Use for Sublimation Air Fresheners
You can use any essential oil that you like. I used the Scentsy brand of essential oils because they have lots of great-smelling scents. I used Cactus Pear and Coconut Sugar. They both smell amazing, but the cactus pear is by far my favorite scent. The coconut sugar has a yellow tint to it, but it’s not terrible.
DesignBundles Sublimation Designs
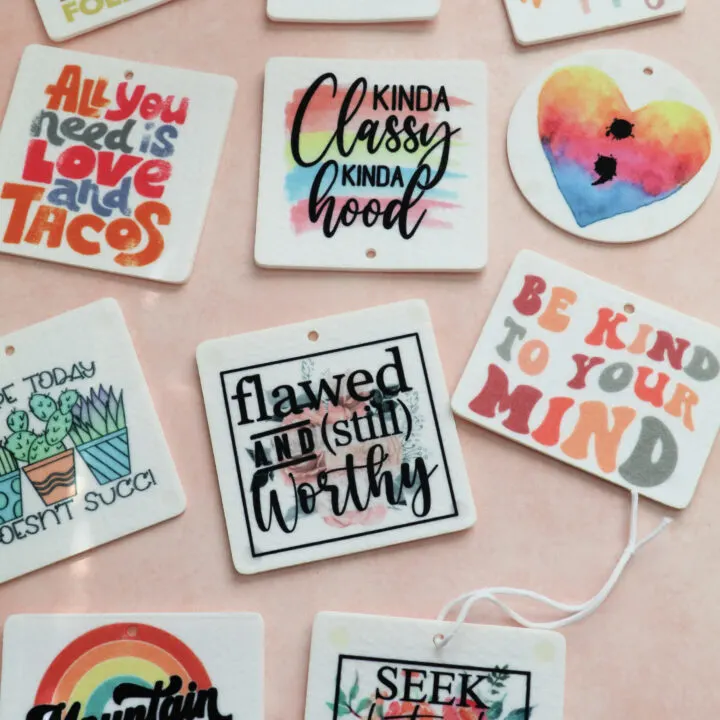
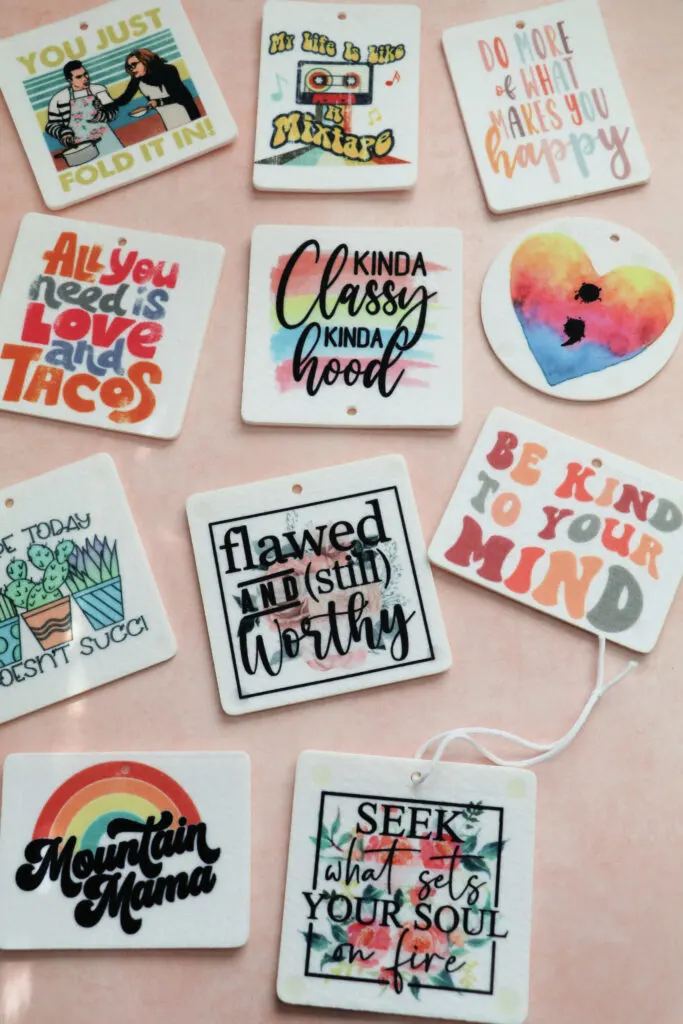
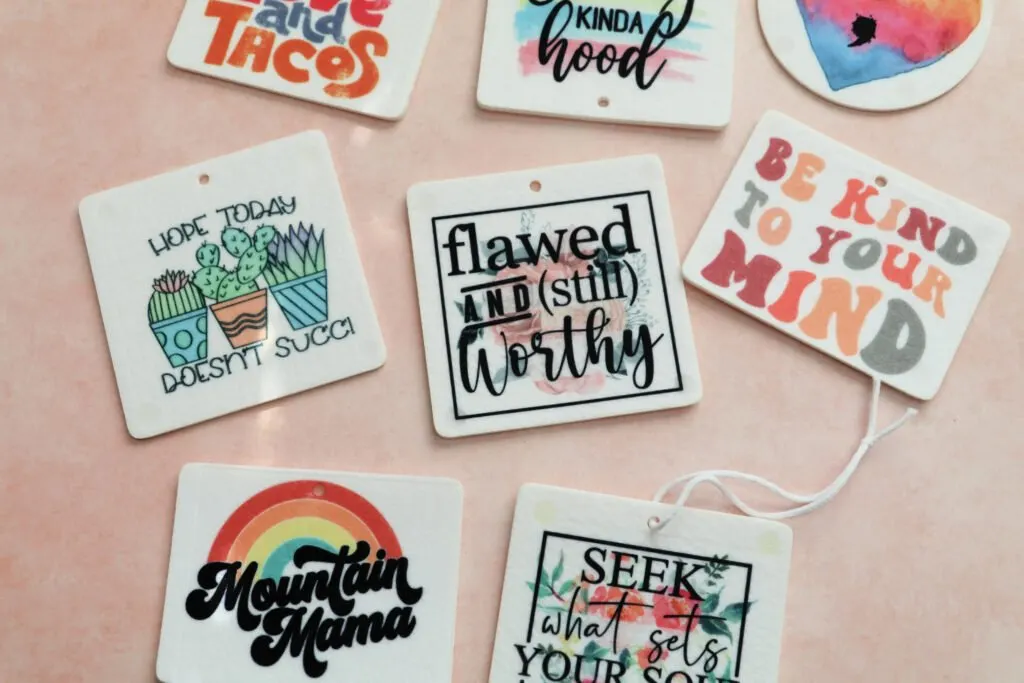
DesignBundles is one of my favorite places to buy sublimation designs. Here are some of the files I used to make my sublimation air fresheners.
- Mountain Mama
- Floral Designs – Seek what sets your Soul of Fire & Flawed and Still Worthy
- Kinda Classy Kinda Hood
- Hope Today Doesn’t Succ
- Mental Health Designs – Heart with Semicolon
- Be Kind to Your Mind
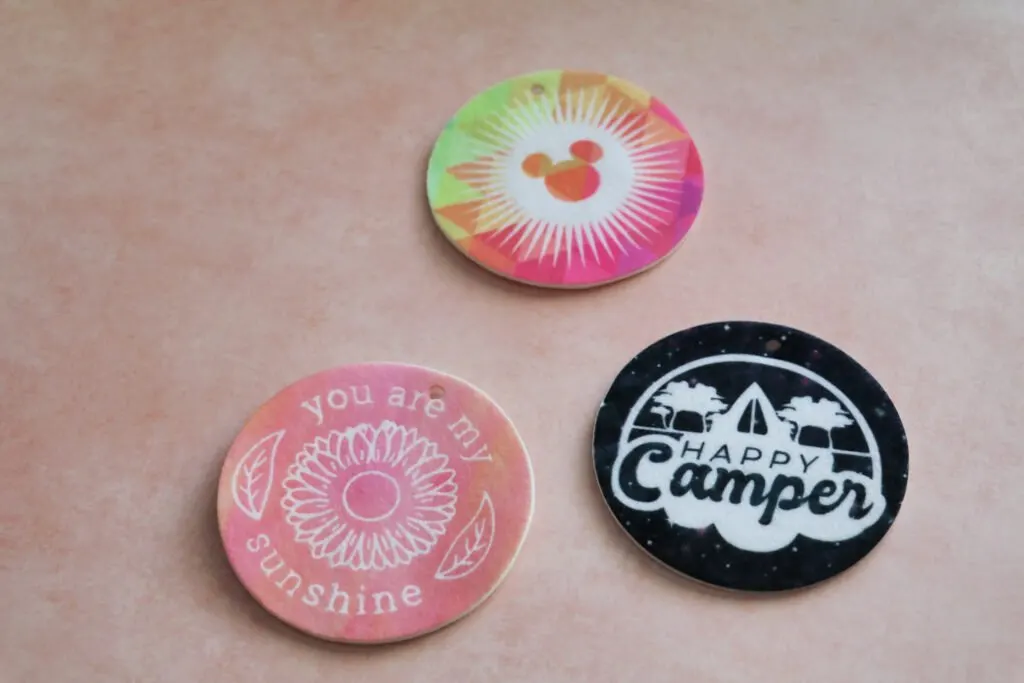
A few of the designs I used are transfers I got from Trendy Transfers like the Schitt’s Creek, Tacos, and Mix Tape one. I purchased those in the mug size.
How to Make Infusible Ink Air Fresheners
Making air fresheners with your Cricut Infusible Ink is pretty much the same as making them with sublimation. The only steps you’re going to change is that you’ll use an Infusible Ink design instead of sublimation.
This post contains affiliate links.
Andrea
Wednesday 27th of July 2022
About how long would you say the scent lasts on these air fresheners?
Jamie
Wednesday 27th of July 2022
Like a regular air freshener, it should last a couple of weeks.