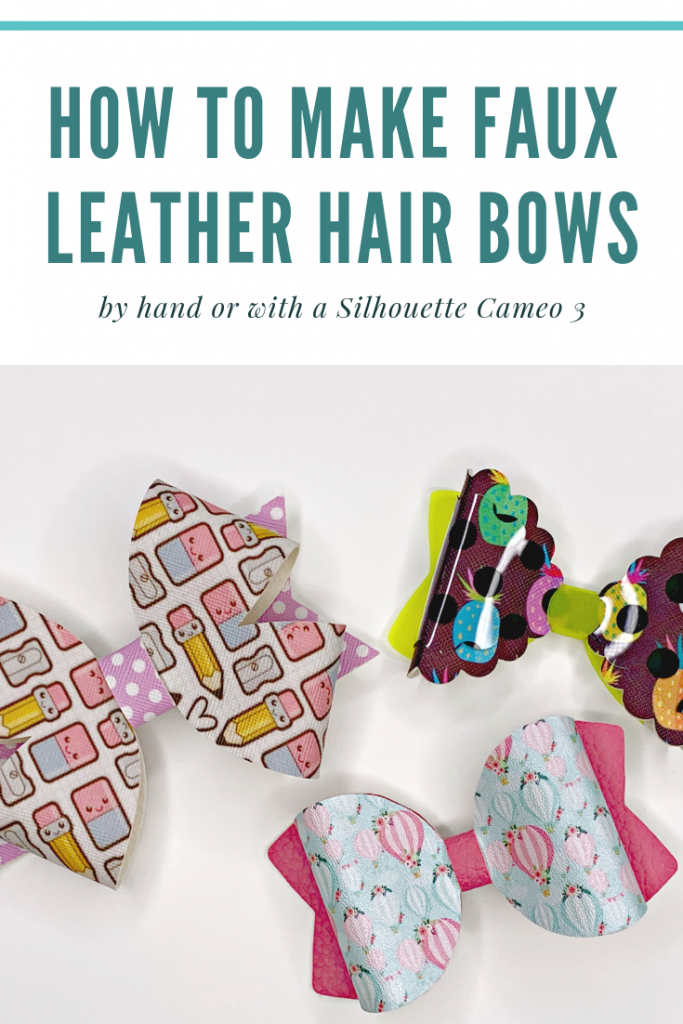
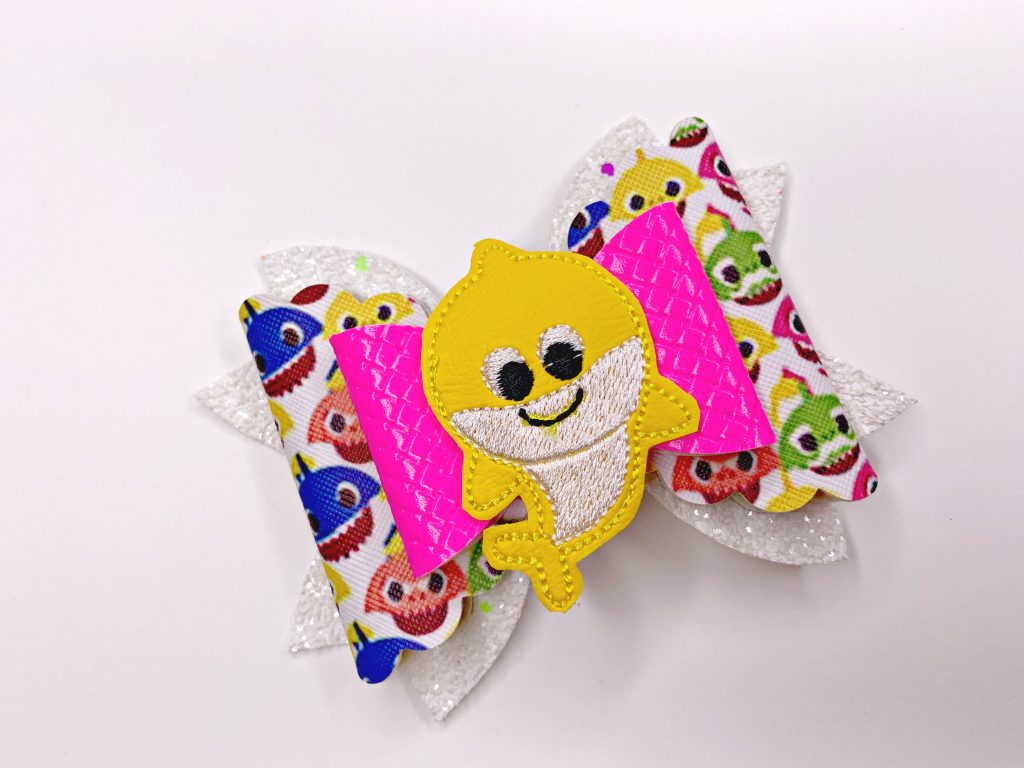
Making hair bows for the girls has become my new favorite thing to do, especially since they’re so easy. Whether you’re cutting them by hand or with your Silhouette Cameo 3 they’re an easy project and designs are endless.
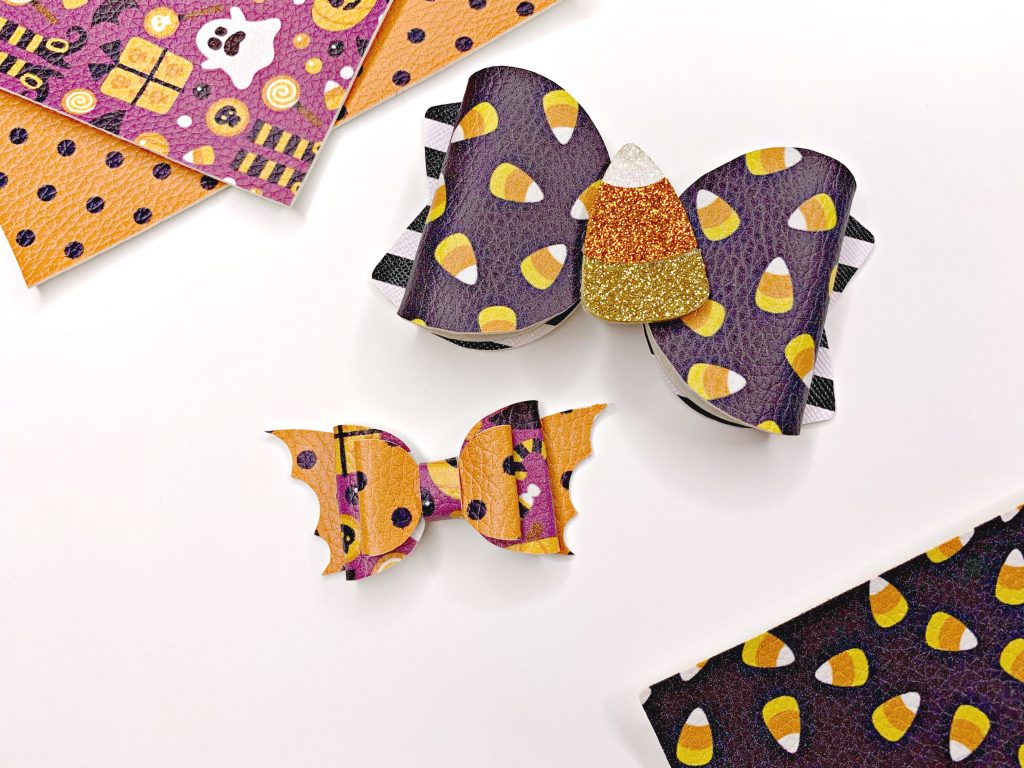
For the smaller bow, I used the Halloween Bow template. For the faux leather, I used orange and black polka dots and Halloween print.
To make your faux leather hair bows you’ll need a couple of things.
By Hand:
- Fabric Scissors
- Faux Leather or Fabric Sheets (There are a variety of places to buy this. Amazon, Etsy, and Pretty in Pink Supply are what I use.)
- Hot Glue Gun with Hot Glue
- Alligator Clips
- Fabric Pen
Cameo 3:
- You’ll need the items above
- Cameo 3
- Masking Tape
To get started you’ll want to get your hairbow template. I purchase mine on Etsy for a few dollars. Some of my favorite ones are the Maria Hair Bow, Simple Classic Hair Bow, and the Classic Hair Bow template.
Cutting by Hand
You’ll want to print out your template (pdf file), cut it out (not with your fabric scissors, use regular ones), and trace the template onto the backside of your faux leather or fabric. Then use your fabric scissors to cut out the pattern.
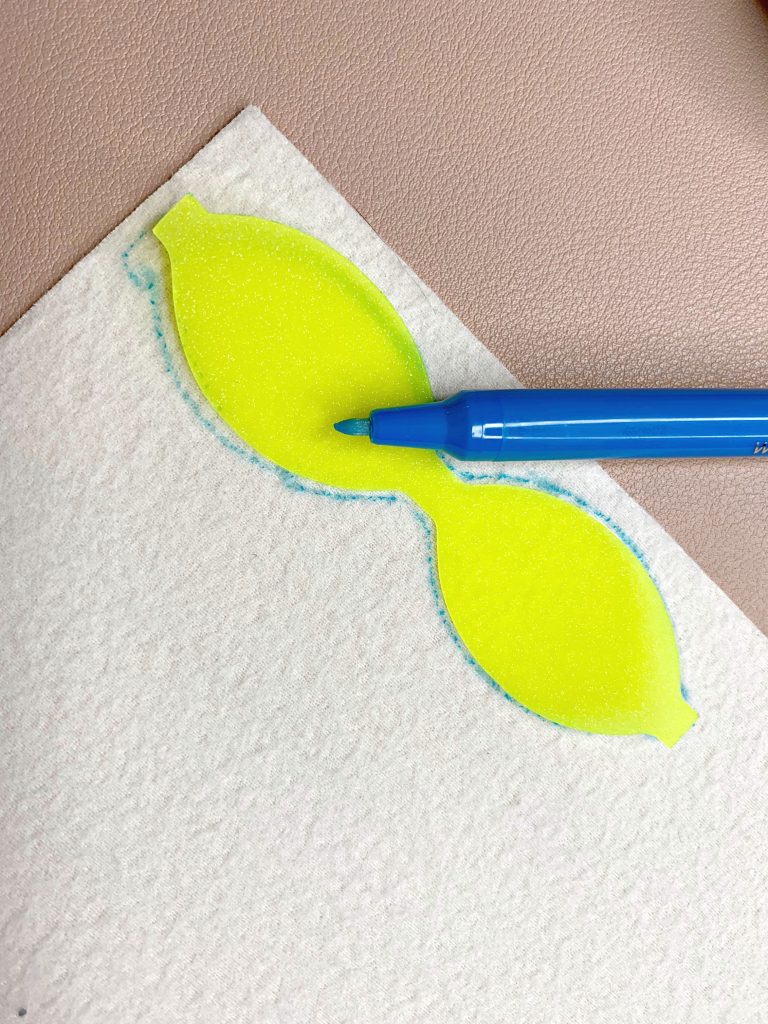
If you wanted to make sturdier templates you could purchase some plastic stencil material and make your own.
Cutting with your Cameo 3
To cut with your Silhouette Cameo 3 you’ll want to make sure you purchase files that come with dxf or svg files. Download the file. Open your Silhouette software and load the template. To do this click File > Open > File Name.
Once your file is loaded you can resize the bow if you want or get straight to cutting. You’ll want to figure out your pattern order. Are you using 2 or 3 different fabric patterns or just 1? If you’re using 2+ then you’ll need to figure out which pieces will be on what fabric or leather and cut accordingly.
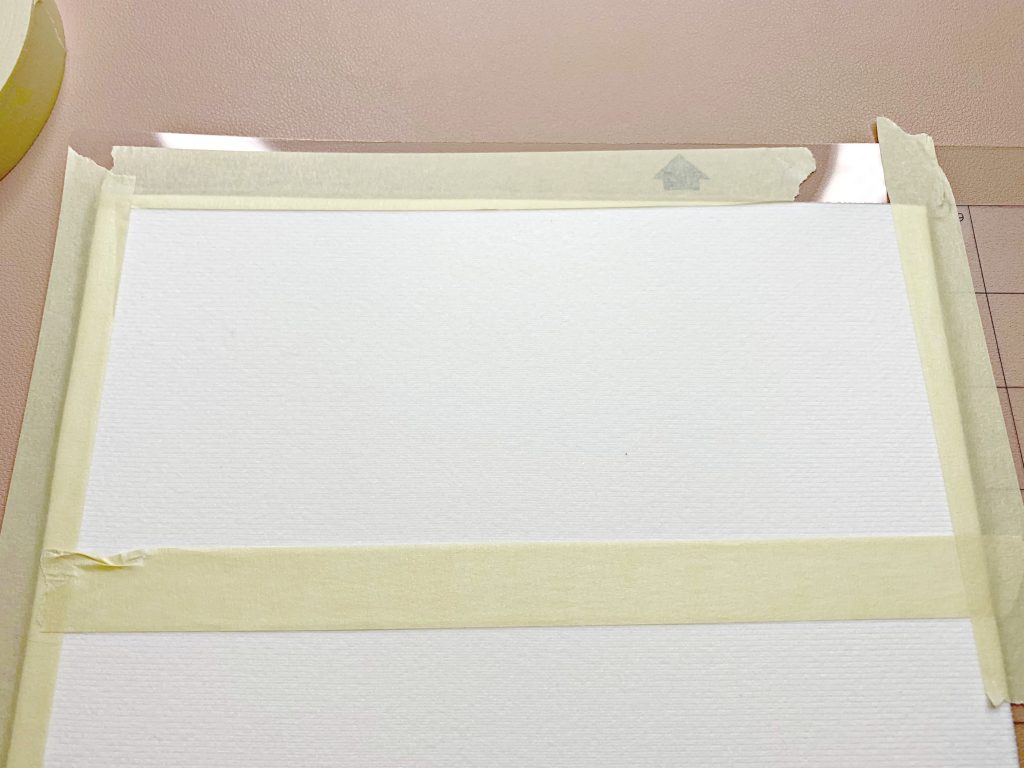
To cut you’ll want to place your fabric or leather pattern side down. Making sure to stretch it as you’re laying it over the map. Rub across the mat to make sure your material is stuck on there good. I find that the leather materials stick to the mat just fine and I can cut as is, but with fabric, I need to tape it around the edges because it can slide. If you’re worried about your material sliding tape around the edges with masking tape.
Load your cutting mat into your cameo and go to the send menu. I’ve made a list of the cut settings that have worked for me on certain materials. Make sure to do a test cut before cutting out your full design. Change your settings to fit your material and hit send. Repeat until all pieces are cut out.
Assembling your Hair Bows
Assembling your hair bows is very easy. Save the bottom piece for last and work on putting together your bows. Follow the directions that came with your bow template. Not all templates come with instructions so you might have to wing it. For most of the bows I’ve done you glue the ends to the middle of the pattern. Pattern side up. Pinch for a few seconds and go onto the next part. You’ll want to glue all the pieces together, wrap the middle piece around and glue, and then glue your alligator clip on. (See pictures as a guide).
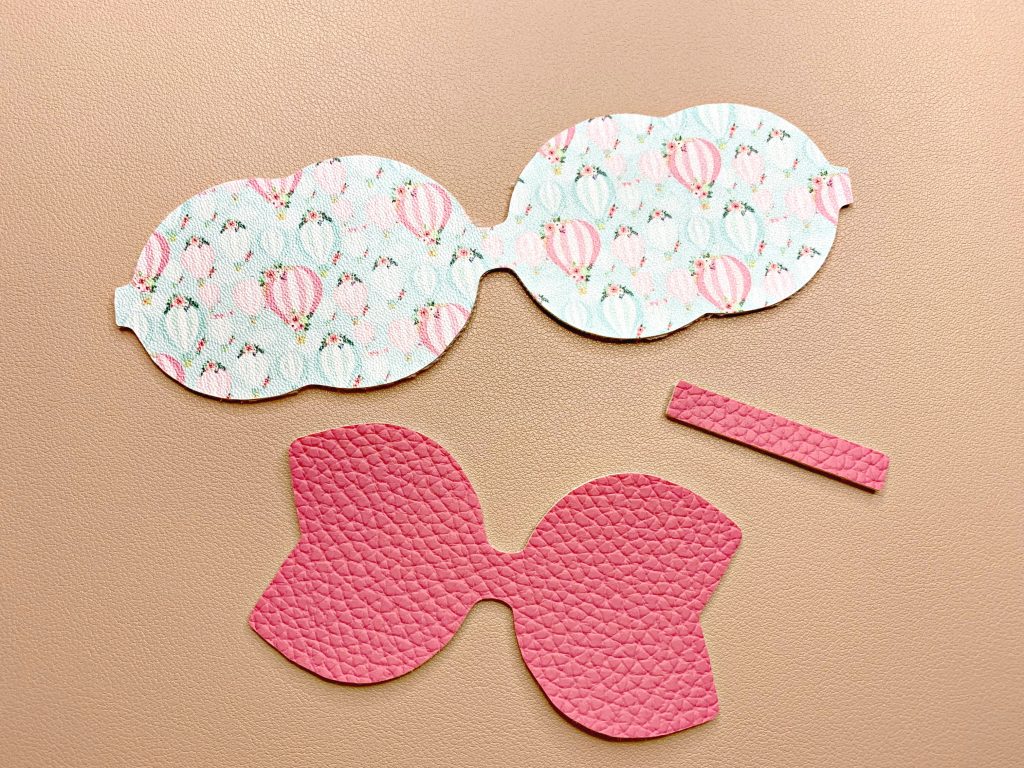
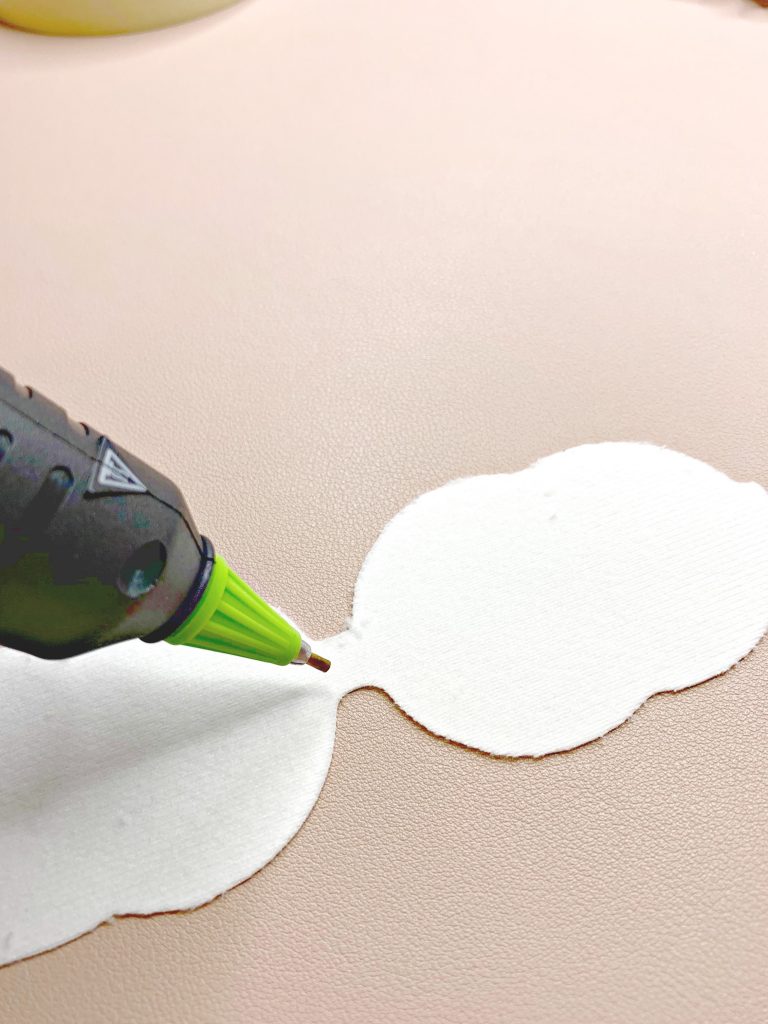
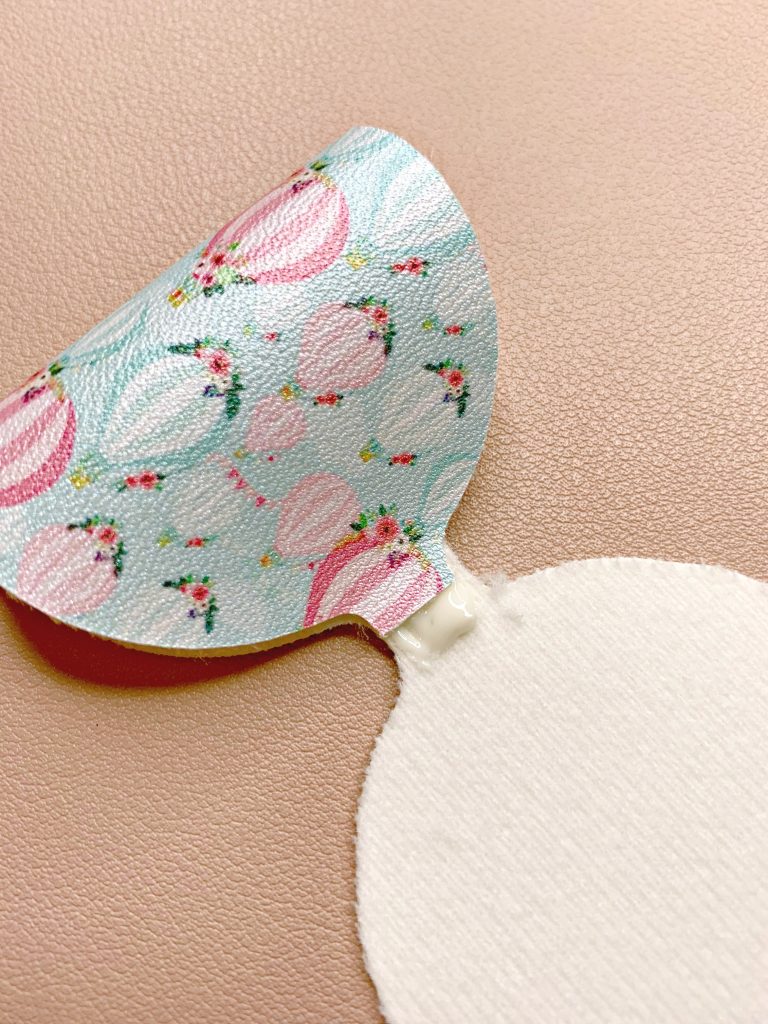
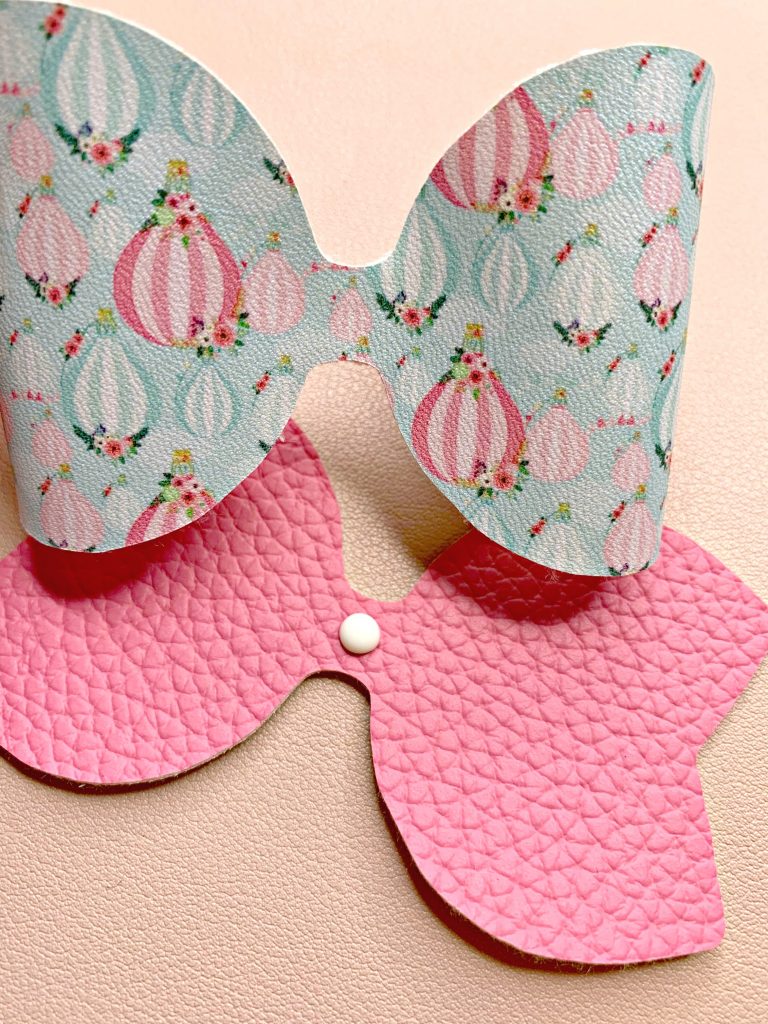
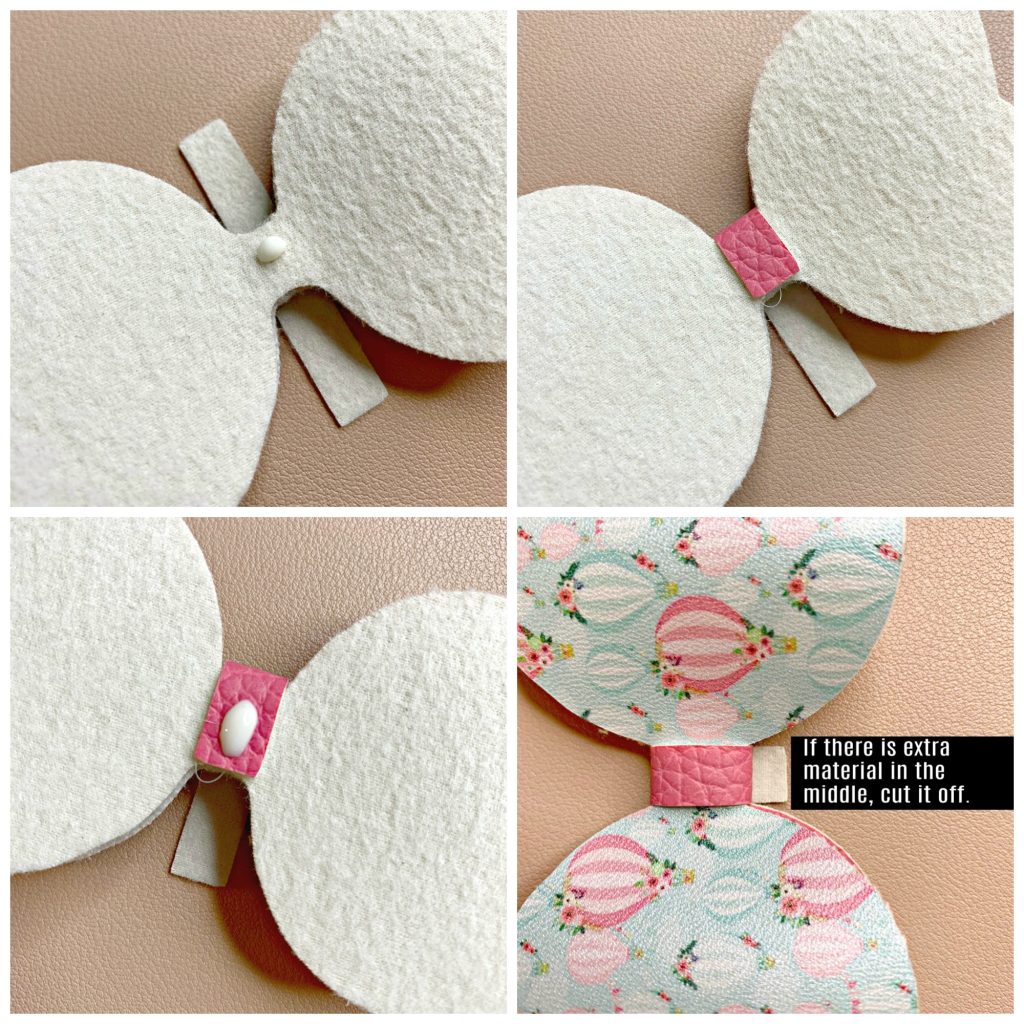
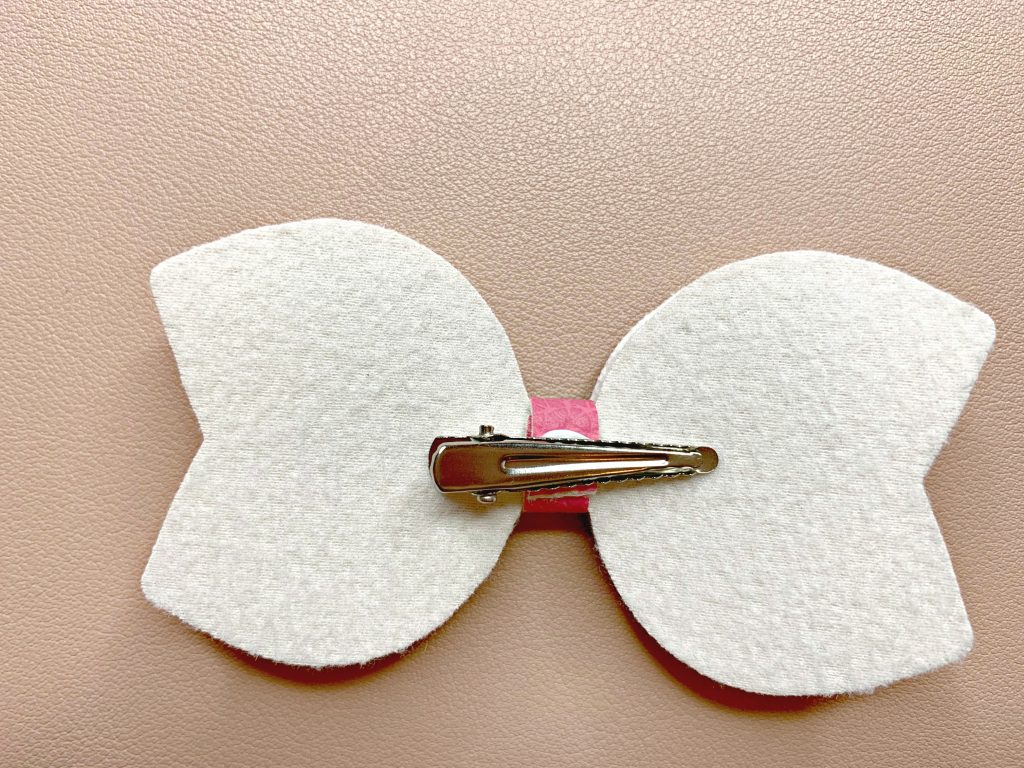
I’ve tried a few different types of glue and so far I am really loving fabric hot glue and gorilla hot glue. You could also use e6000 or super glue, but I think they slide around too much and e6000 take a while to dry. You do you and use what works best for you. This can be a bit of a trial and error process.


Sue
Tuesday 23rd of March 2021
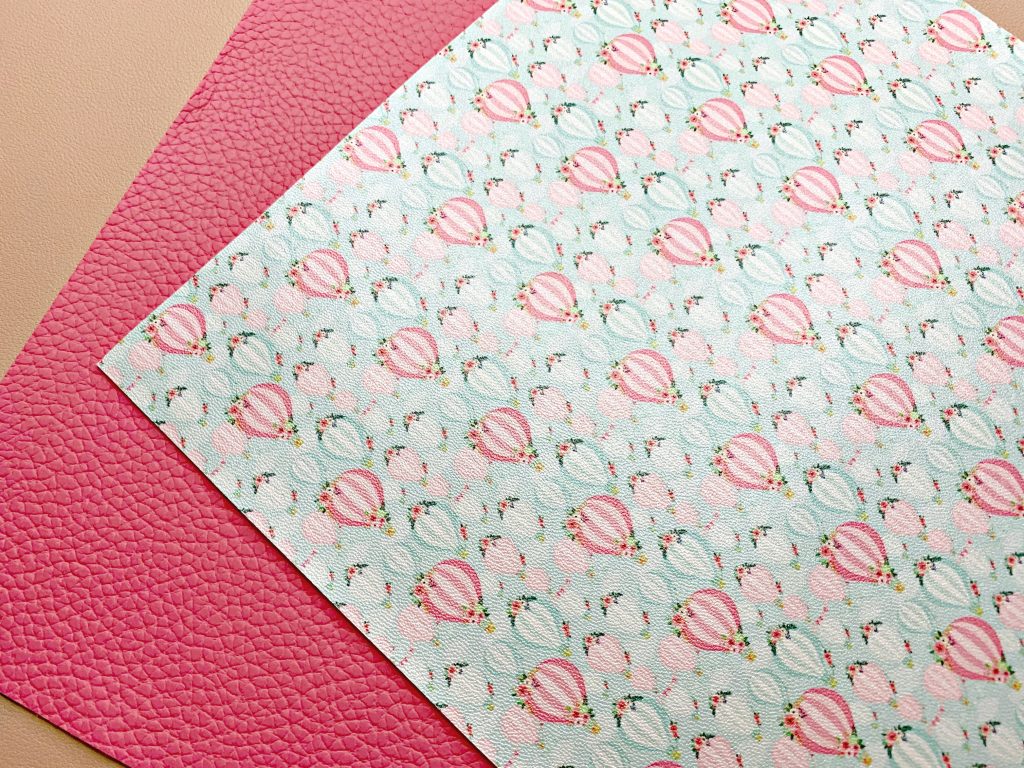
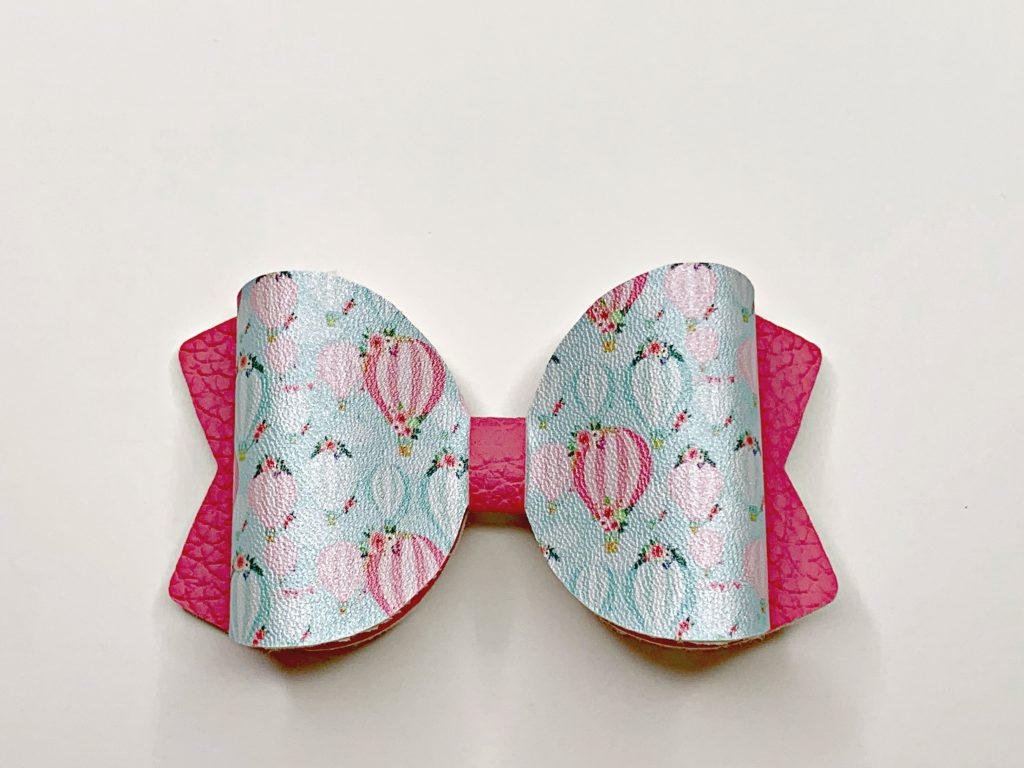
Thank you for the tutorial!!! I need to know....where did you get that hot air balloon print faux leather? I need it!! LOL It matches some outfits I have in my boutique perfectly!!!
Jamie
Wednesday 24th of March 2021
I got it from pretty in pink supply. I am not sure if they carry it anymore though.