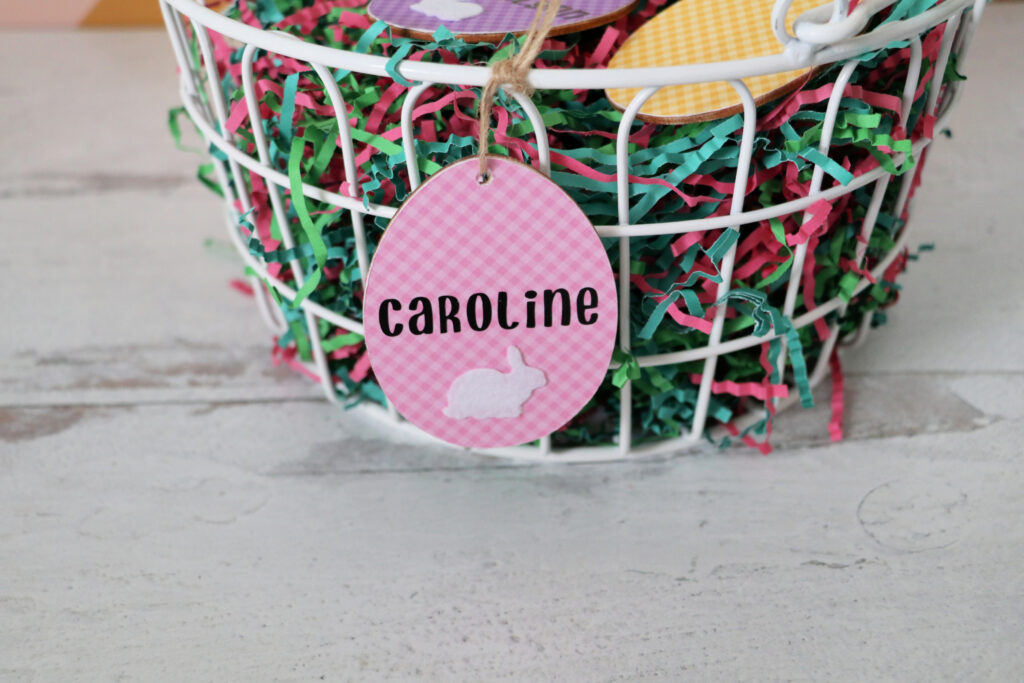
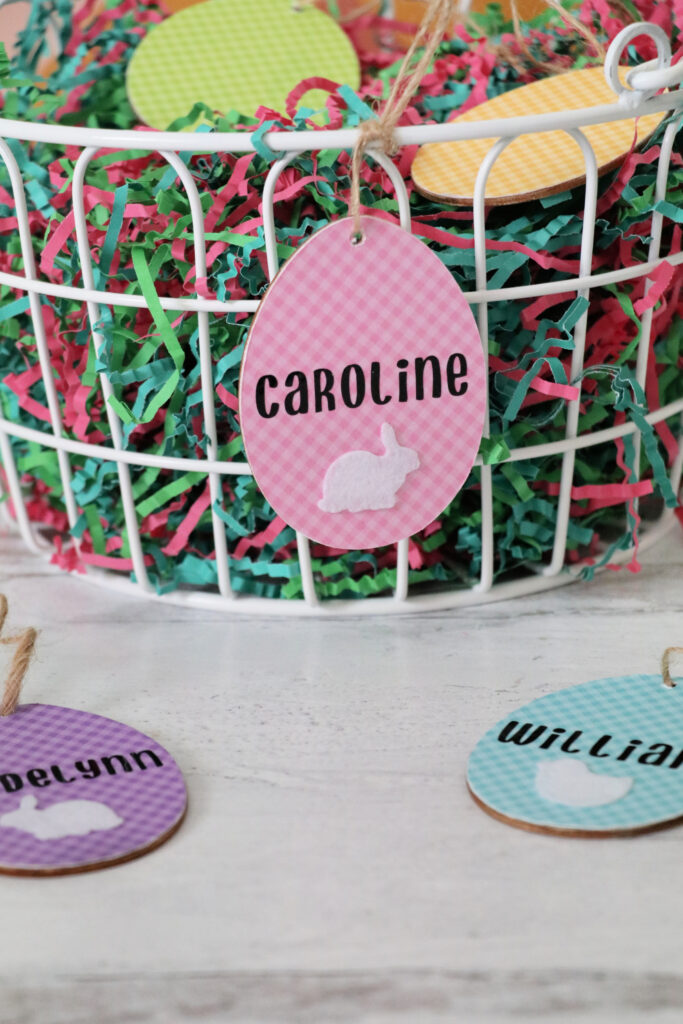
Looking for a fun way to personalize Easter baskets? These Cricut Easter Basket Tags are easy to make and a fun way to personalize an Easter basket. Hang the tag on the basket in fun colors and their name.
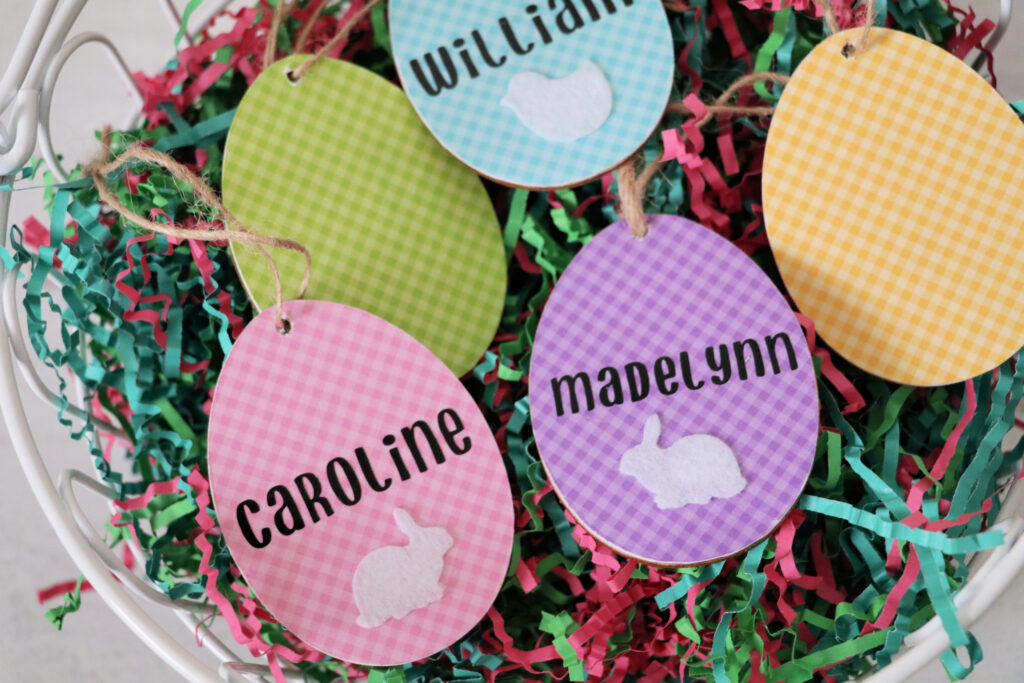
Easter Basket Tags
Easter basket tags can be used with Easter baskets or with any type of gift. You’ll take a wooden Easter tag and decorate it with cardstock, vinyl, and felt to make a cute personalized tag that can be used over and over again.
What Wooden Tags to Use
I used egg shape wooden tags, but you can use any shape you like. This project can be made with any shape tag you desire.
What Glue to Use
To attach the cardstock to the wooden tags I tried both mod podge and spray adhesive. They both worked great, but I am not a huge fan of spray adhesive because it smells, lingers in the air, and is messy. If you choose to use spray adhesive make sure to put something under the surface you use like paper or cardboard because it will make your surface sticky. Also, use it in a well-ventilated area. This is the spray adhesive I have.
However, I recommend going with Mod Podge for this project.
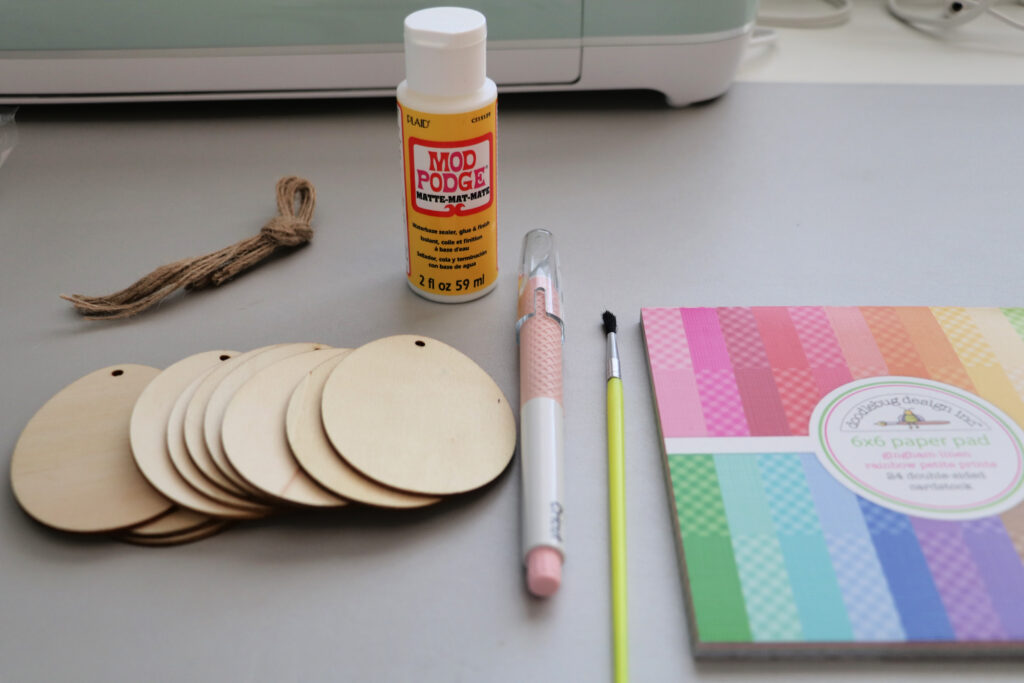
Supplies you’ll need
- Wooden Easter Tags – I used egg-shaped
- Cardstock – I used the Gingham pattern, but you can use any pattern you like.
- Mod Podge
- Small paintbrush
- Sandpaper
- Vinyl
- Transfer Tape
- Felt
- Crafting Knife – I like the Cricut one.
How to Make Easter Basket Tags
Now that you have all your supplies together let’s get crafty!
This step is optional, but I found it easier when making the tags. I cut out a piece of cardstock a little bit bigger than my tag size.
Apply your glue or adhesive to the top of your wooden tag. If you’re using Mod Podge a small paintbrush is great for this step. Make sure to get a good layer of glue around the edges.
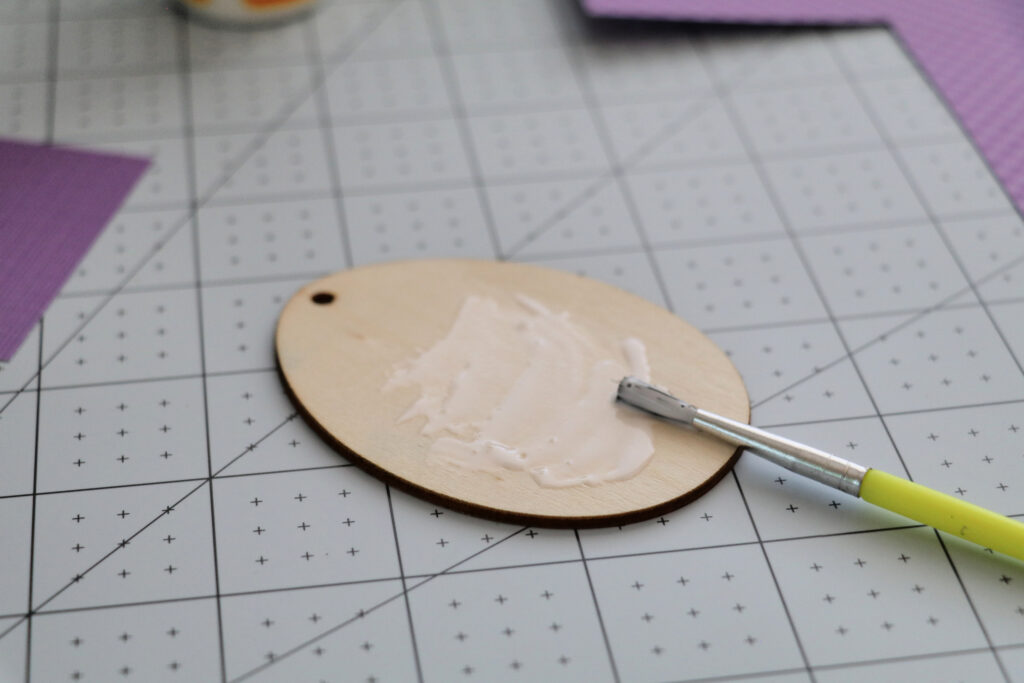
Once you have evenly placed a layer of glue down you’ll place your cardstock on top of the glue with your design face up.
Smooth out your cardstock and press the cardstock down really well, especially around the edges.
Let it dry for a few minutes. If you’re making multiple tags do this step first with all of your tags.
For this step you are going to need either a cutting mat or thick piece of cardboard so you don’t cut the surface you are working on. I like to use the Cricut Self Healing Cutting Mat.
Flip your tag over, so the design is face down, and run your crafting knife around the edge of the tag. You’re going to cut off the excess cardstock from the tag. Don’t worry about little snags or rough edges. Just get as close to the edge of the tag as you can.
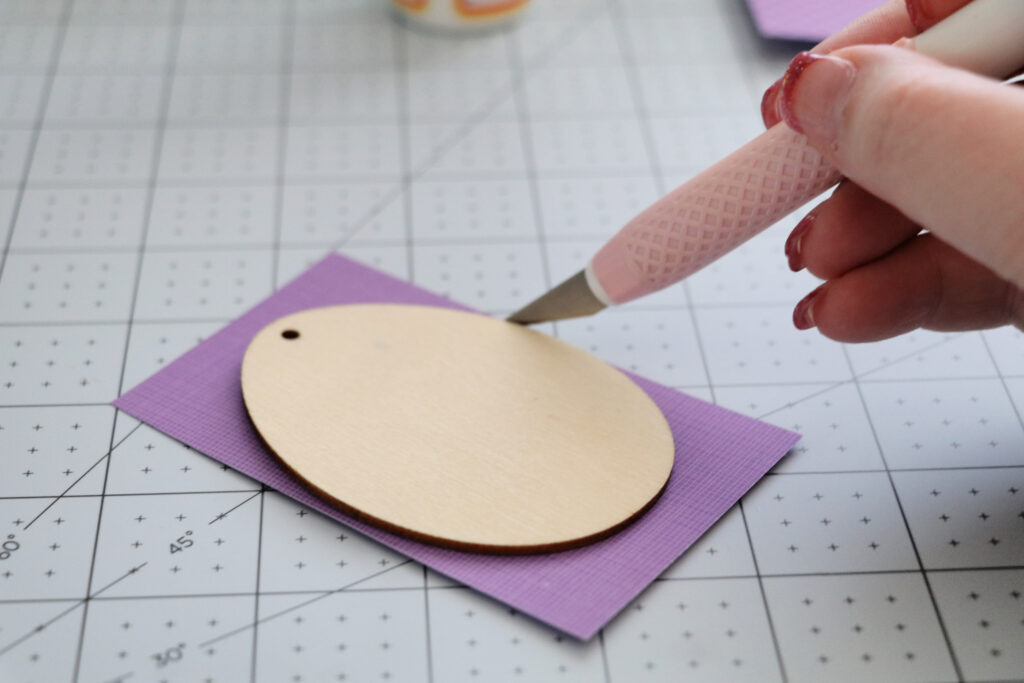
Once your excess cardstock is cut off you’ll take a small piece of sandpaper and sand around the edges of your tag. This will get rid of any uneven edges, snags, tears, ect. This will make the edges of your easter basket tags smooth and even.
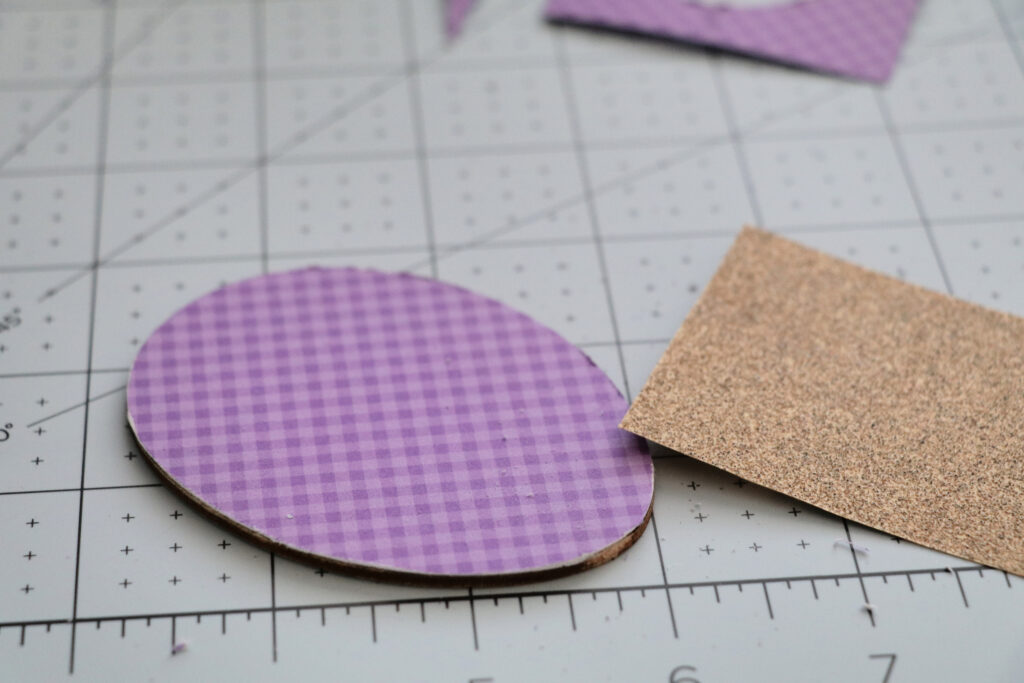
Once your edges are even and smooth I like to apply a little bit of Mod Podge to the edges of the cardstock and tags. This will help to make sure the edges are glued down all the way and help to keep the sides from fraying, ect.
Now it’s time to bust out your Cricut Machine. You’ll need vinyl, transfer tape, a weeding tool, a cutting mat, and felt.
First you’re going to cut out your names. I used the Cricut font Don Juan for our names.
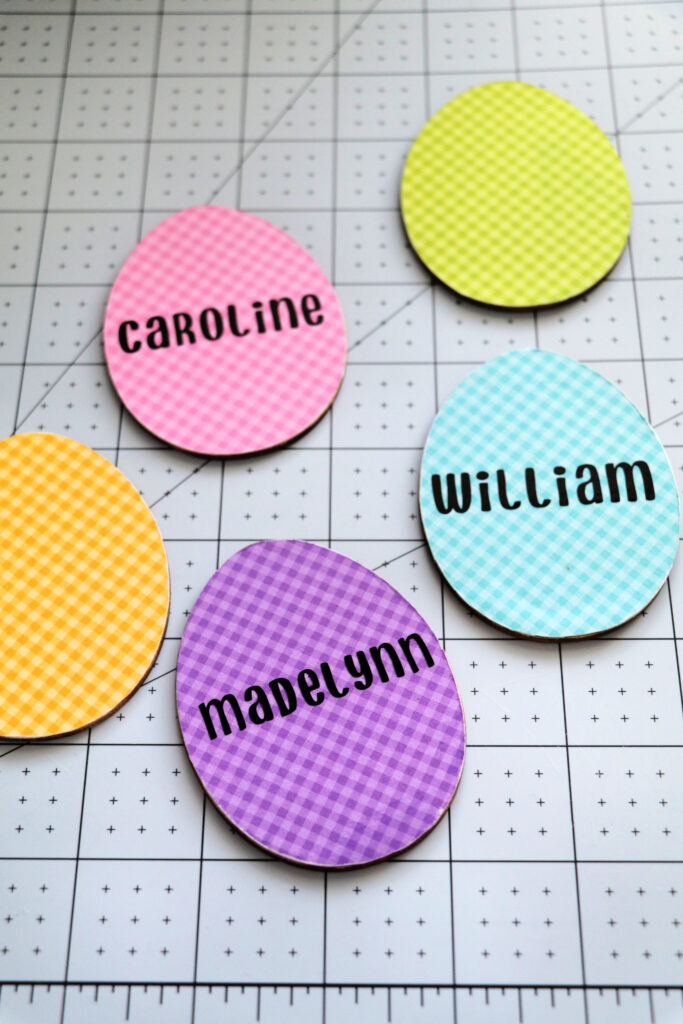
Measure across your tag and make the name a little bit smaller than the width. Example: The width of our eggs is 2 1/4″ so I made the names 2″ wide.
Cut our your names, weed them, and use transfer tape to apple the name to your eggs.
Next you’ll cut some felt embellishments out. If you’ve never cut with felt before I have a whole post about how to cut with felt on your cricut explore air 2.
For the embellishments I used a bunny and chick from Cricut. Bunny #MB67F9DC and Chick #M37055.
To cut felt I like to use a fabric mat and blade. Turn your dial to custom and find felt in the materials.
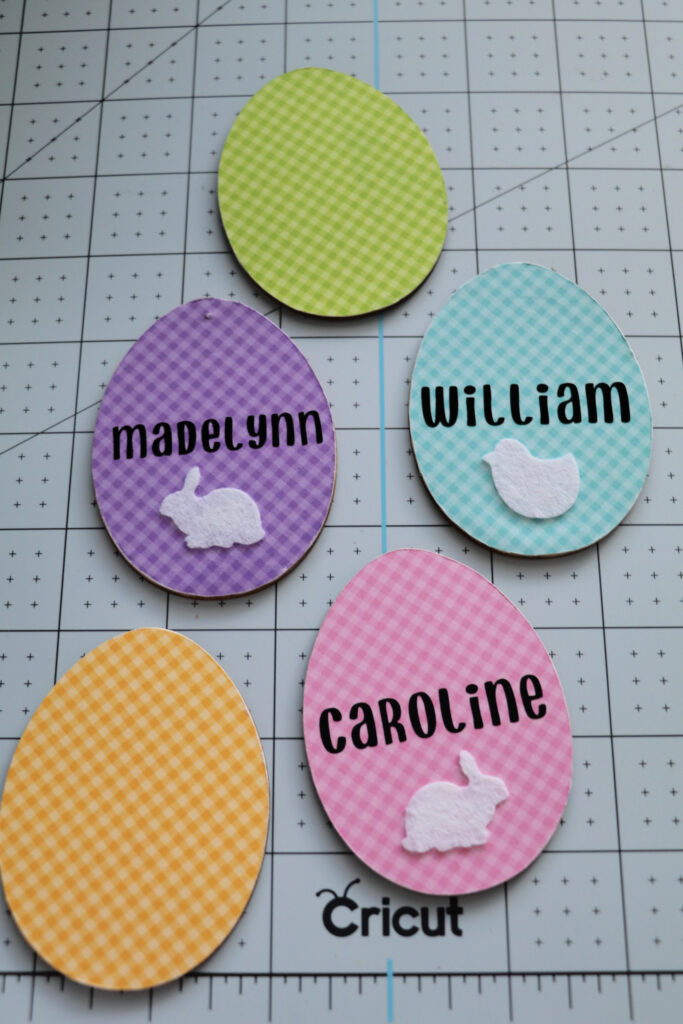
For the felt embellishments I measured how much space was below the name and the bottom of the tag. I went with a 1″ embellishment. Cut it out and then glue it onto the tag. I used Mod Podge to attach it.
You’ll need to attach the string to your tags. You can either hot glue it to the back of your tag or use your craft knife to poke a hole in the cardstock where the hole should be at the top.
Add your string and attach to your Easter baskets!
